
Back 4rm da shop...Mugen Inspired 7th gen


Thread Starter
|
Member
Joined: May 2007
Posts: 95
From: sOuL-CaLiFoRnIa
Thanks!
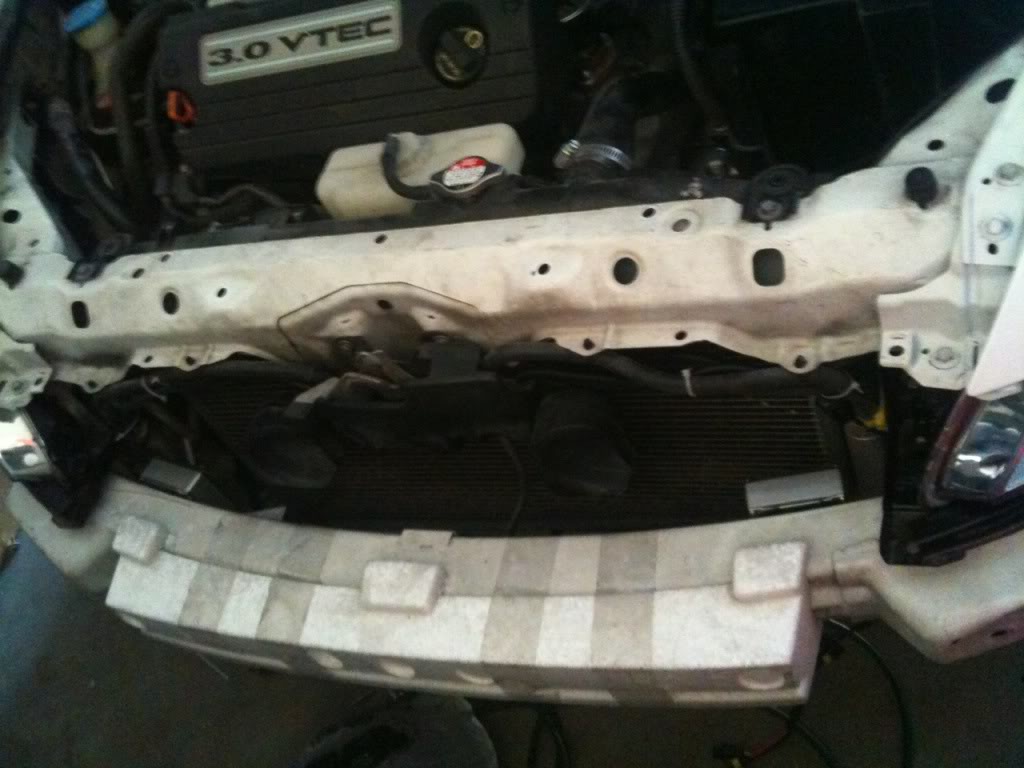
9/3/10 so this is a view of our sideskirt approaching garage entry. The front lip hangs about that inch gap lower................. so scary! It is impossible w/ a lip to enter our v grooved driveway

Tony the fender roller about to do his magic

doing his magic

on the rears


9/3/10 so this is a view of our sideskirt approaching garage entry. The front lip hangs about that inch gap lower................. so scary! It is impossible w/ a lip to enter our v grooved driveway

Tony the fender roller about to do his magic

doing his magic

on the rears


Thread Starter
|
Member
Joined: May 2007
Posts: 95
From: sOuL-CaLiFoRnIa
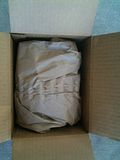
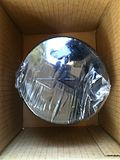
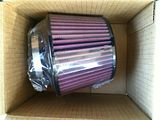
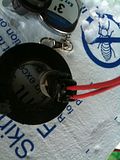
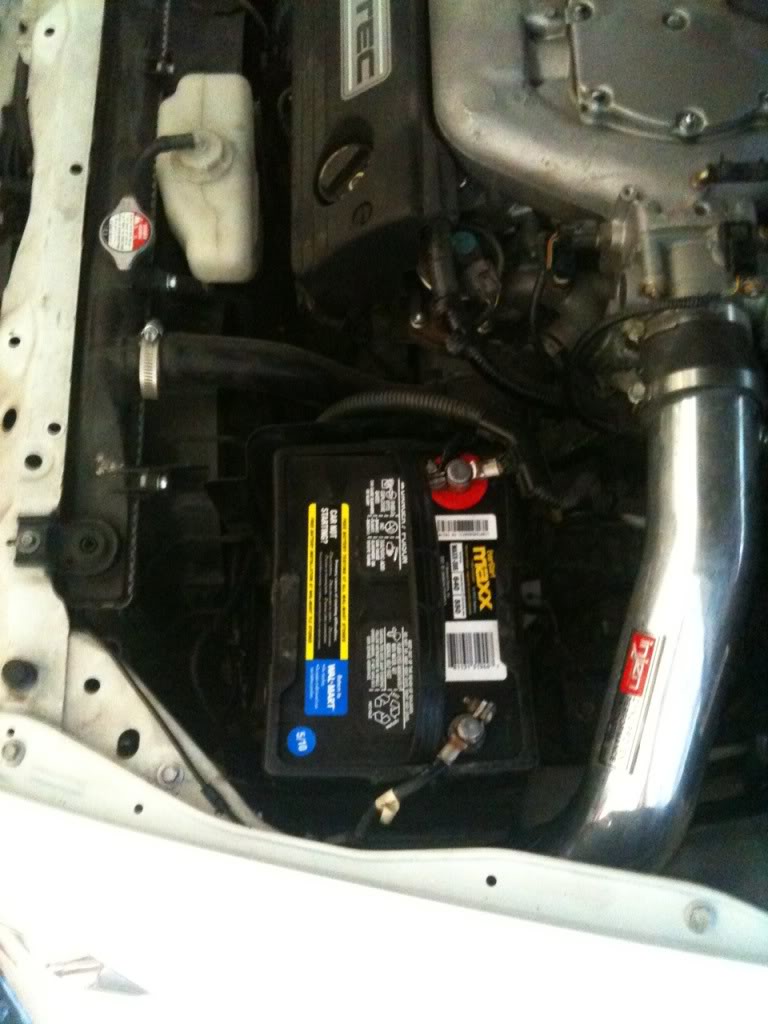
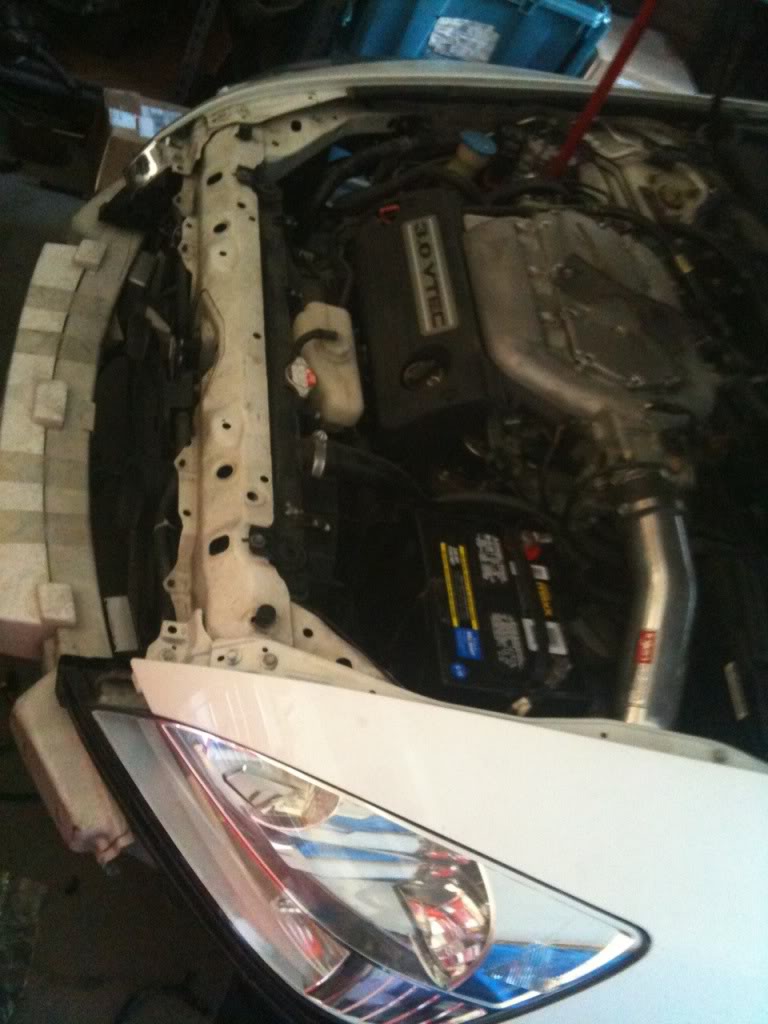
9/7/10 so today our injen replacement filter arrived
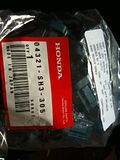
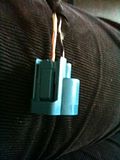
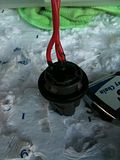
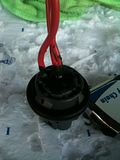
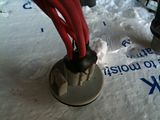
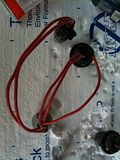
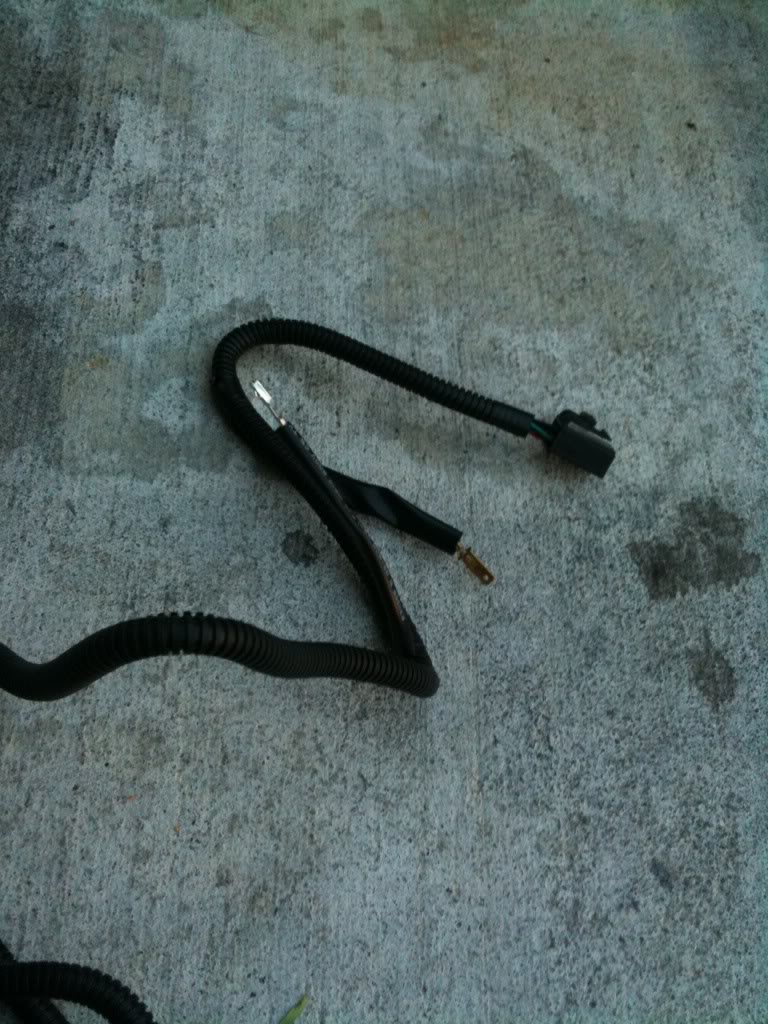
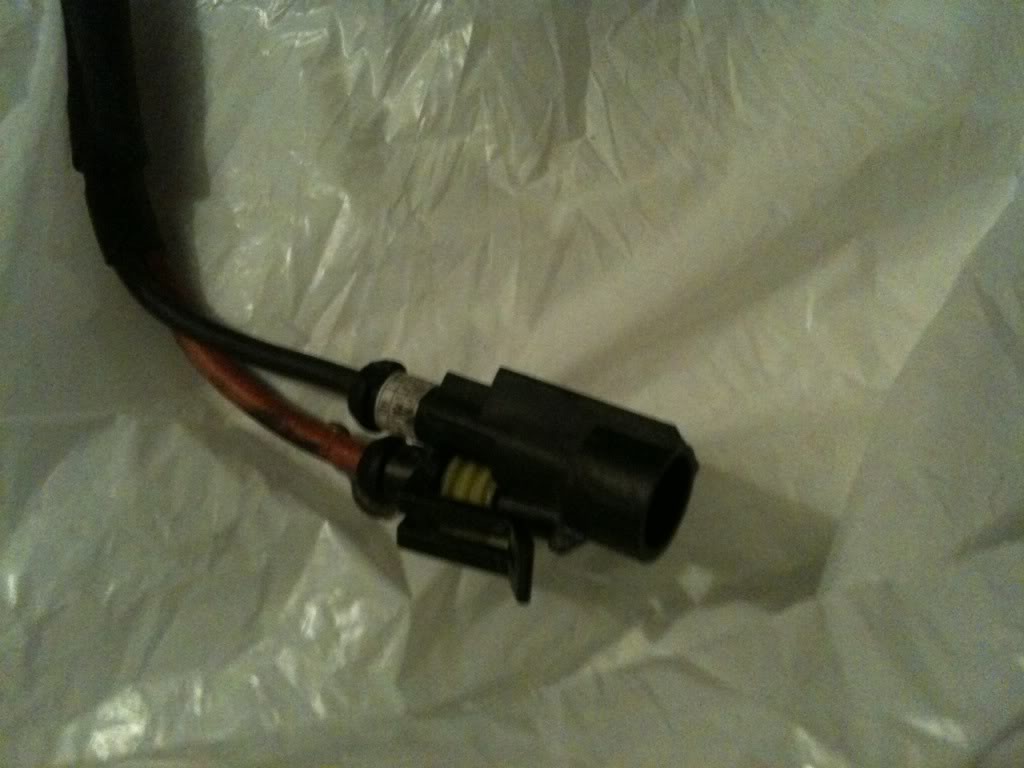
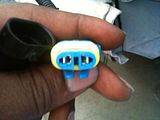
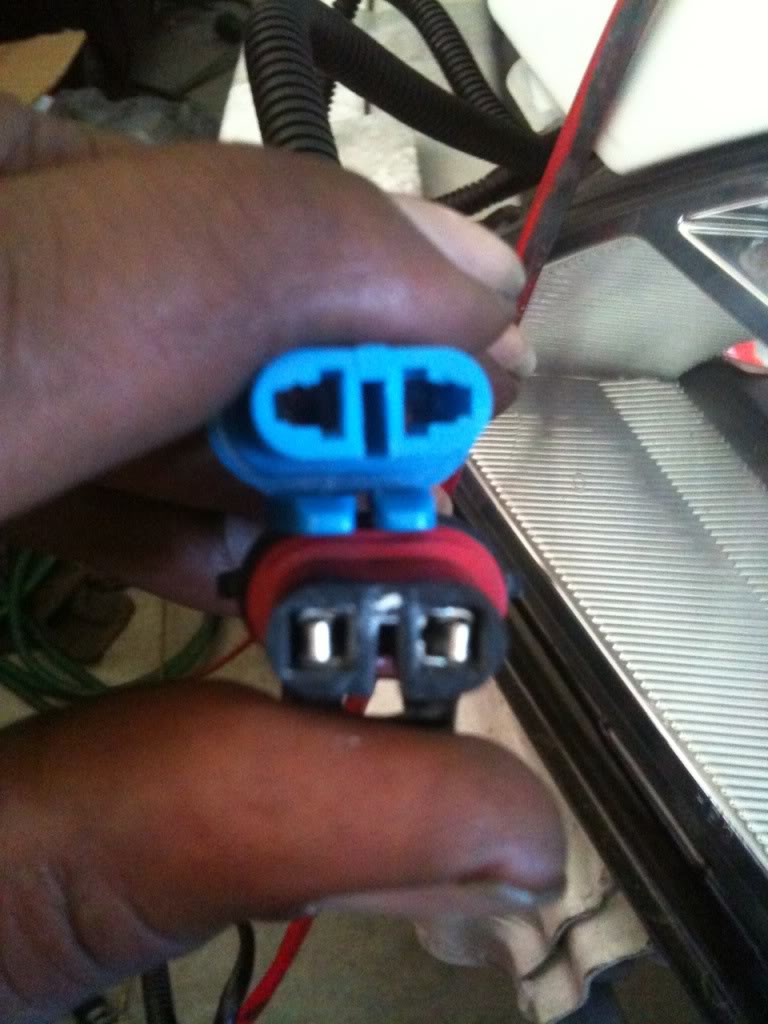
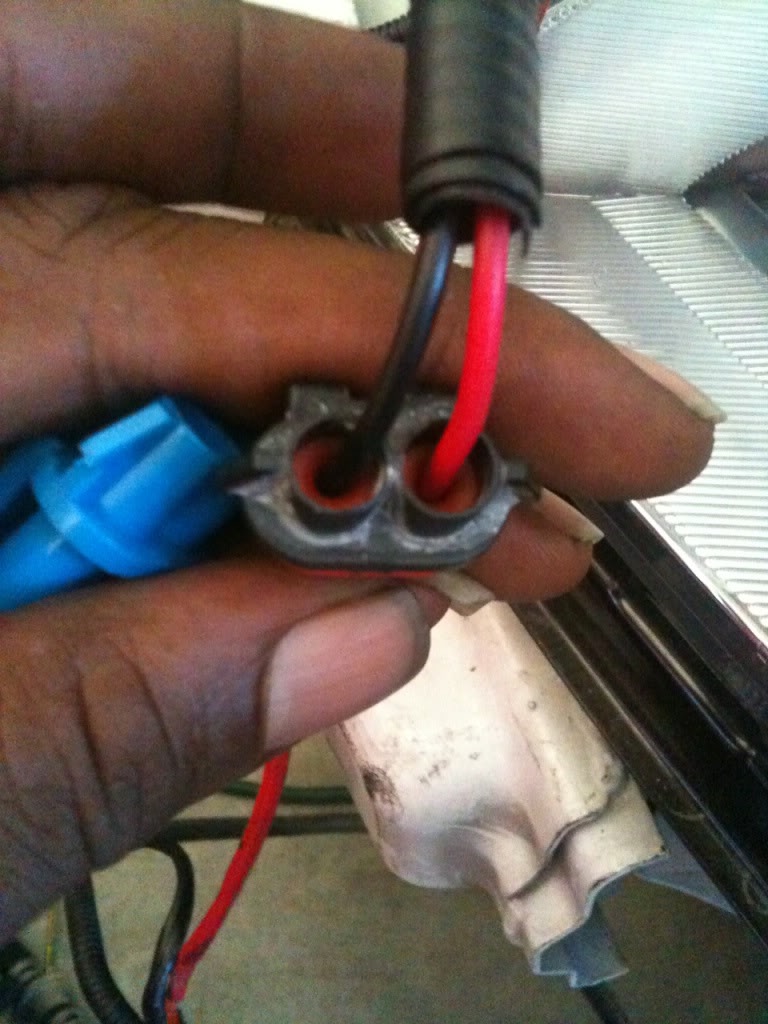
I had to replace my $30 9005 Hi-Beam Connector
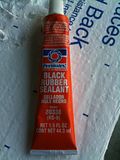
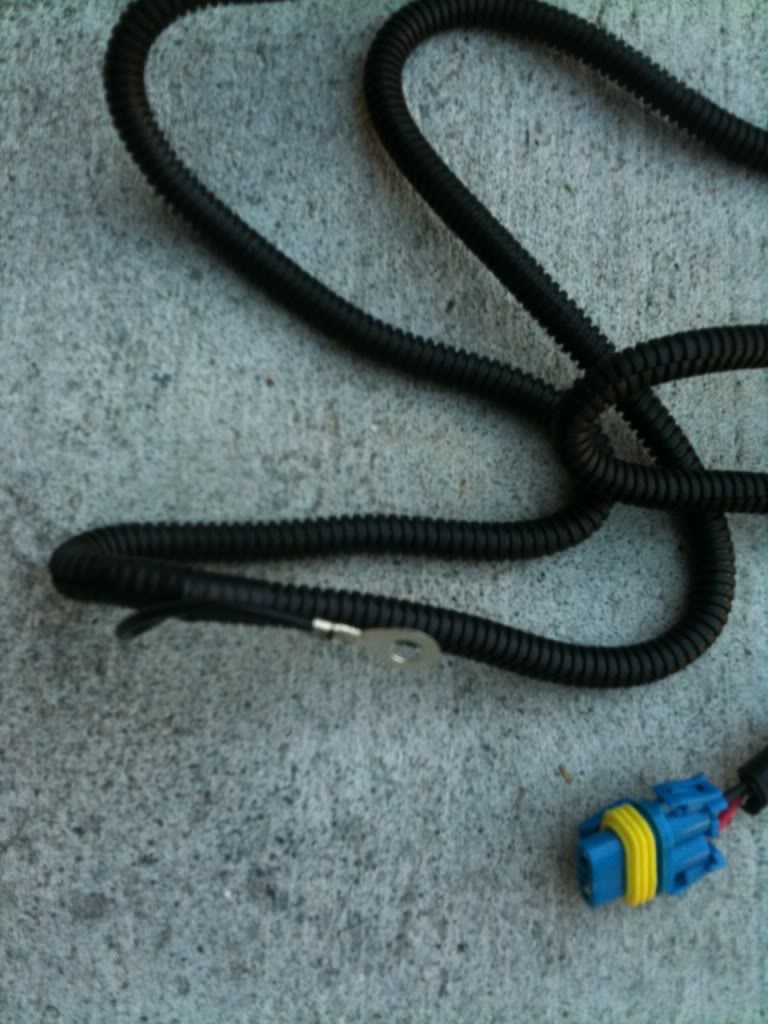
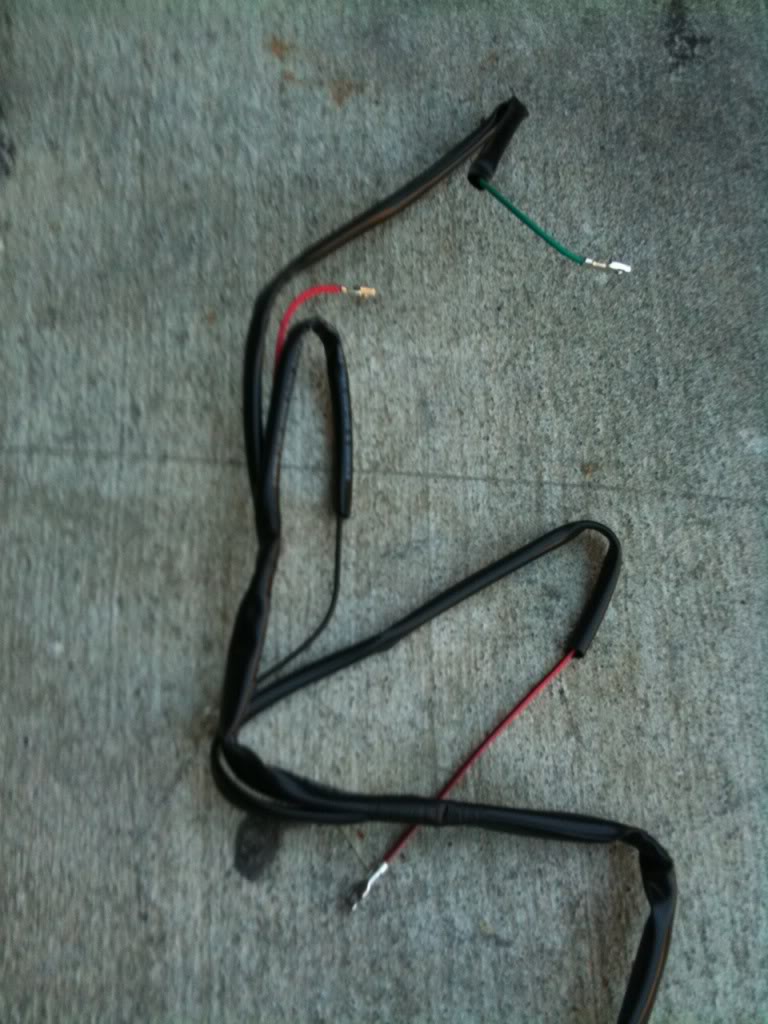
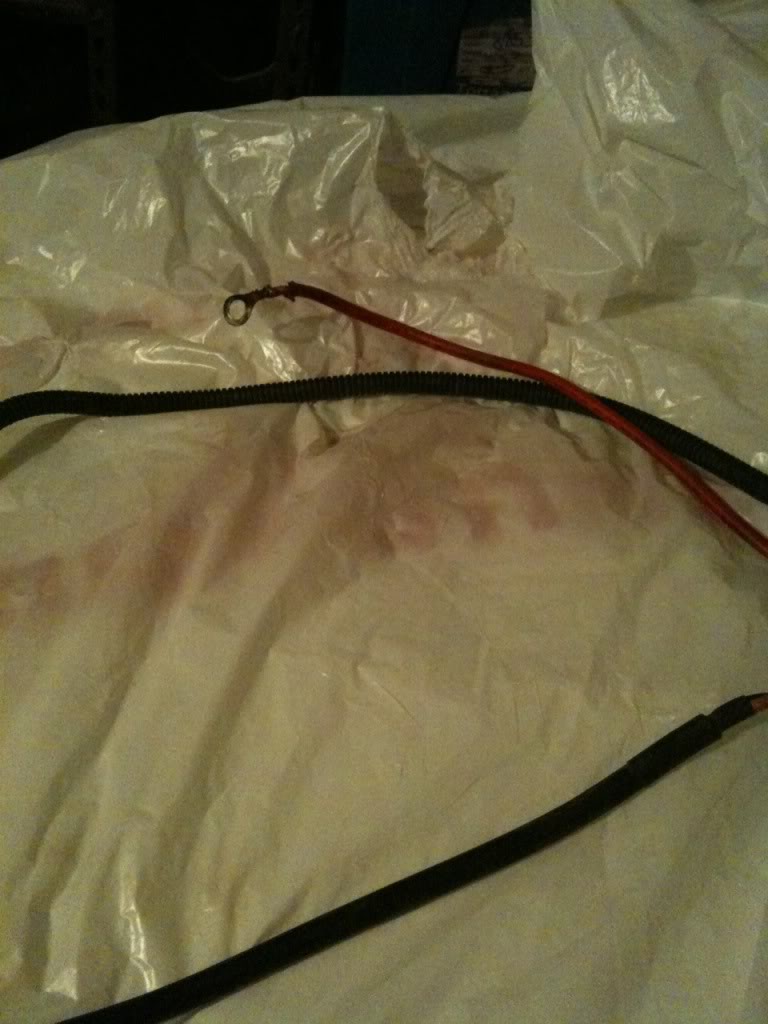
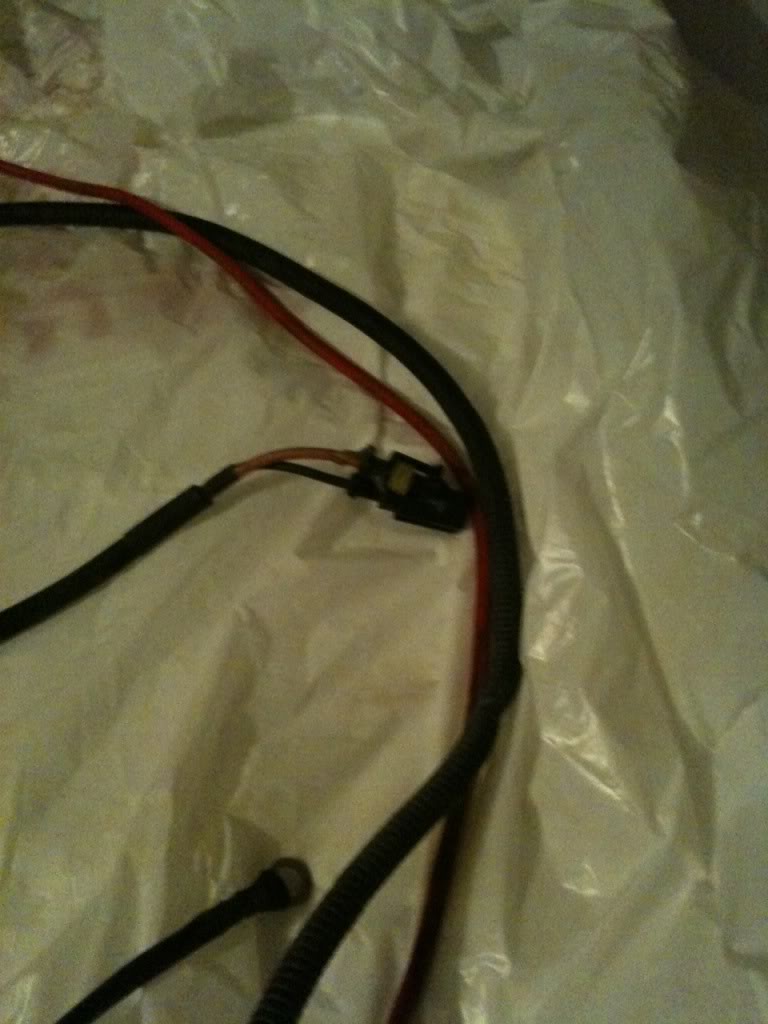
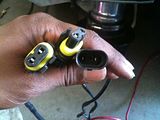
I Filled the Inspire - Infiniti Ballast harness conversion using dielectric silicone ( thanks Jashaa ) Tomorrow I will loom them for the "OEM" Look. A few more things need to arrive before they are installed nothing huge.


I had to replace my $30 9005 Hi-Beam Connector


I Filled the Inspire - Infiniti Ballast harness conversion using dielectric silicone ( thanks Jashaa ) Tomorrow I will loom them for the "OEM" Look. A few more things need to arrive before they are installed nothing huge.


Thread Starter
|
Member
Joined: May 2007
Posts: 95
From: sOuL-CaLiFoRnIa
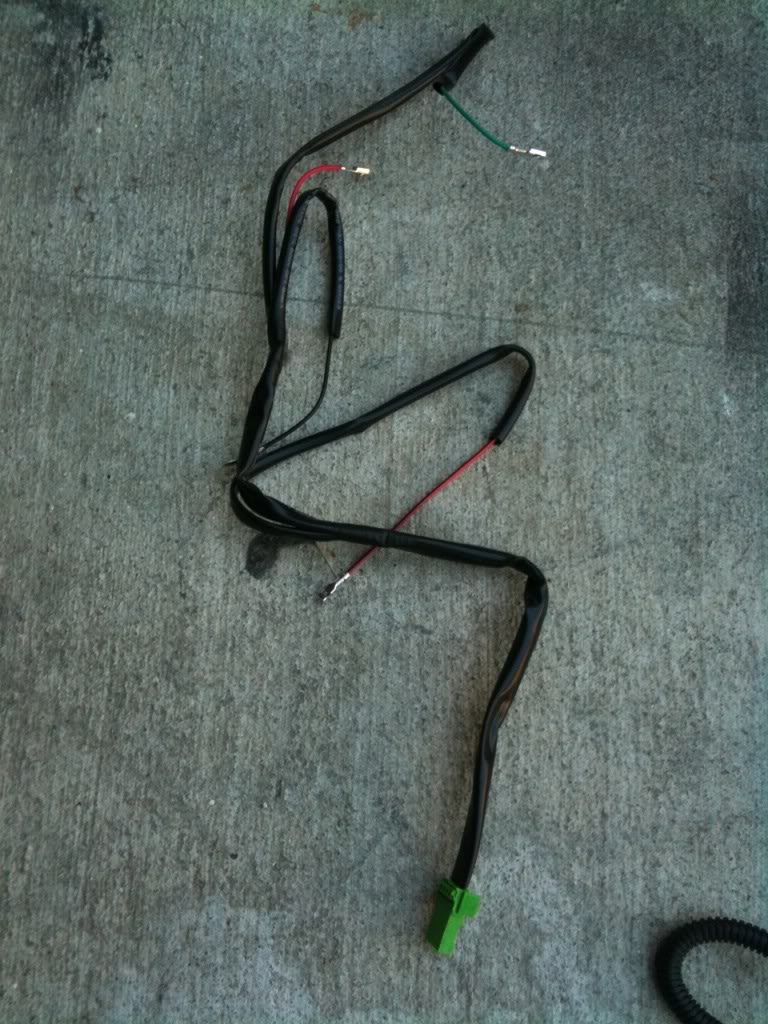
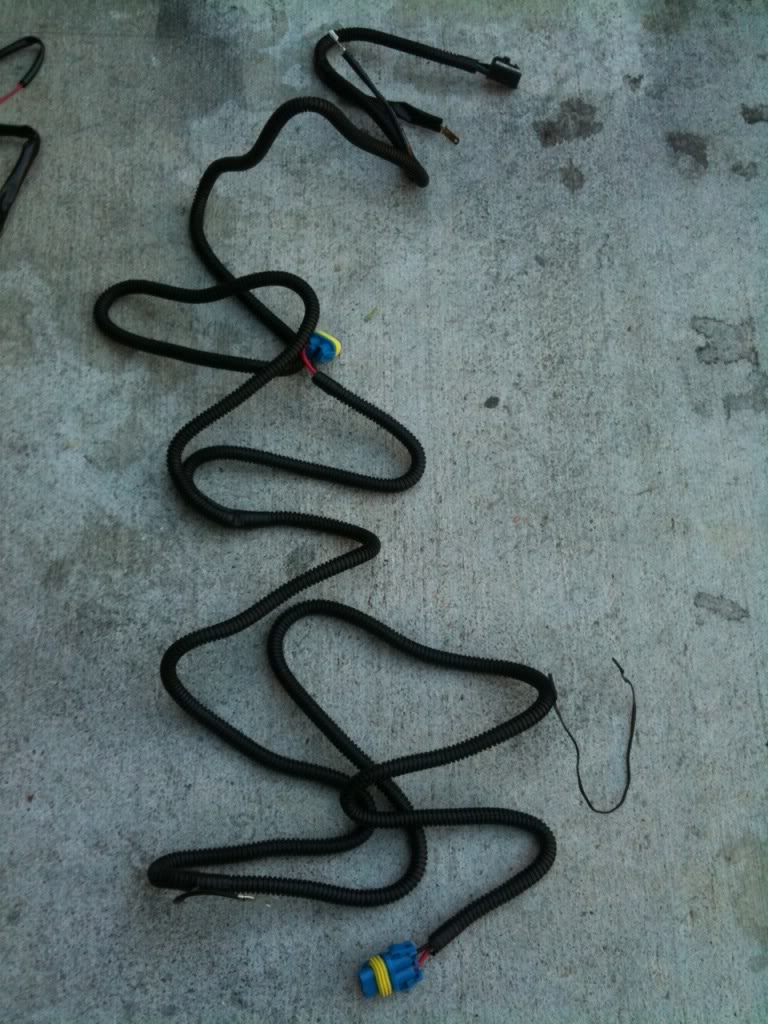
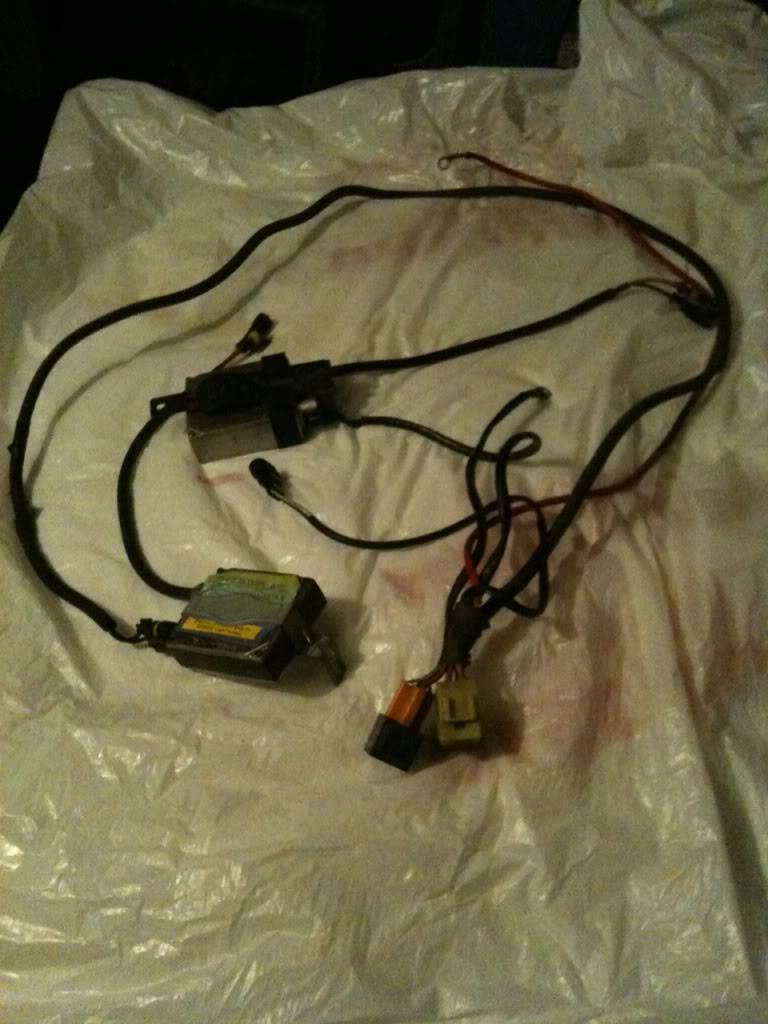
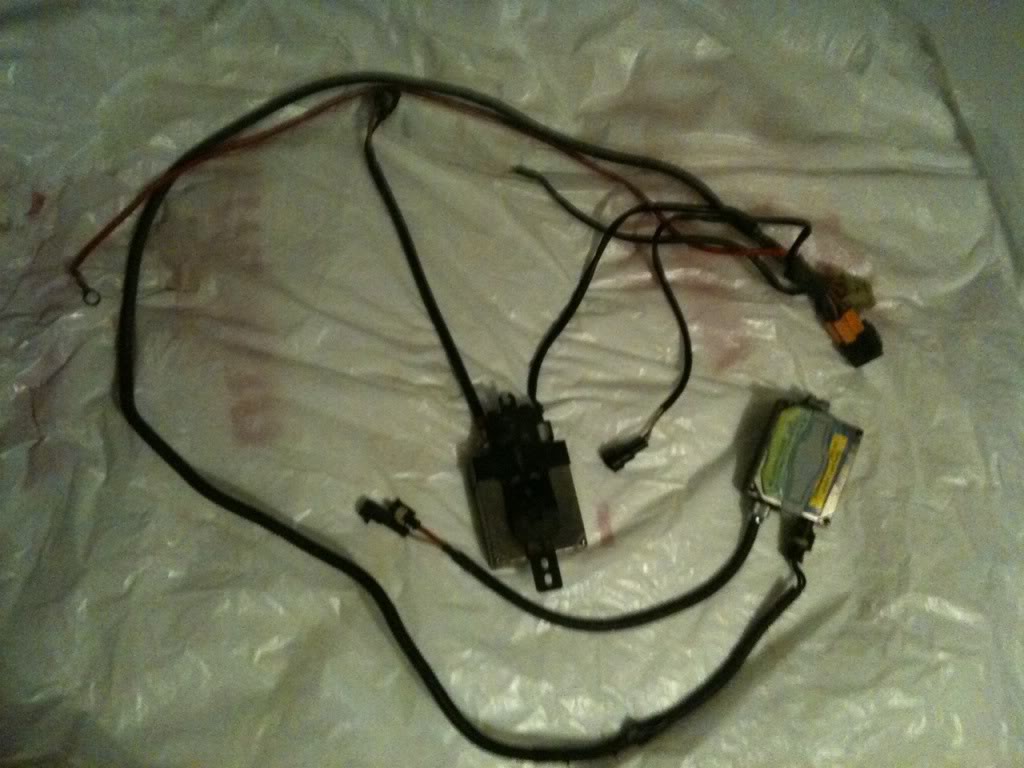
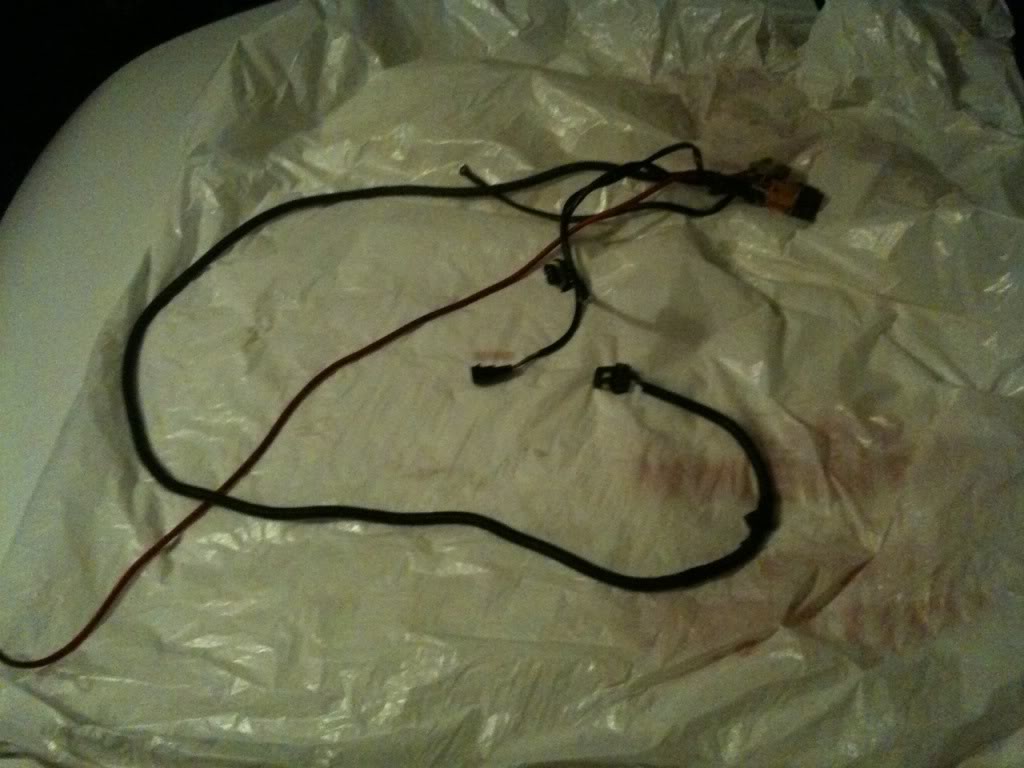
so I took some time out today to finish up the harnesses........... shot a quick vid for you guys too, hehe ( had to edit opening narration vid too long to send via Iphone )
Video Link ( action )
Harness pics


Video Link ( action )
Harness pics


Thread Starter
|
Member
Joined: May 2007
Posts: 95
From: sOuL-CaLiFoRnIa
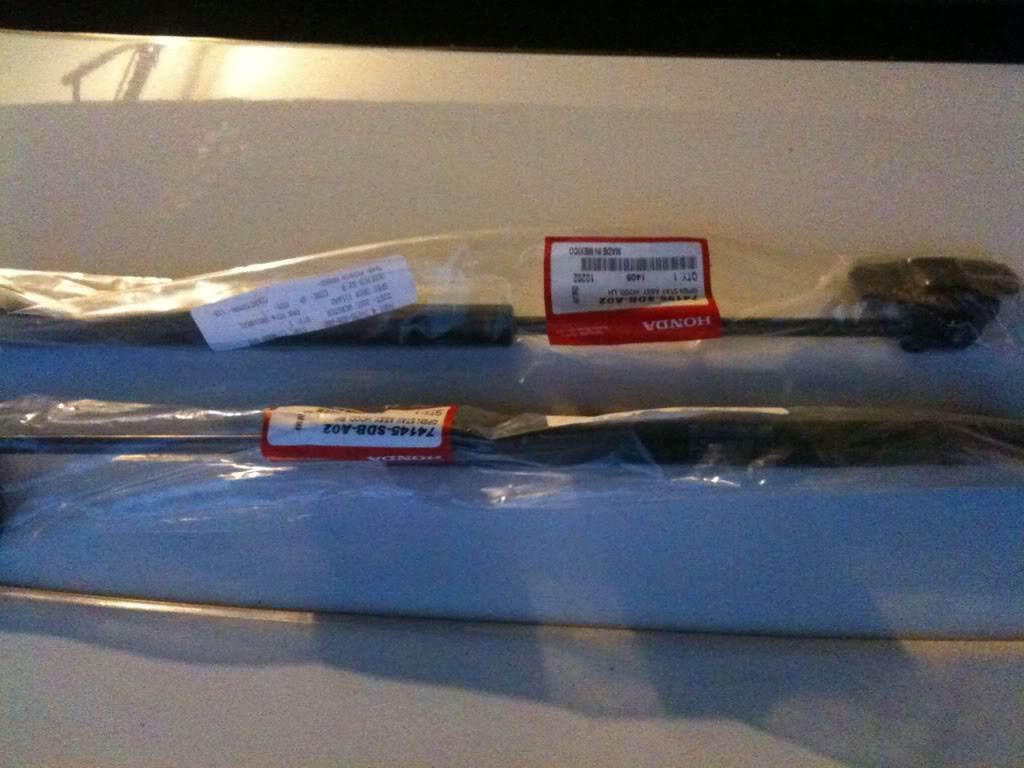
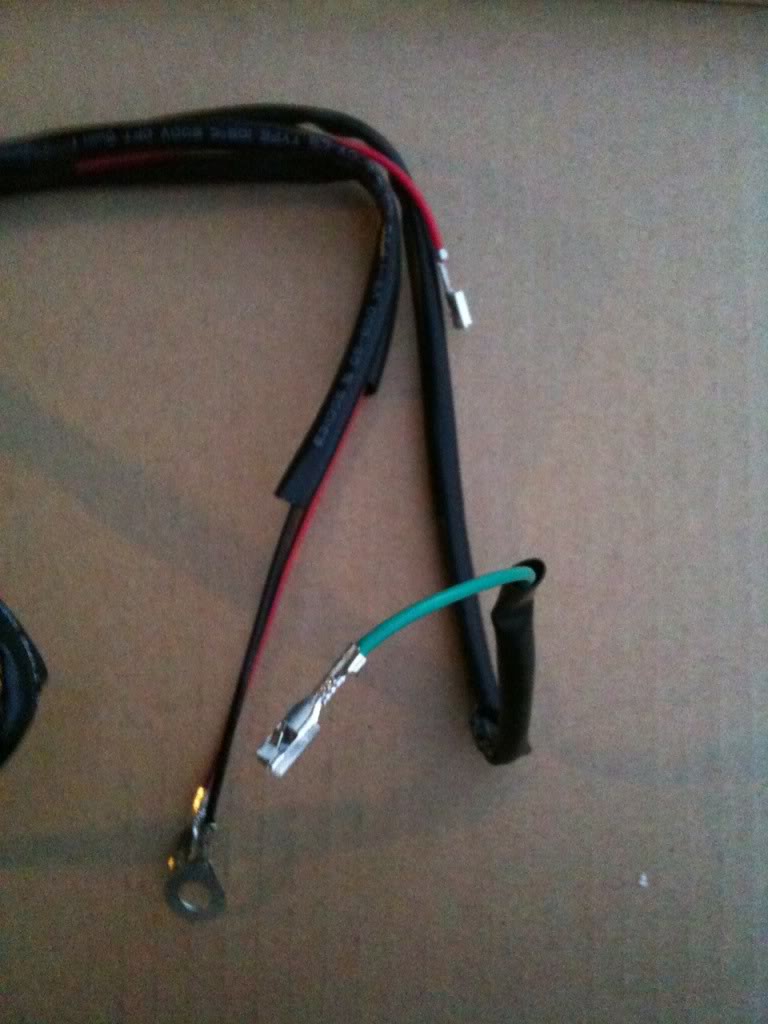
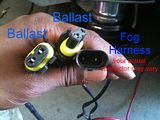
well guys haven't been on much lately because the wedding is this SATURDAY! I've been doing a lot of little this to the Accord to have it ready. Wife wants it for her wedding day. Since the headlights were installed I bought replacement hood shocks, and yesterday a fog light harness kit.
W/ this fog kit I had to do a ton of work, especially since I wanted to wire up a HID kit on the switch. I was helped by another v6p member and I will cut & paste what I did here.
The Diagram I was instructed to use
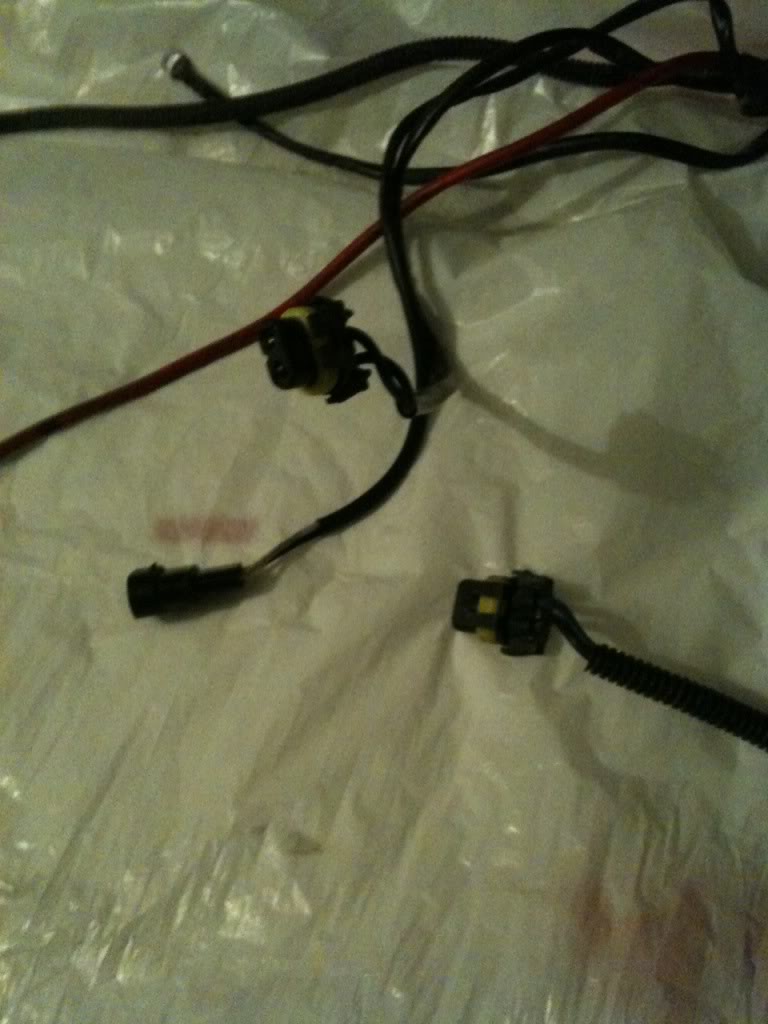
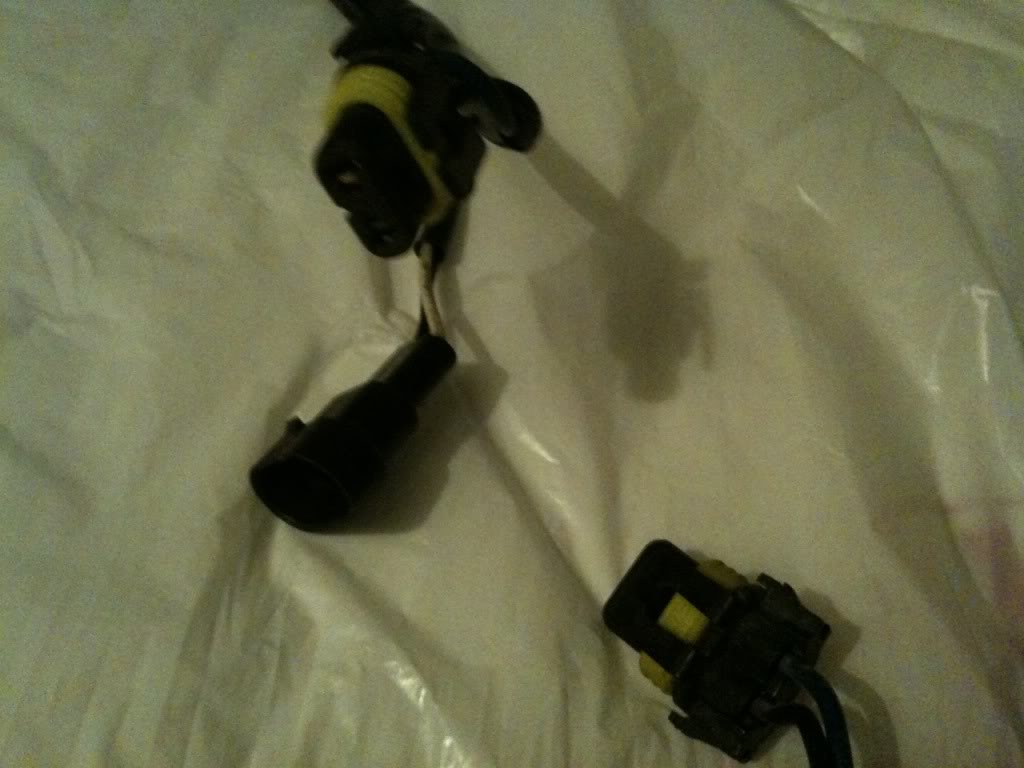
- pics of the aftermarket harness
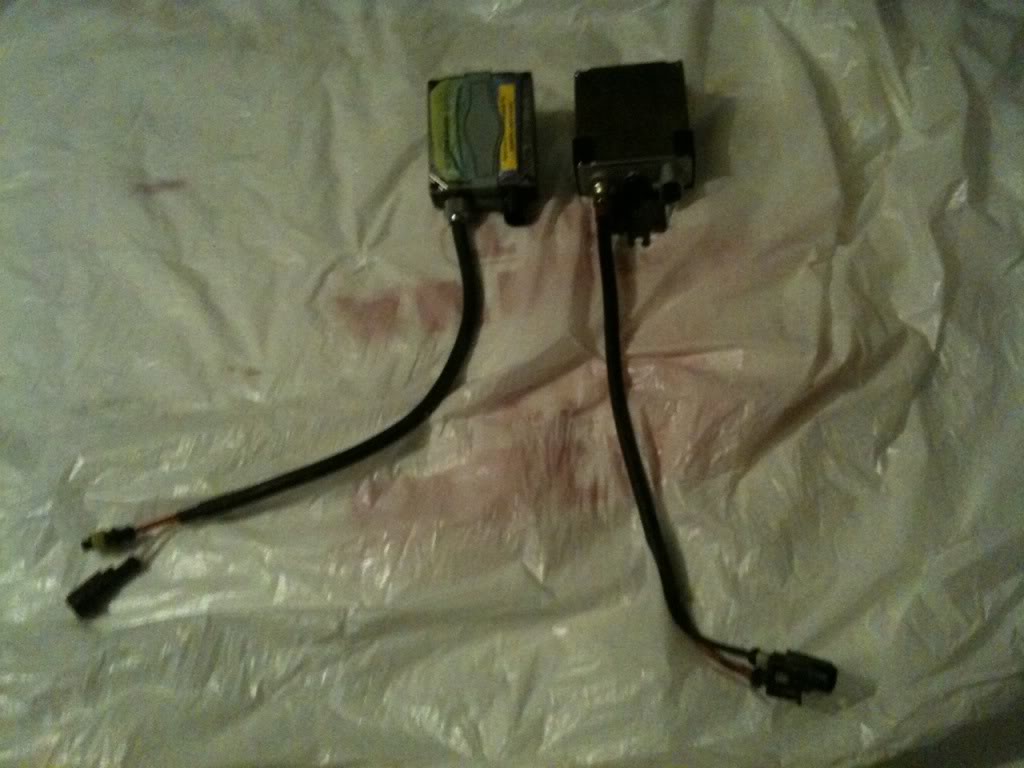
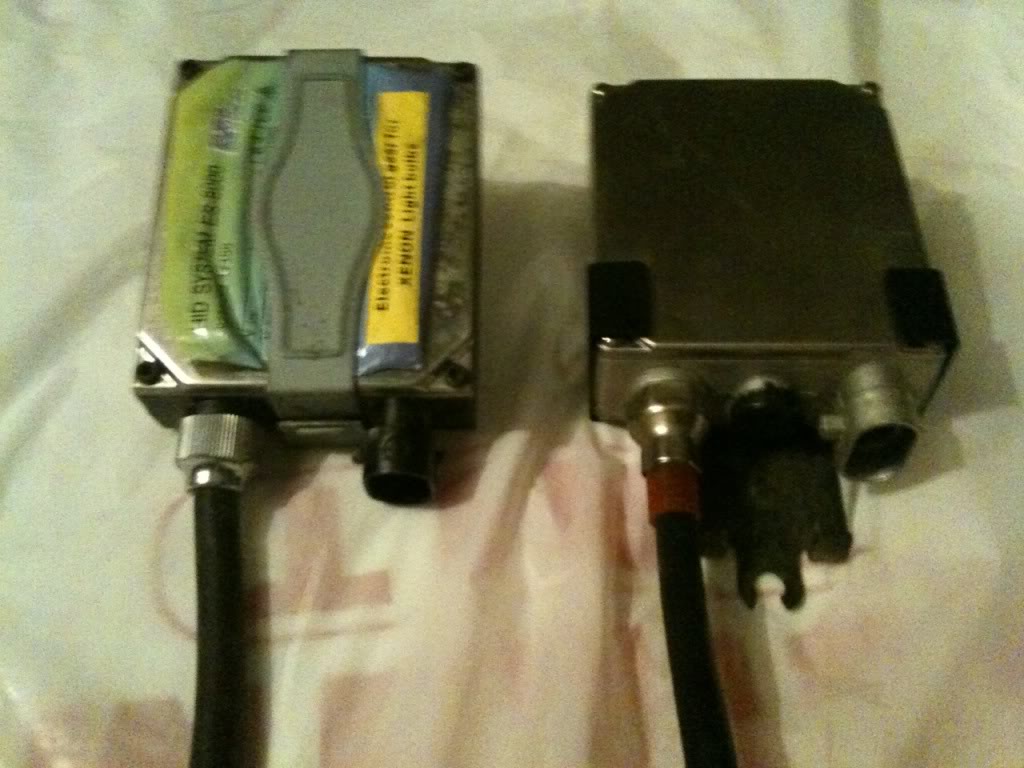
My HID kit
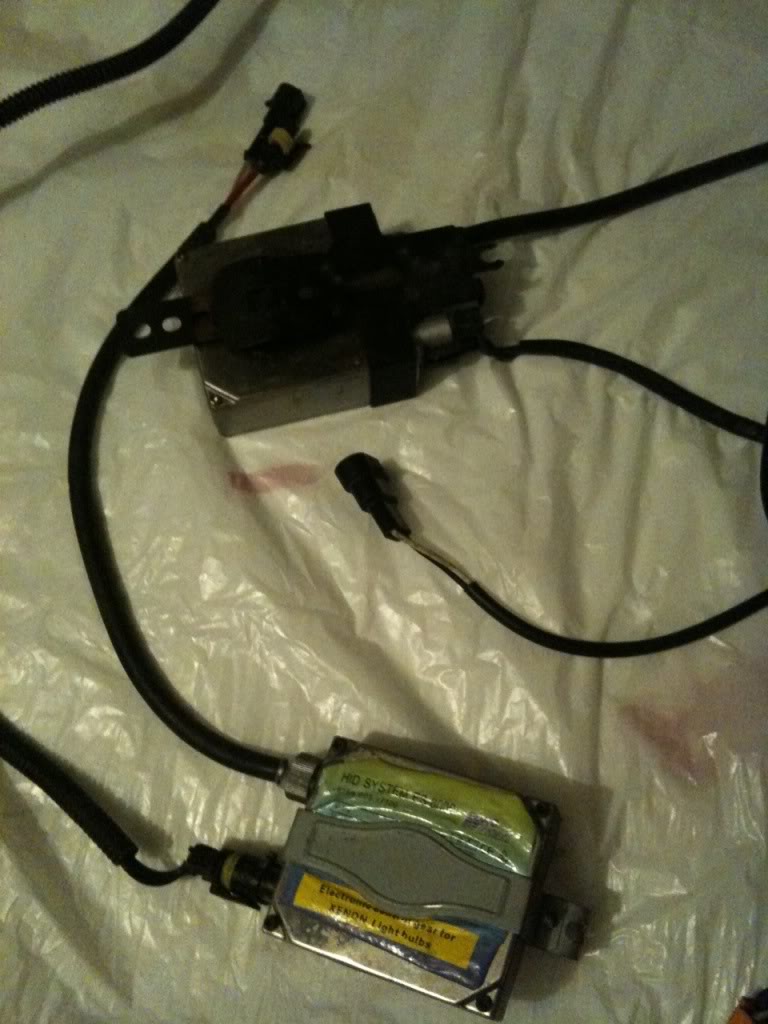
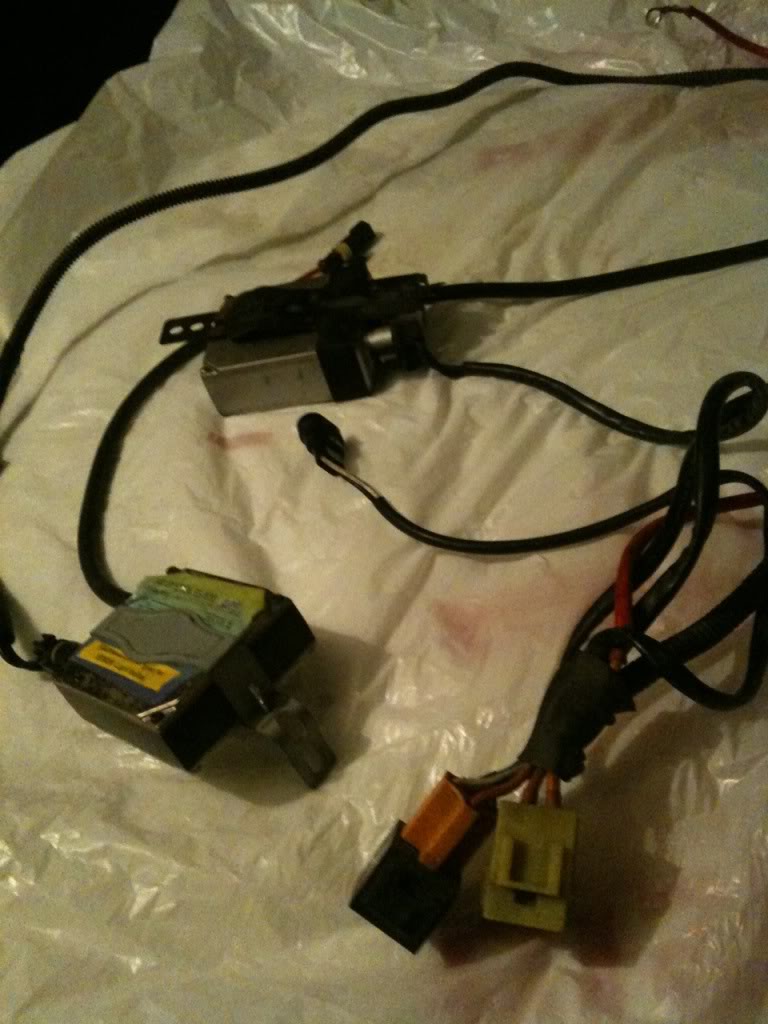
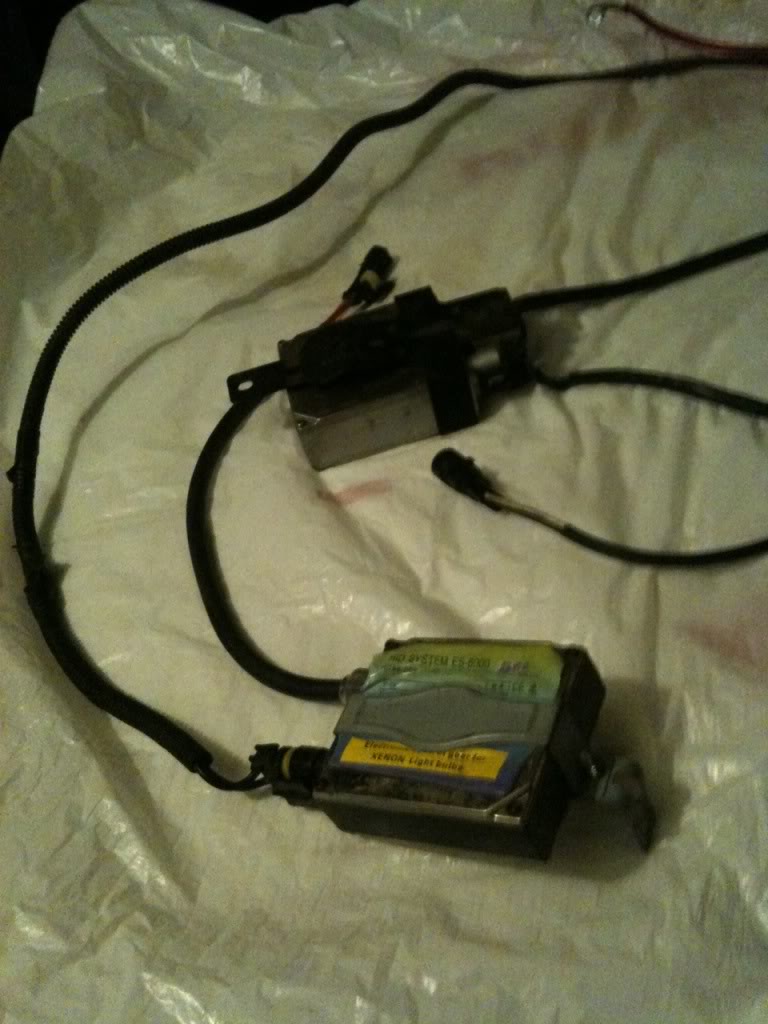
unplugged & separated
W/ this fog kit I had to do a ton of work, especially since I wanted to wire up a HID kit on the switch. I was helped by another v6p member and I will cut & paste what I did here.
The Diagram I was instructed to use
Originally Posted by nickkxo
FOGLIGHT HARNESS
Ok so on your foglight harness there should be 4 wires; Red, Blue, Green, and Black
Red: Should be the ones that run to your foglights(if you take off the black loom, you'll see this)
Blue: This wire is the one that powers your foglights, I cut off the end of that wire and attached one of these:
http://i102.photobucket.com/albums/m...pterminal1.jpg
And then I connected that to the positive on the battery...This is how "coolblue07" told me I could do it...you can do my method or tap into the fuse box
Green: I drilled a hole right into the firewall, right where the gas pedal is, extend this wire and ran it into the the hole so I can splice it to the other green wire on the Switch Harness...also I used sealant to seal the wire to the hole
Black: This is the ground wire, connect it according to the HandAaccessorie Instruction...which is connecting it to the hood latch.
SWITCH HARNESS
Your switch harness should have 5 wires; Red w/ black stripe, Green, Red, Red w/ black stripe, and Black...in that order
The 2 Red wires w/ black stripes should be connected together(again if you take off the wire cover you'll see this)
Green: Will be connected to the other green wire that ran thru the firewall
The Third wire...which is the plain red wire is not used just leave it alone i guess
Black: This is the ground and I connected it to the ground from my sunroof switch
- pics of the aftermarket harness
My HID kit
unplugged & separated
Thread Starter
|
Member
Joined: May 2007
Posts: 95
From: sOuL-CaLiFoRnIa

Sooooooooooooo.... after conversating w/ Nick for a short while on AIM, I was able to accomplish my switch install. Nick is a helpful man of great patience. LOL! Thanks Nick. I also Had to watch a few youtubes in between. My Accord knowledge is not extensive.
I chose to use the cig lighter for my 12v ( as well, thanks Nick ). These helped me to get there - For us auto guys, "not an ashtray" has to be pried up using a small screw driver, like mini small. Then I used My plastic pry tools to free up the console.
http://www.youtube.com/watch?v=1xm8b...layer_embedded
http://www.beaufordbuddy.com/ipod_install_1.htm

I spent alot of time prepping my course of action, extending wires, soldering, modifying etc etc.... not all necessary but I chose to.
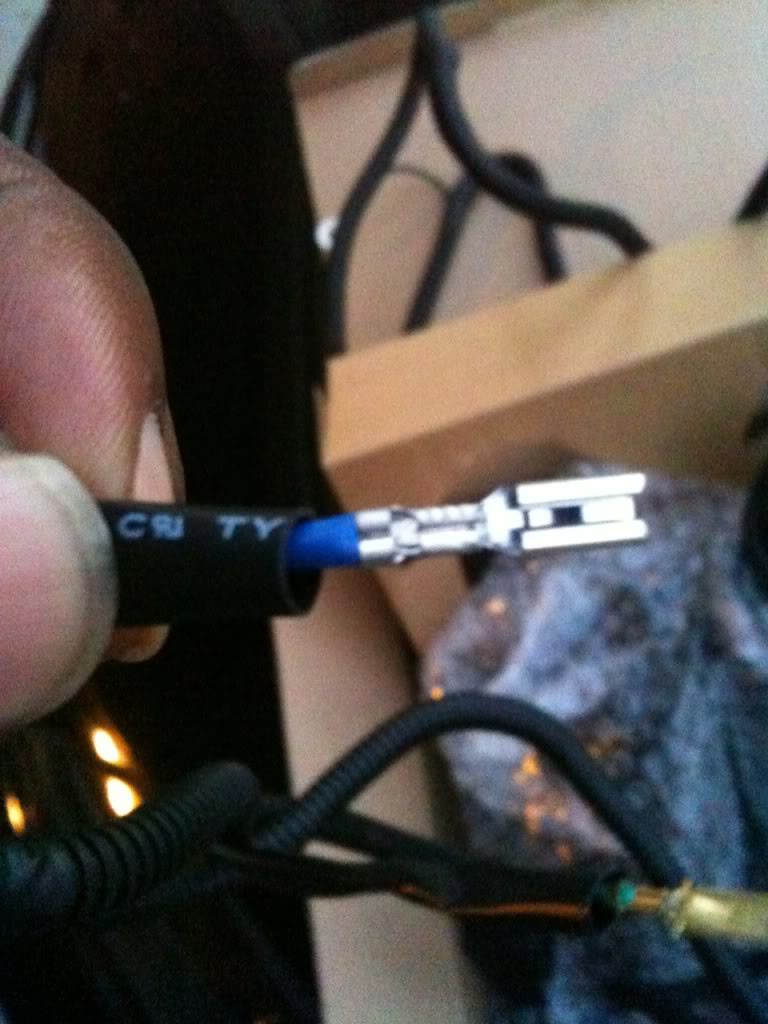
5 Wire Green Switch - Colors in order ( I do not know why it mattered but it works, so therefore it does )
- Black
- Red/Black ( de-pin from connector )
- Red
- Green
- Red/Black ( splice removed R/B into this R/B )


After you de-pin the connector it should look like

* If your harness is like mine - The red/blk farthest from the black is spliced into the R/B you de-pinned first. I just cut it off and re-pinned it where the 2nd R/B was. *

I used some extra pins I had, to make a male female connector for my in car harness. Why? JIC I ever need to R&R any component. I will do the same for my green wire that is to be connected later to fog harness.

(9/13/2010).................until tomorrow that's all I got documented. GNYT!
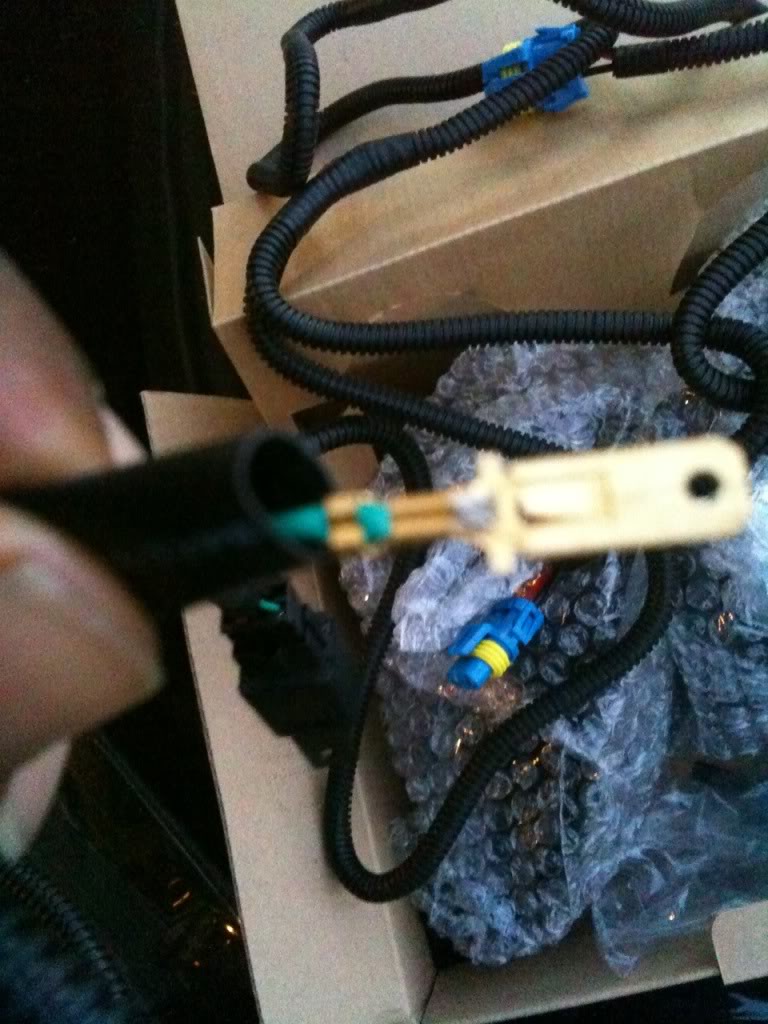
Here's the switch after you have repinned it as mentioned earlier.
Now it's a 4 - wire
- Black
- Red ( solid )
- Green
- Red / Black


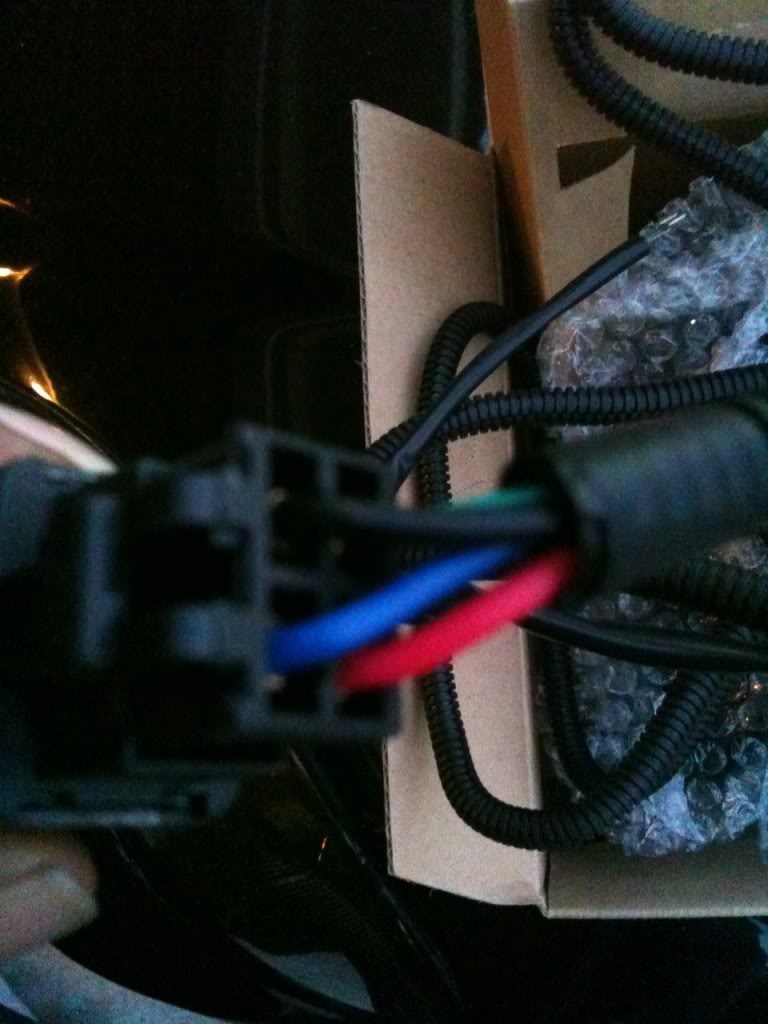
So I got all down and dirty for a short spell today, finishing up just the fogs harness and testing it. nothing hardwired yet besides the ground @ sunroof, batt + w/ butt connector and the 12V+ into accessory outlet.
( routing 12v )


then I decided to loom it and re-route it, along oem lines - hardly noticeable too


Thread Starter
|
Member
Joined: May 2007
Posts: 95
From: sOuL-CaLiFoRnIa
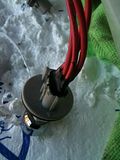
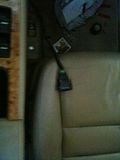
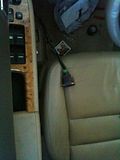
For the Green wire I extended it through the a/c heater blower line hole. I pulled the rubber grommet w/ needle nose pliers, and fed the extended green through it and past the firewall inside the cabin.
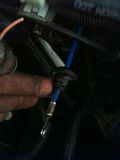
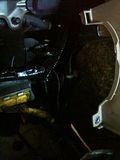
testing @ K.O.E.O ( key on engine off )
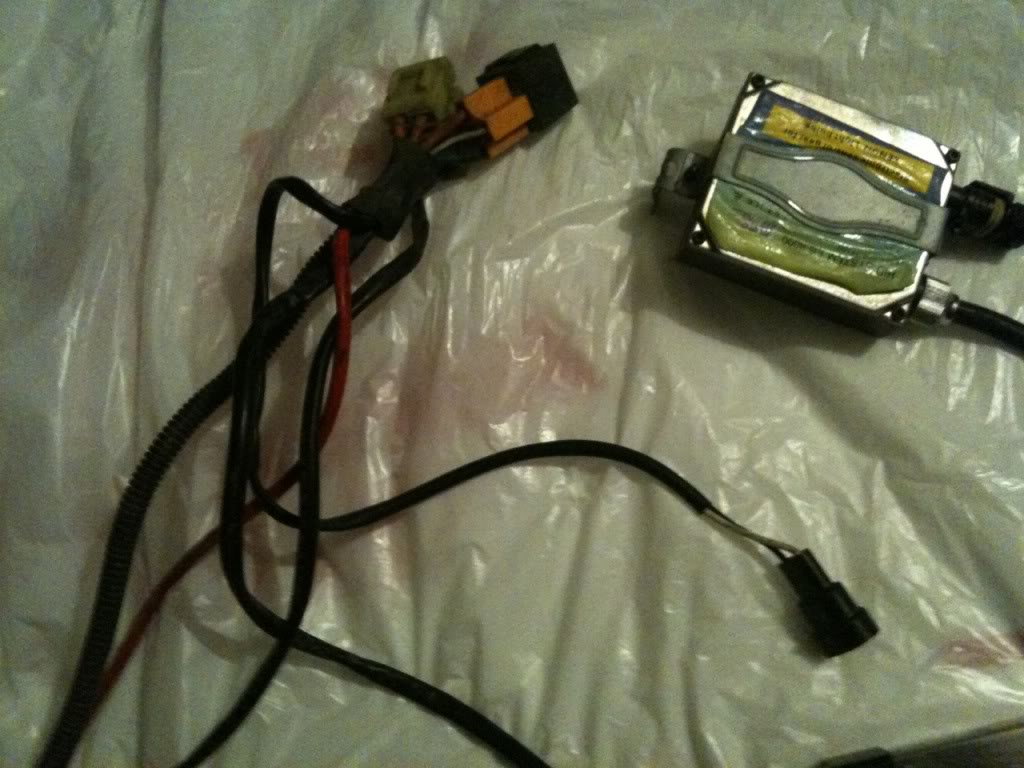
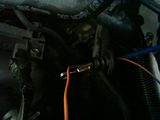
* Now I need to figure out how to make my HID kit work w/ my fogs. It has 3 connectors, and Especially since it's not H11. I will de-pin that harness as well for testing.
HID
Fog ( x2 connectors on pic'd )
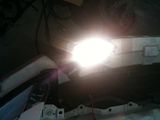
Back w/ good news....HID Fogs are a go! Time to button up the project and complete install of HID kit, fogs and bumper won't be installed til thur/fri. The tough part is over
so I took this loose connector ( your kit may vary, this one I had laying around ) of my HID kit & plugged in my de-pinned fog light connector for testing. ( USE THE CONNECTOR ON THE RIGHT SIDE OF VEHICLE when wiring permanently or only one side will illuminate. )
Switch off - HID off
Switch on HID on
video of operation
BIG THANKS TO NICK! :bang: :bang: :bang: :bang: :bang:
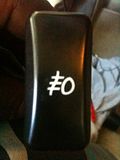
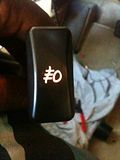
Yes sir, switch works buy doesn't fit my console, going to see if Honda has one tomorrow, if not I will return this switch. My fogs are H11. My hid plug to the fog harness was not. So it's H11-ish now haha. Actually, my old h11 harness plugs right in so I just pinned it to the new harness, and I tested it all already. I'll post pics in about 5min.
My old H11
vs new

just re-pinned
Final install on car, I think it's pretty clean.


testing @ K.O.E.O ( key on engine off )


* Now I need to figure out how to make my HID kit work w/ my fogs. It has 3 connectors, and Especially since it's not H11. I will de-pin that harness as well for testing.
HID

Fog ( x2 connectors on pic'd )

Back w/ good news....HID Fogs are a go! Time to button up the project and complete install of HID kit, fogs and bumper won't be installed til thur/fri. The tough part is over
so I took this loose connector ( your kit may vary, this one I had laying around ) of my HID kit & plugged in my de-pinned fog light connector for testing. ( USE THE CONNECTOR ON THE RIGHT SIDE OF VEHICLE when wiring permanently or only one side will illuminate. )


Switch off - HID off


Switch on HID on


video of operation
BIG THANKS TO NICK! :bang: :bang: :bang: :bang: :bang:
Yes sir, switch works buy doesn't fit my console, going to see if Honda has one tomorrow, if not I will return this switch. My fogs are H11. My hid plug to the fog harness was not. So it's H11-ish now haha. Actually, my old h11 harness plugs right in so I just pinned it to the new harness, and I tested it all already. I'll post pics in about 5min.
My old H11
vs new
just re-pinned
Final install on car, I think it's pretty clean.
Thread Starter
|
Member
Joined: May 2007
Posts: 95
From: sOuL-CaLiFoRnIa
Decided the drive and headache is not worth to return/exchange the ebay switch. I drove 5min up the st. & ordered my oem fog switch and picked up a 32pc fuse set just because @ honda today...LOL not a bad $21 spent! Switch will be in tomorrow!

Thread
Thread Starter
Forum
Replies
Last Post
nukestar88
Headers, Intake, & Exhaust
2
Feb 28, 2011 10:20 PM
jdmjnky
PRIVATE For Sale / Trade Classifieds
7
Feb 20, 2011 12:57 PM
optionfans
PRIVATE For Sale / Trade Classifieds
3
Jun 12, 2009 07:41 PM