'01 Accord Sedan Complete Car Audio Install
#11
 04-21-2008, 01:44 AM


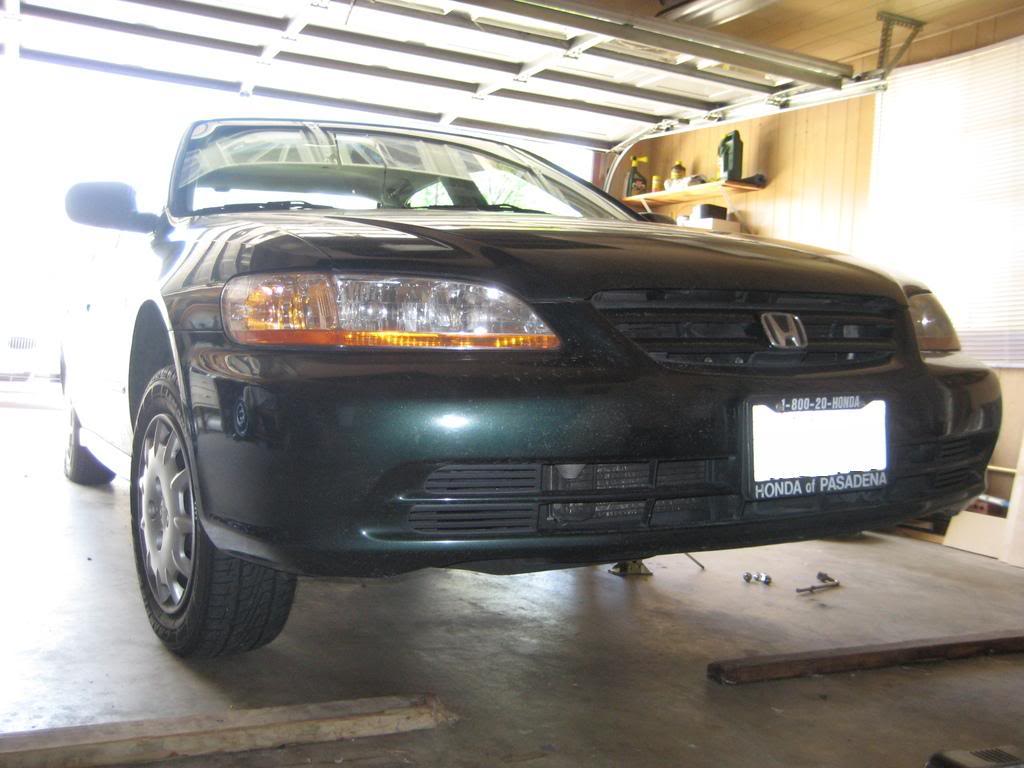
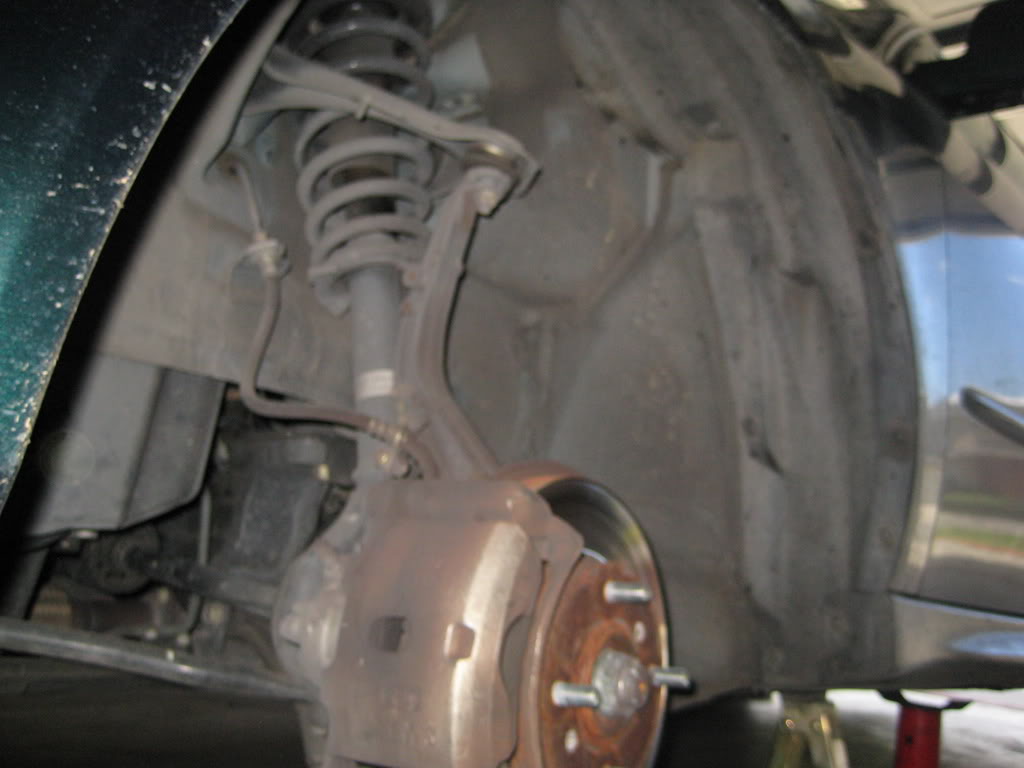
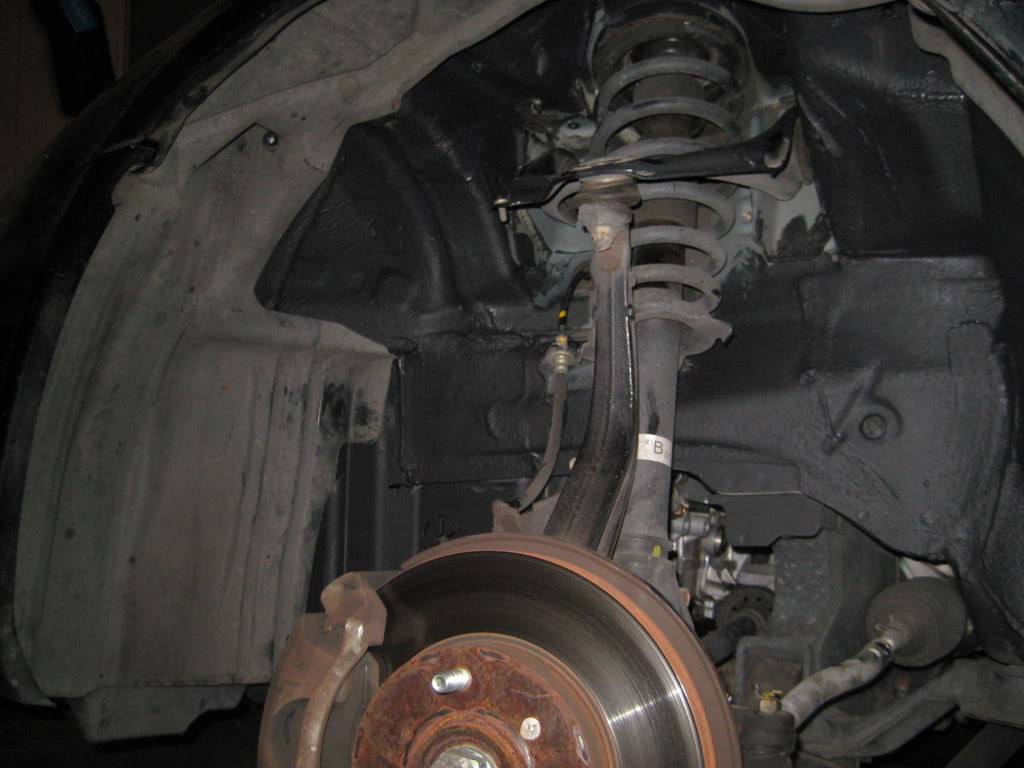
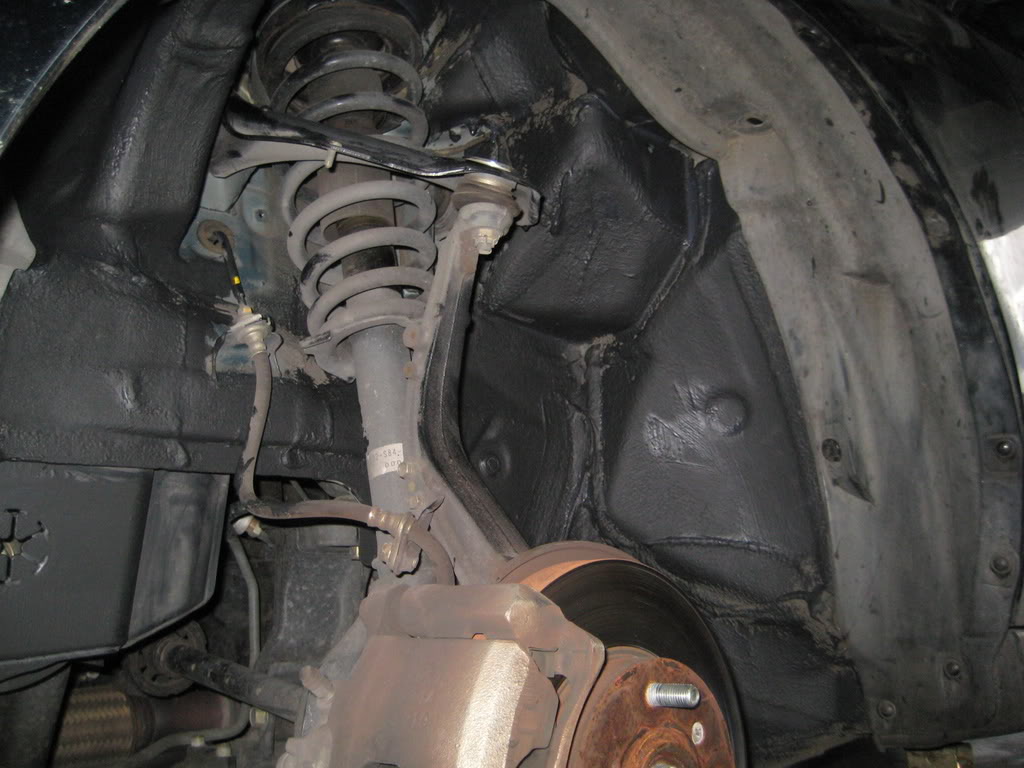
Ended up painting spectrum on all of the wheel wells. I did two layers on the front ones and 1 layer on the rear. The front had panels that needed to come off, very simple. Just a few clips and screws.
Three wheel riding
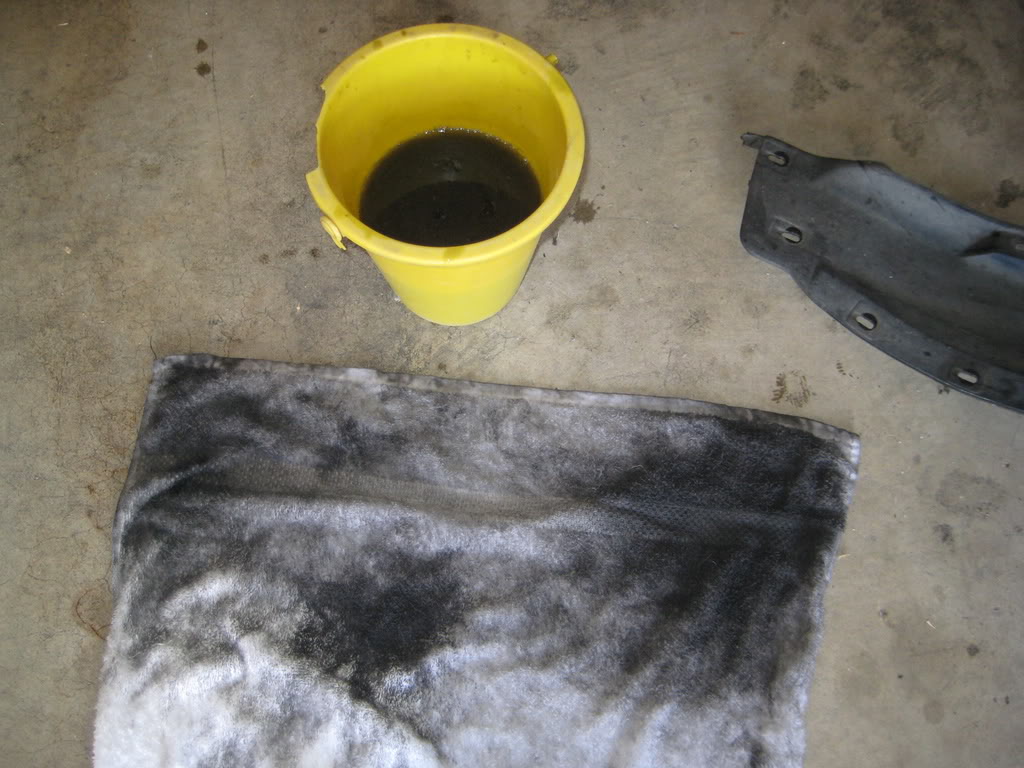
7 years of dirt, debris, and miscellaneous crap.
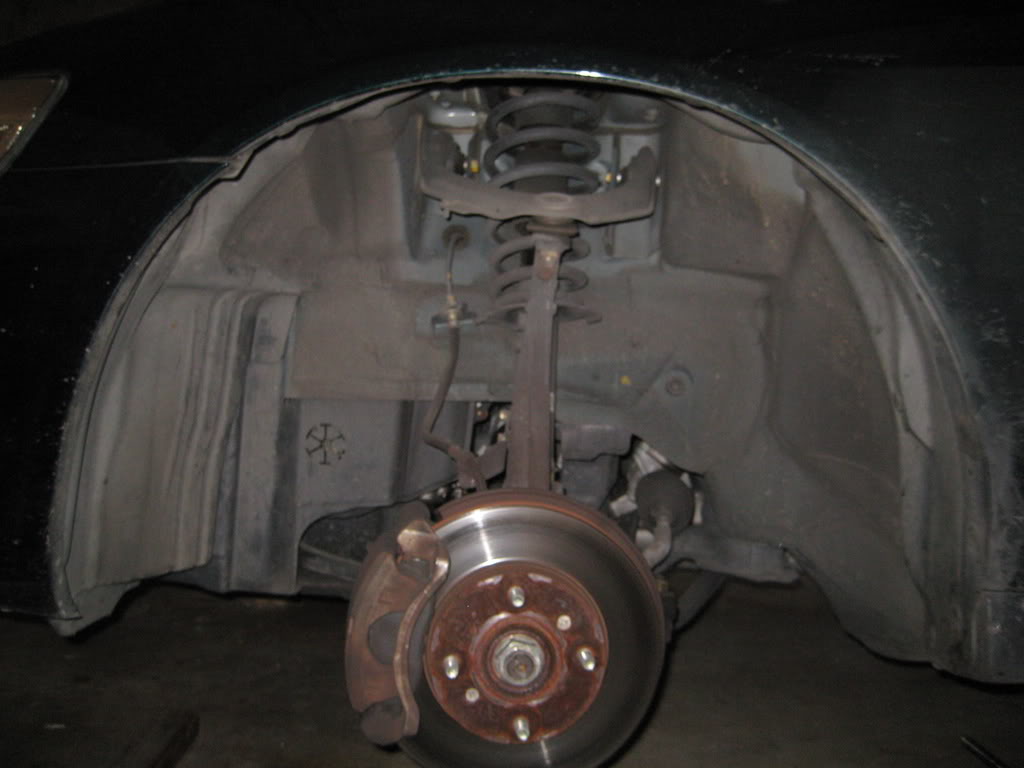
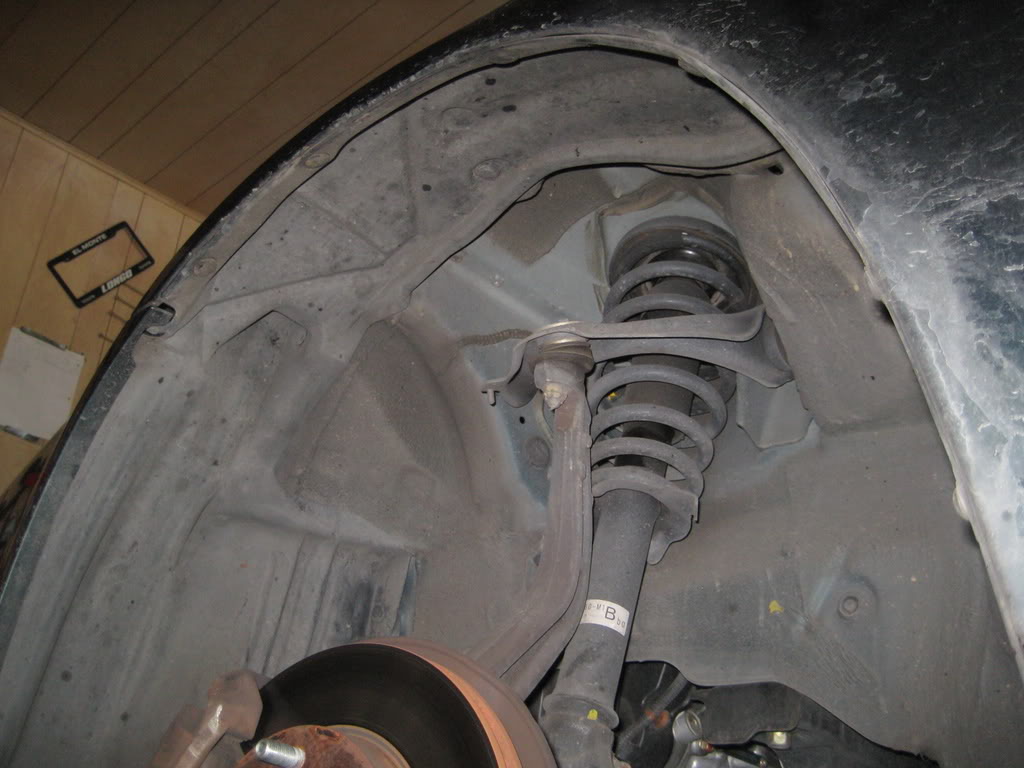
Cleaned up a tad.
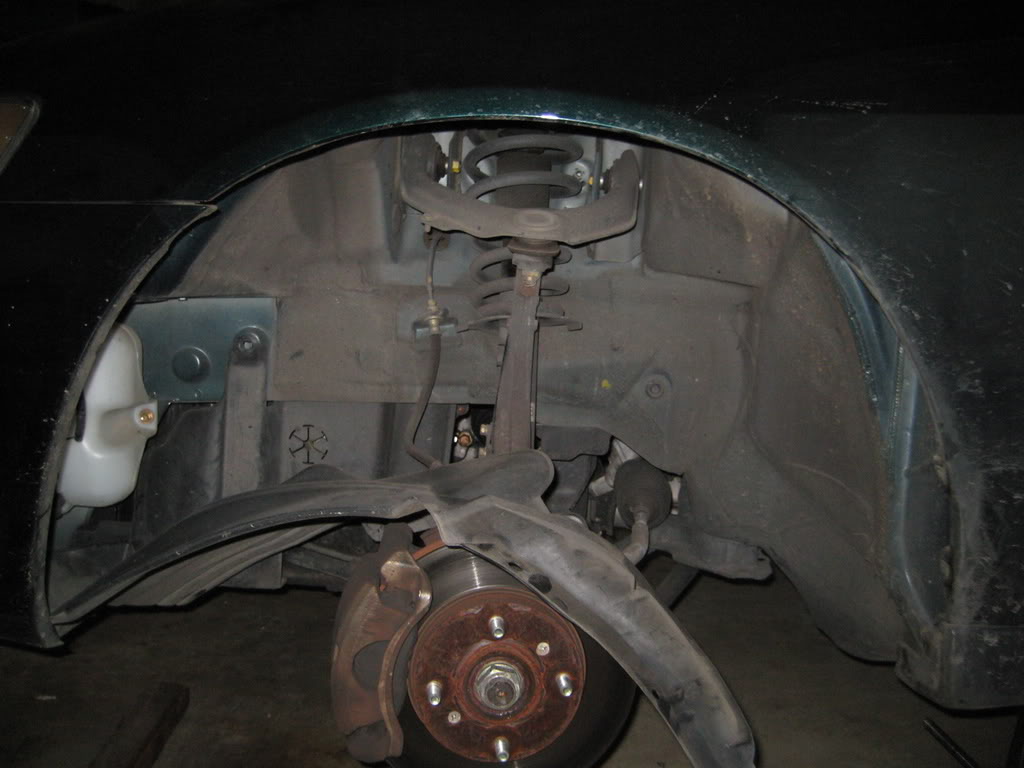


This is just off one wheel well.
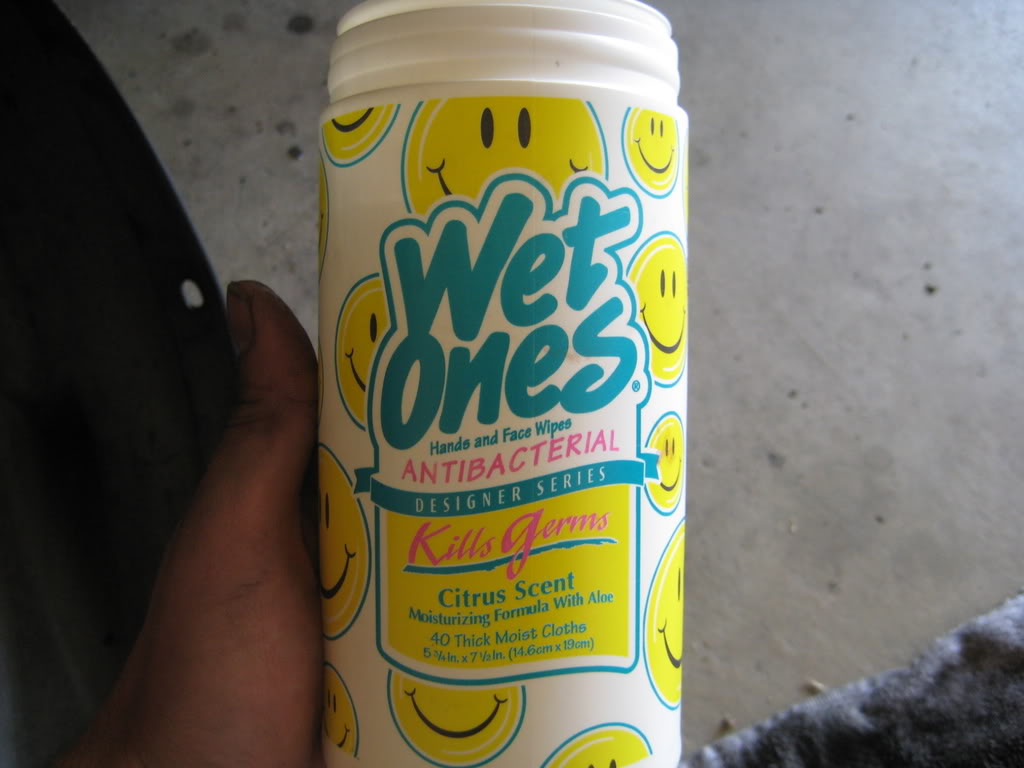
This was very handy
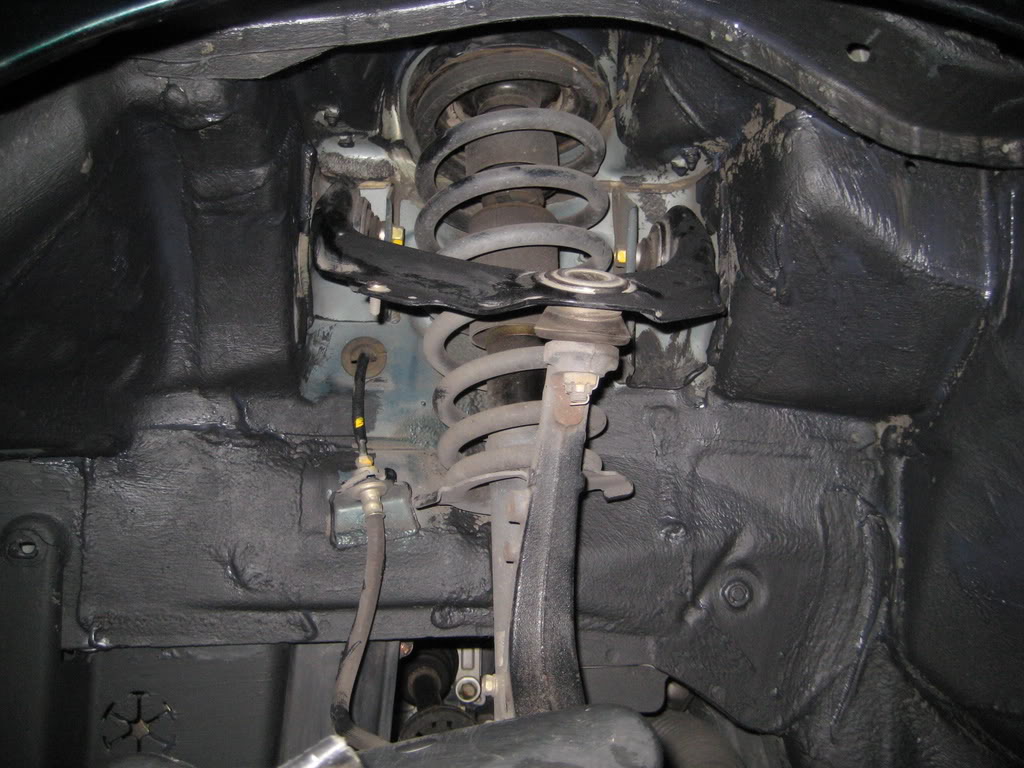
After two layers.

Three wheel riding
7 years of dirt, debris, and miscellaneous crap.
Cleaned up a tad.
This is just off one wheel well.
This was very handy
After two layers.
#12
04-21-2008, 01:45 AM
I ended up doing the plastic piece as well, but I did not take pictures of that. Gonna head out shortly so I'll take pics and upload them when I get home later this evening.
I hope I notice a difference in road noise. This entire job took about 4 hours. It was very tiring, my arms and face came out 50% darker, and my back aches...hopefully the lady gives me a nice massage

#13
04-21-2008, 01:46 AM
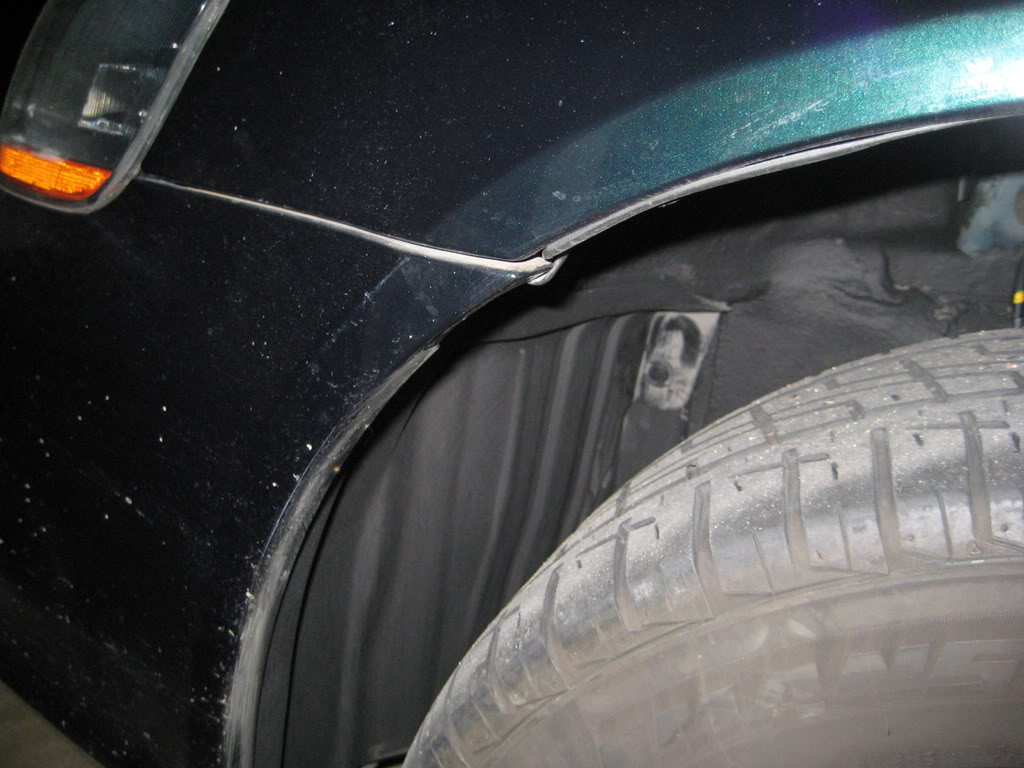
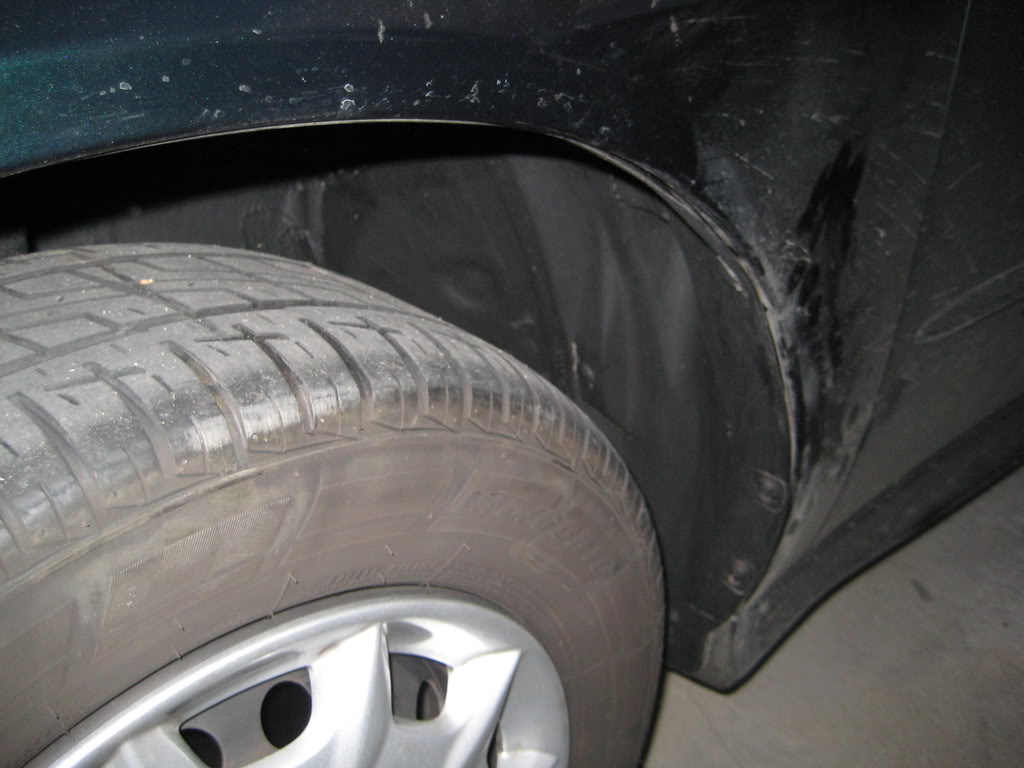
Here are the additional pictures. A bit difficult to see since I have the tire on. I noticed a substantial decrease in road noise, even engine noise decreased. I found myself doing 90 on the highway instead of 80 since I go by the sound of the engine, so I'd say it was well worth it. Can't wait till I do the hood and firewall
#14
04-21-2008, 01:47 AM
Got a nice surprise today. I thought I was going to get just the Canare coaxial cable, but I ended getting the Second Skin products and my federal tax return
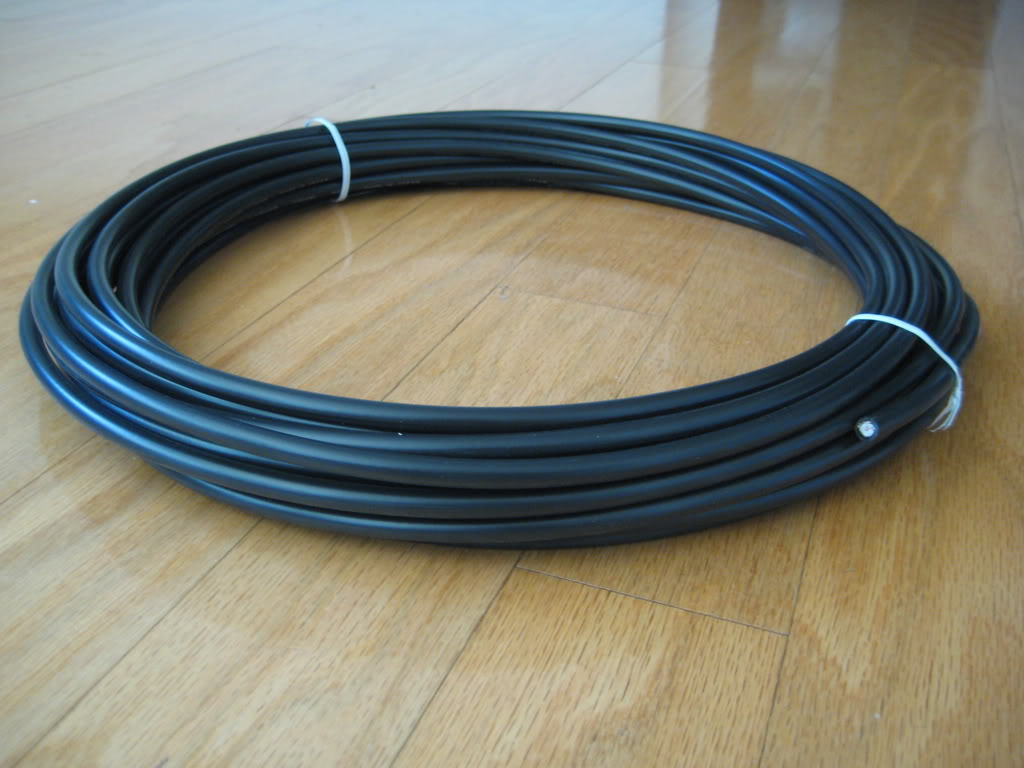
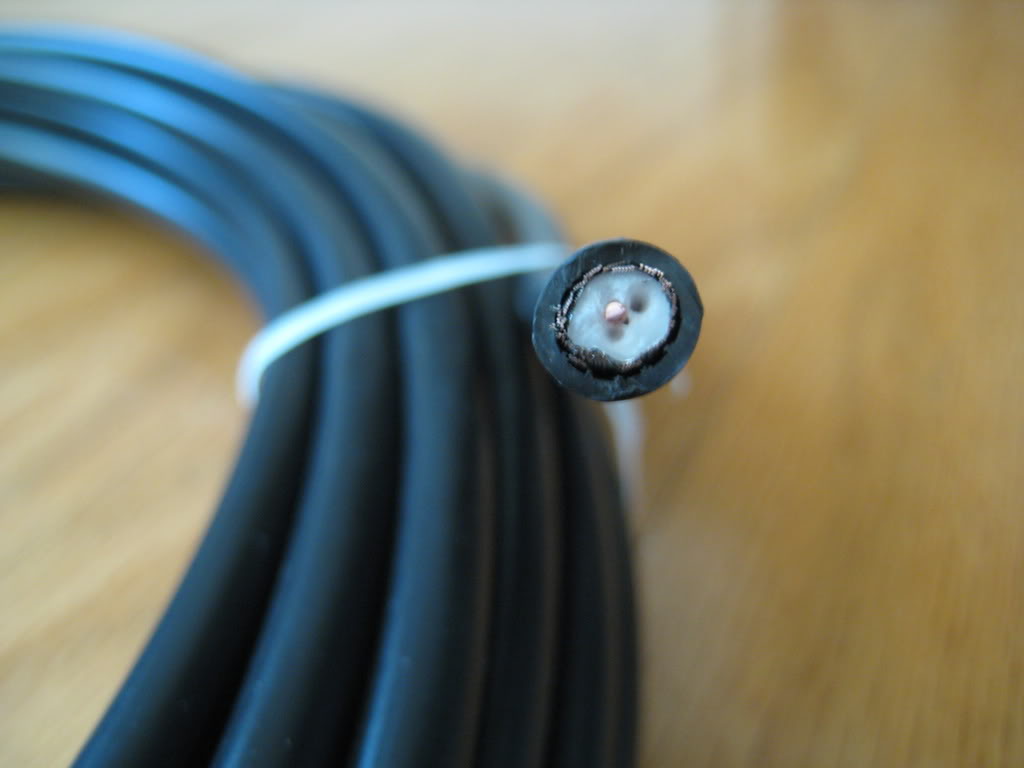
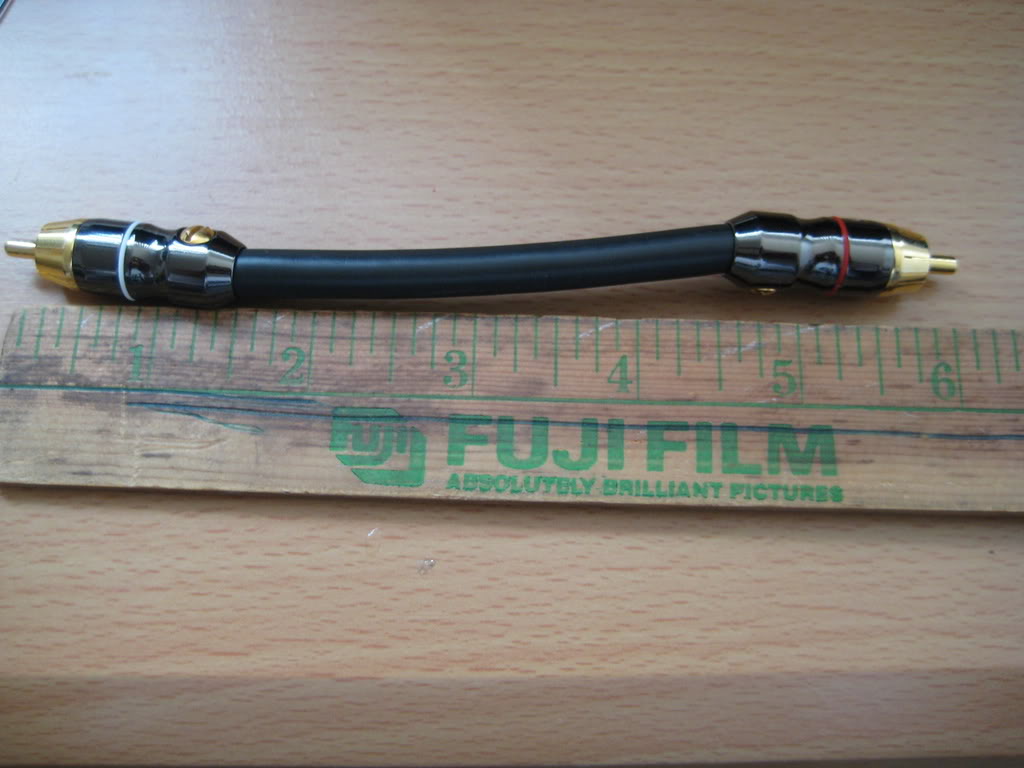
The cable is more like RG6 in that it does not form back to it's original shape, however, it is still in a sense like RG59 since it is quite flexible as you will see in the following pictures. This length I tested out, and it worked without a problem, thankfully. The wire itself is about 5" in length.

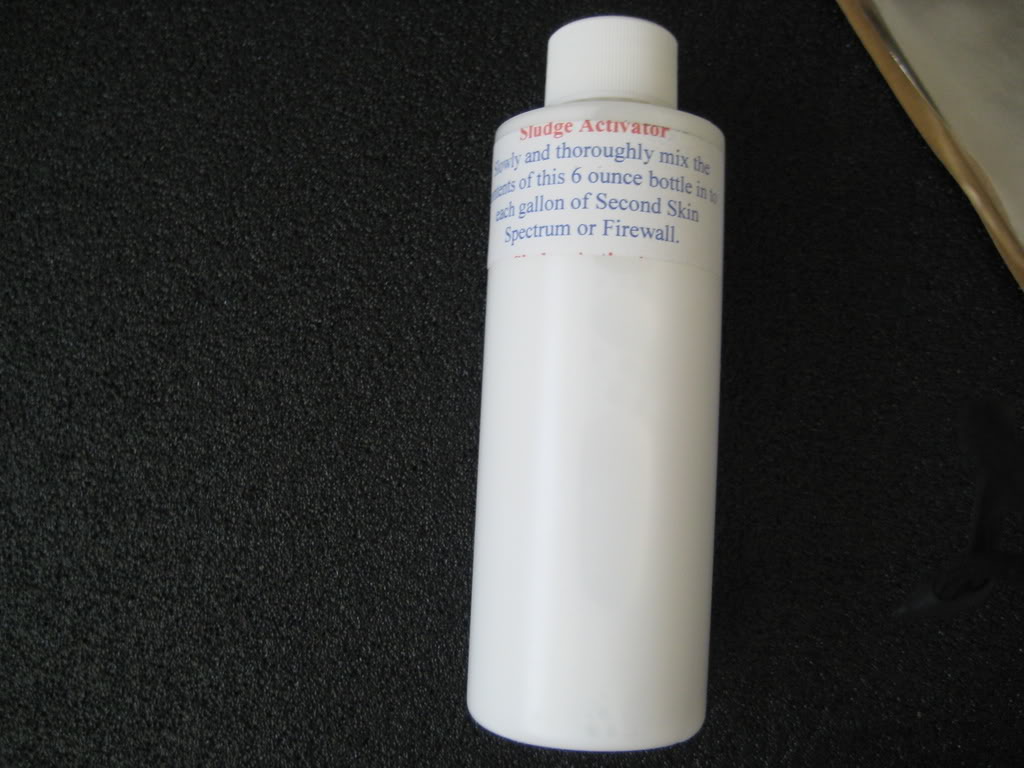
Here is the sheet of Rattle Pad and 10 sq. ft. of Damplifier, along with the bottle of Sludge Activator.
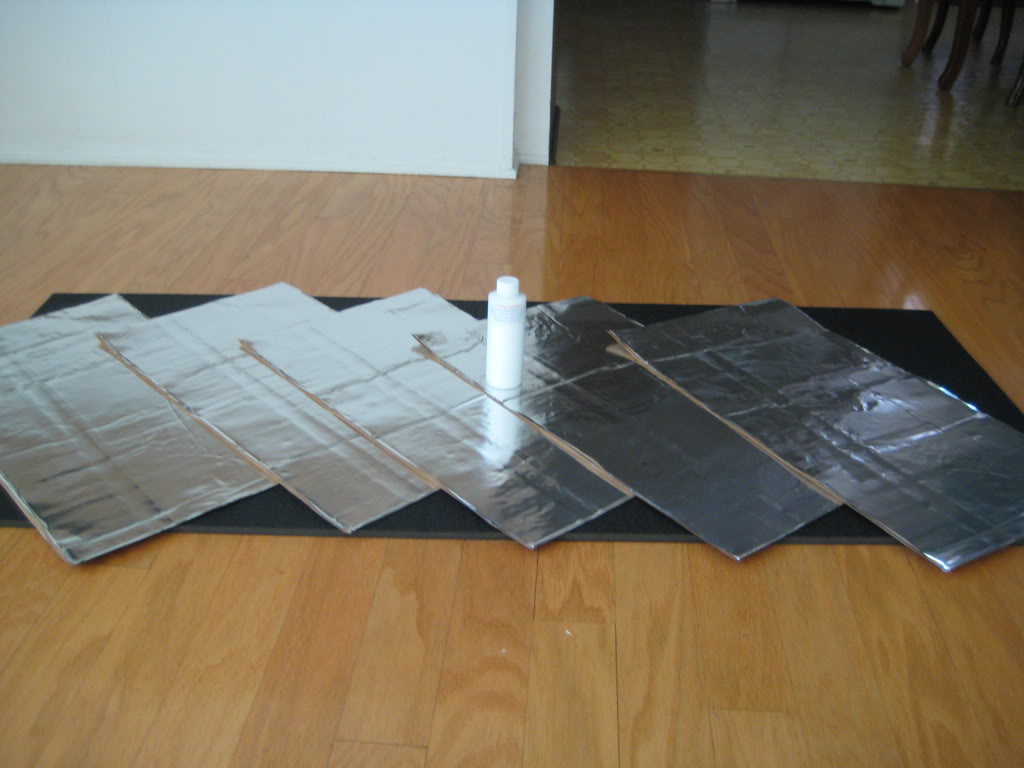
Better shot of the Sludge Activator.
I'm about to go outside now and fill up the C pillars with expanding foam and do some deadening on the trunk lid and rear deck. I kinda wish I would have ordered more Damplifier so I could lay it on the entire hood and firewall, but I need to save some of it for my baffles and doors.
The cable is more like RG6 in that it does not form back to it's original shape, however, it is still in a sense like RG59 since it is quite flexible as you will see in the following pictures. This length I tested out, and it worked without a problem, thankfully. The wire itself is about 5" in length.
Here is the sheet of Rattle Pad and 10 sq. ft. of Damplifier, along with the bottle of Sludge Activator.
Better shot of the Sludge Activator.
I'm about to go outside now and fill up the C pillars with expanding foam and do some deadening on the trunk lid and rear deck. I kinda wish I would have ordered more Damplifier so I could lay it on the entire hood and firewall, but I need to save some of it for my baffles and doors.
#15
04-21-2008, 01:55 AM
I added another layer of Spectrum on the trunk lid and put some expanding foam in the C pillars, however I have no clue where it went because it didn't fill up some of holes, it was completely empty. I'll buy another can and see if that will help some more. If not, I'll buy a 3rd and final can and if it doesn't fill up, oh well.
I also re-ran my Ai-Net cable and replaced the optical cable. Originally the optical and ai-net cables were ran down the center console then under the passenger seat and along the side panels. This time I ran them behind the glove compartment and along the entire side panels. I also hooked up the KCE-900E (unit to allow my Blackbird navigation to get audio since it gets split since I have the H701 processor). Since it required me to use an RCA, I ended up using the Tara Labs RCA ends and the Canare coaxial cable.
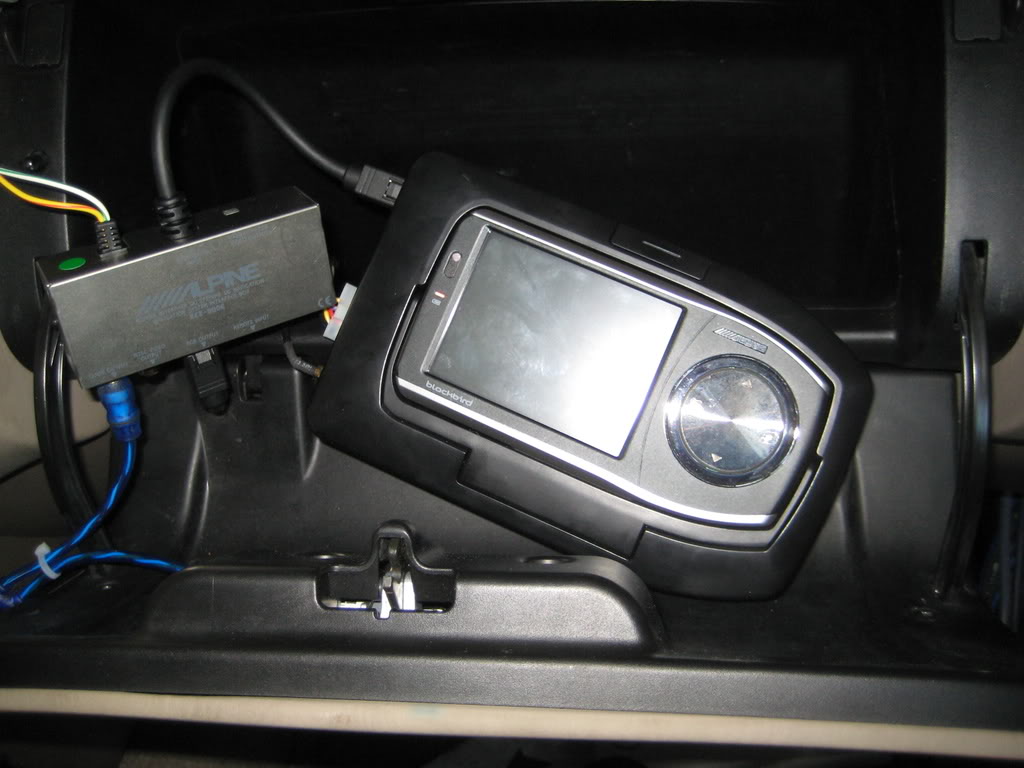
Here are pictures of the Blackbird with the dock and the W200.
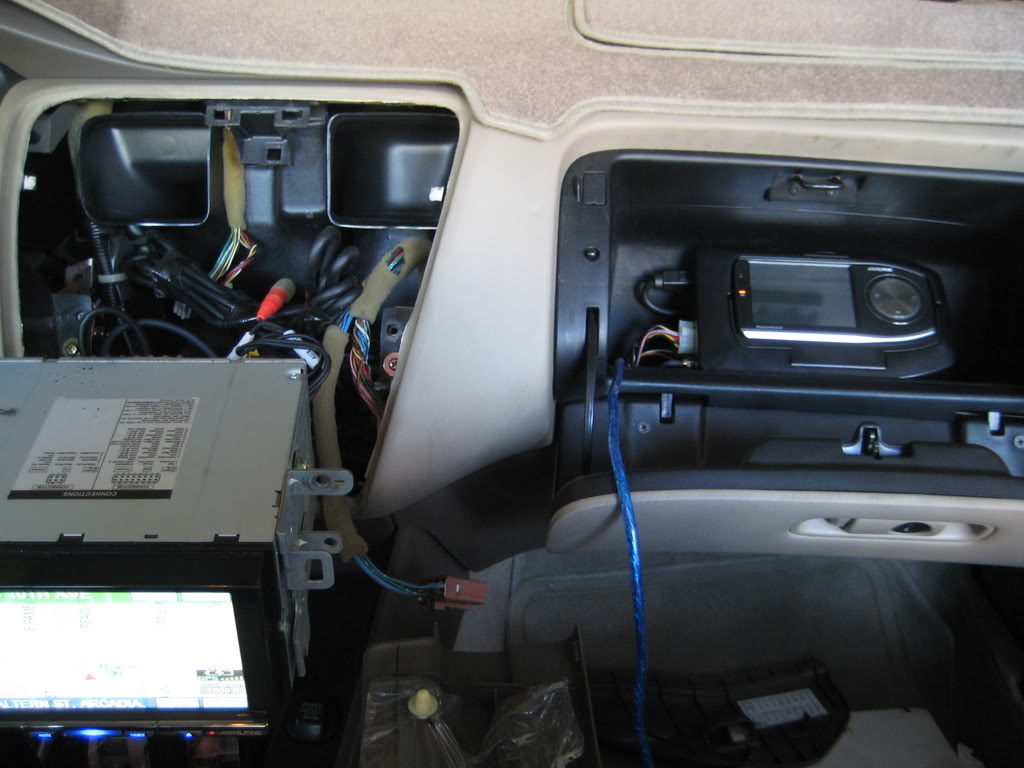
Blackbird and the KCE-900E
I had to drill a hole to get easy access from the dock to the W200.
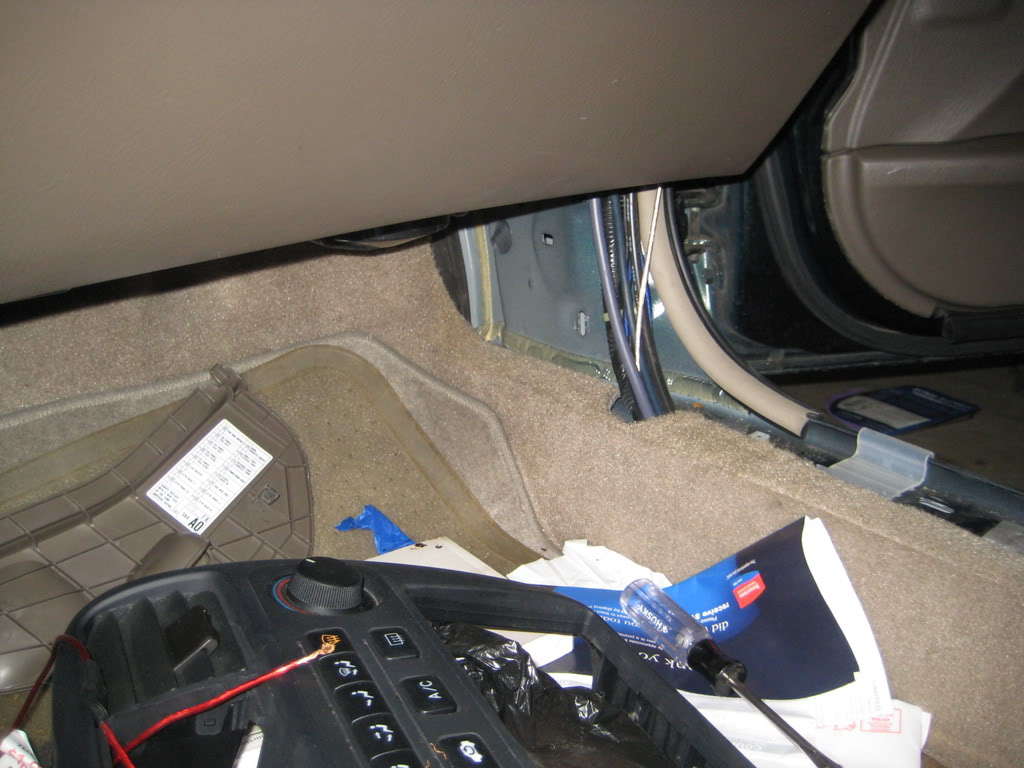
I needed to run the wires from the KCE-900E to the processor and instead of making a big circle I drilled another hole and ran it from the right side of the glove compartment, down the right side of the vehicle and to the processor.
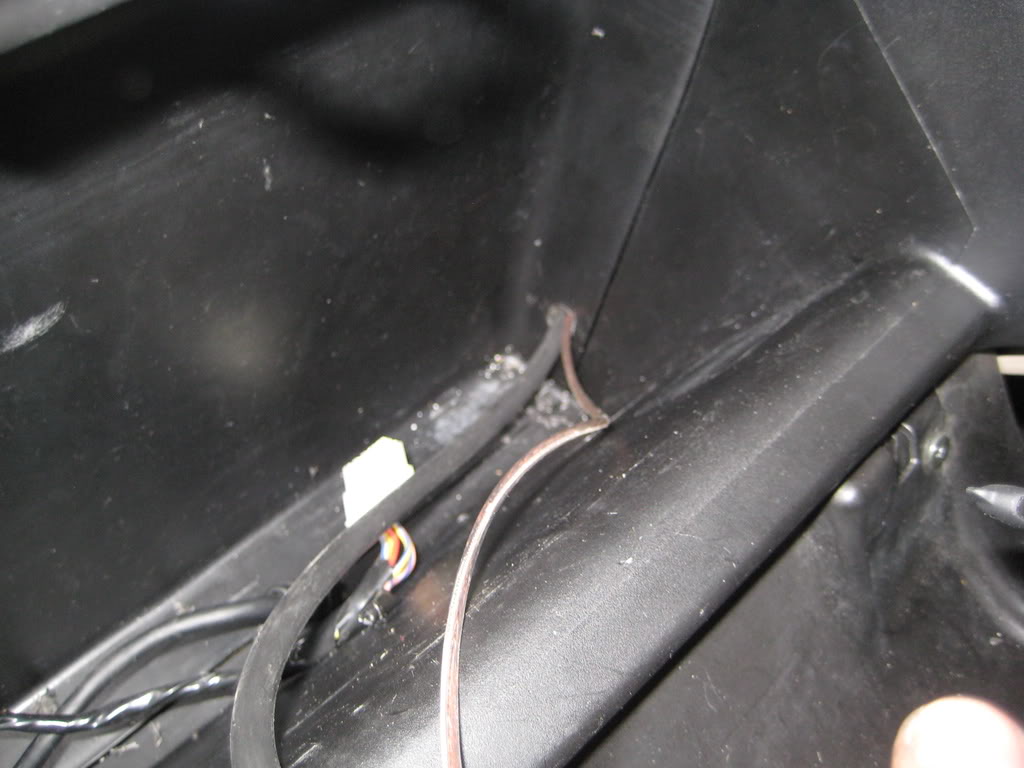
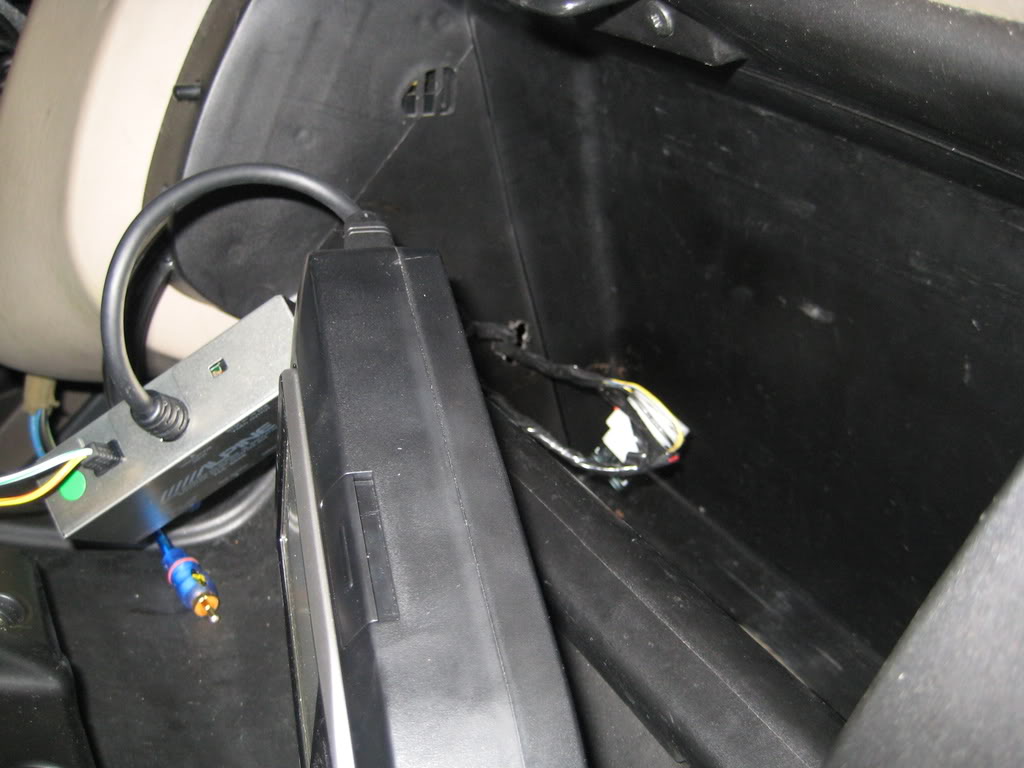
Here is as look at some of the wires I've ran. On this particular side it's the Ai-Net, optical, and the two for the navigation. Please don't mind the red wires, those are for the cheap Lanzar tweeters so that I have temporary highs, at least until I get the Zapco's in.

Another shot of wiring
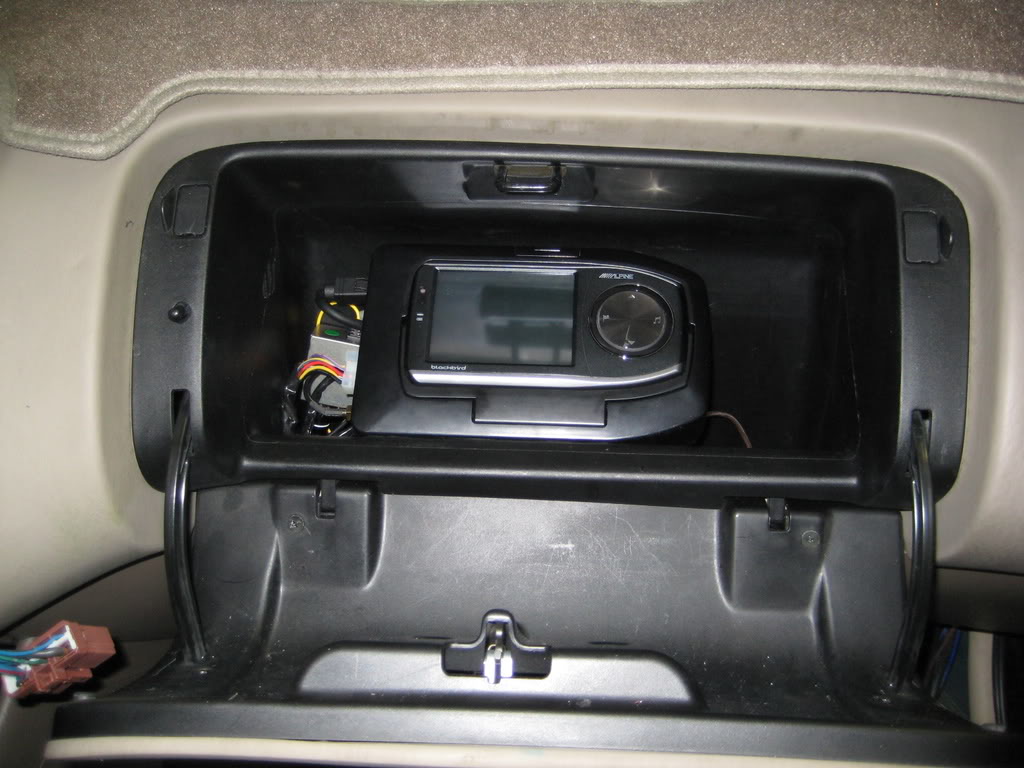
Installed. I moved the KCE-900E further down and the other wire as well so only the dock and Blackbird are visible.
After hooking everything up, everything worked great, except I had no audio for CD's or DVD's. I had picture, but no audio. Took me about 45 mins till I gave up and started cleaning up, looked at the processor and noticed a bright red light...it ended up being that the optical cable was unplugged. Plugged it in and once I heard Kenny G, I jumped with joy. I'm probably going to work on the doors tomorrow and cover up the holes with some sheet metal and then cover with deadener. Hopefully the Zapco's come in this week as well.[/QUOTE]
I also re-ran my Ai-Net cable and replaced the optical cable. Originally the optical and ai-net cables were ran down the center console then under the passenger seat and along the side panels. This time I ran them behind the glove compartment and along the entire side panels. I also hooked up the KCE-900E (unit to allow my Blackbird navigation to get audio since it gets split since I have the H701 processor). Since it required me to use an RCA, I ended up using the Tara Labs RCA ends and the Canare coaxial cable.
Here are pictures of the Blackbird with the dock and the W200.
Blackbird and the KCE-900E
I had to drill a hole to get easy access from the dock to the W200.
I needed to run the wires from the KCE-900E to the processor and instead of making a big circle I drilled another hole and ran it from the right side of the glove compartment, down the right side of the vehicle and to the processor.
Here is as look at some of the wires I've ran. On this particular side it's the Ai-Net, optical, and the two for the navigation. Please don't mind the red wires, those are for the cheap Lanzar tweeters so that I have temporary highs, at least until I get the Zapco's in.
Another shot of wiring
Installed. I moved the KCE-900E further down and the other wire as well so only the dock and Blackbird are visible.
After hooking everything up, everything worked great, except I had no audio for CD's or DVD's. I had picture, but no audio. Took me about 45 mins till I gave up and started cleaning up, looked at the processor and noticed a bright red light...it ended up being that the optical cable was unplugged. Plugged it in and once I heard Kenny G, I jumped with joy
. I'm probably going to work on the doors tomorrow and cover up the holes with some sheet metal and then cover with deadener. Hopefully the Zapco's come in this week as well.[/QUOTE]
#16
04-21-2008, 02:06 AM
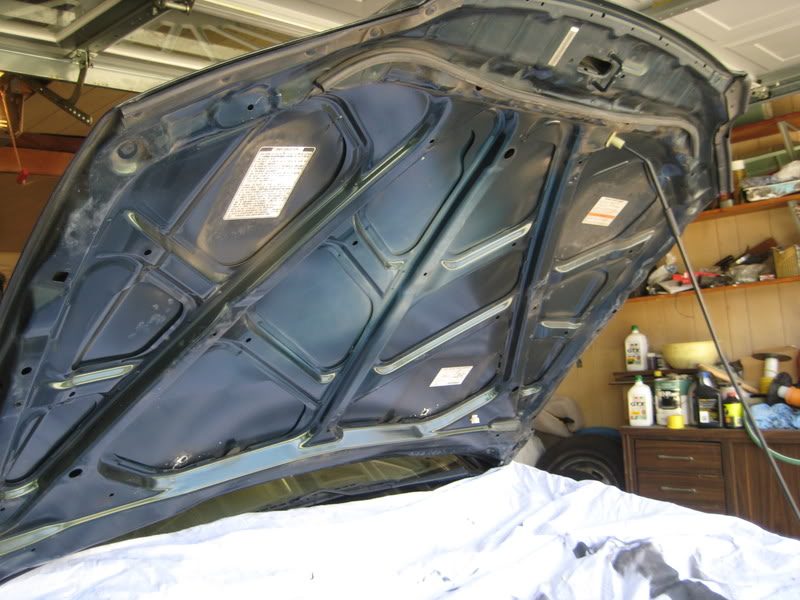
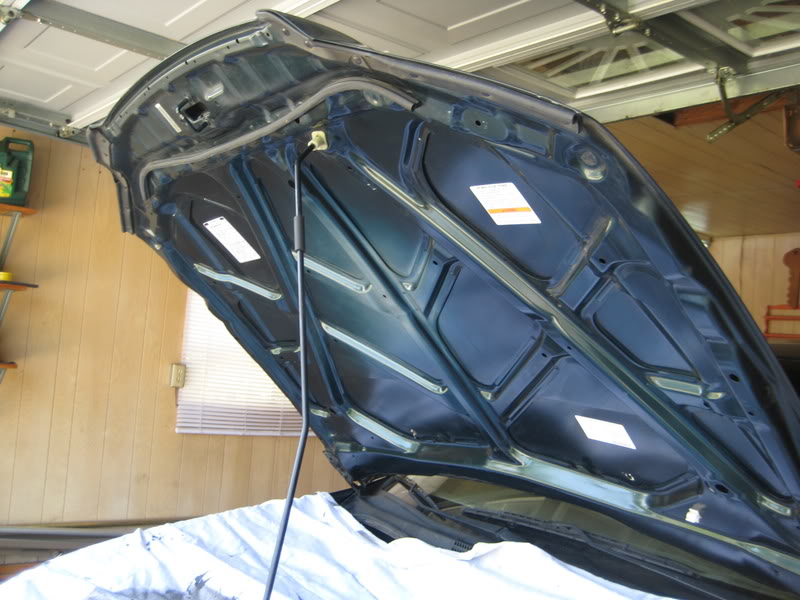
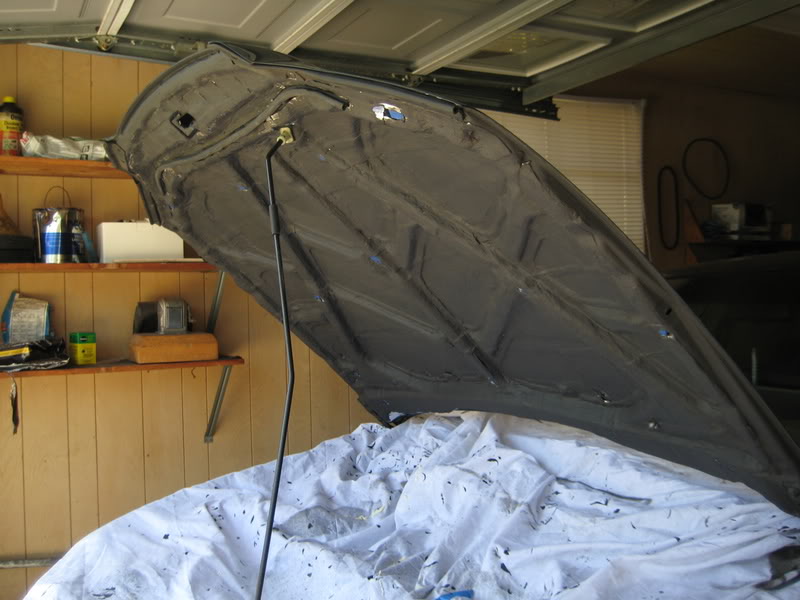
After 4 long hours I did the first step in deadening my hood. There is some insulation or something, but I took it off. I had to break a couple clips but I have new ones that have already been on the way. Here's the progress so far.
With the insulation/splash guard (whatever its called) taken off.
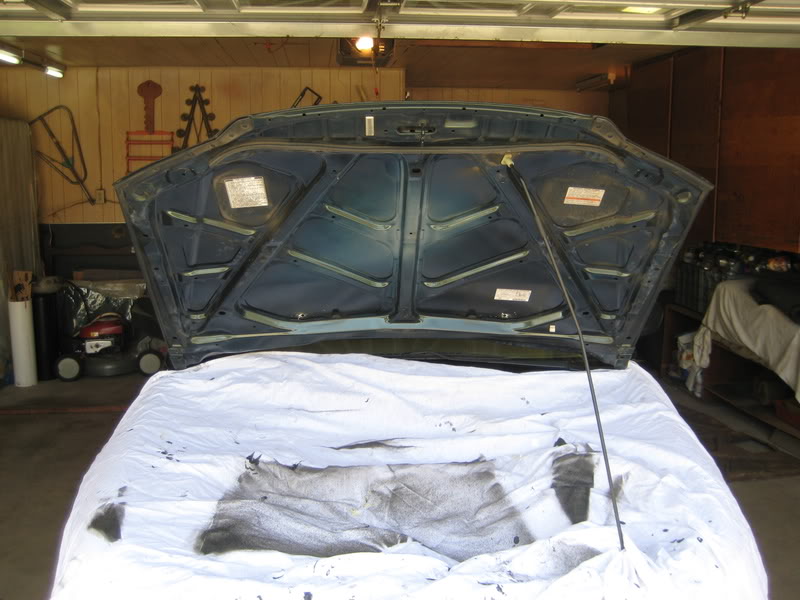
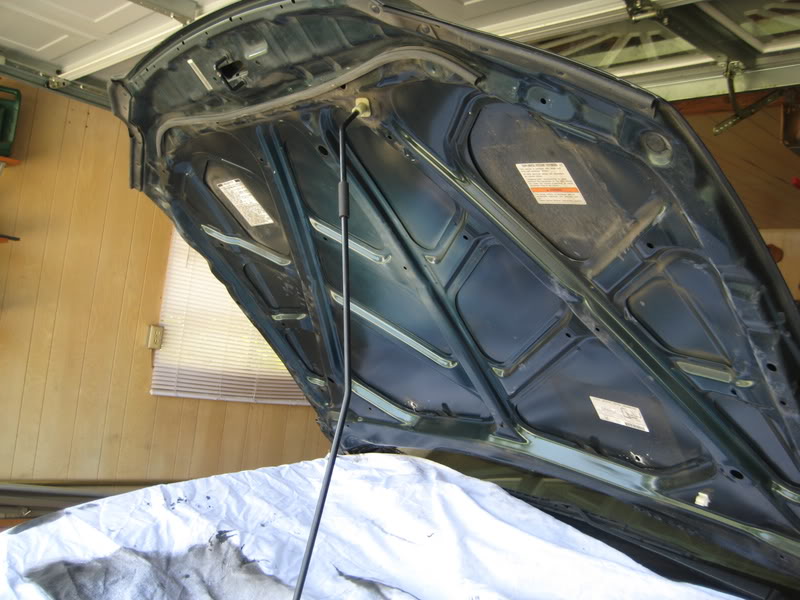
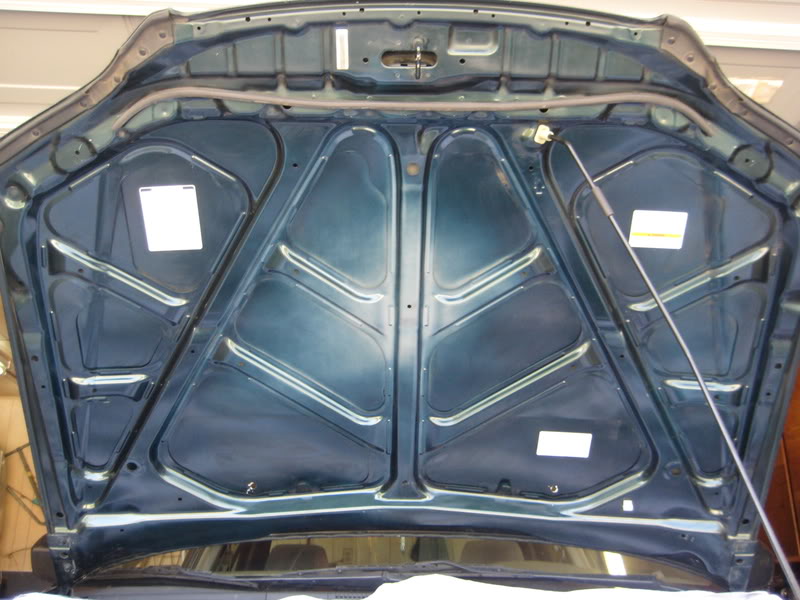
Cleaned up and ready for Damplifier.
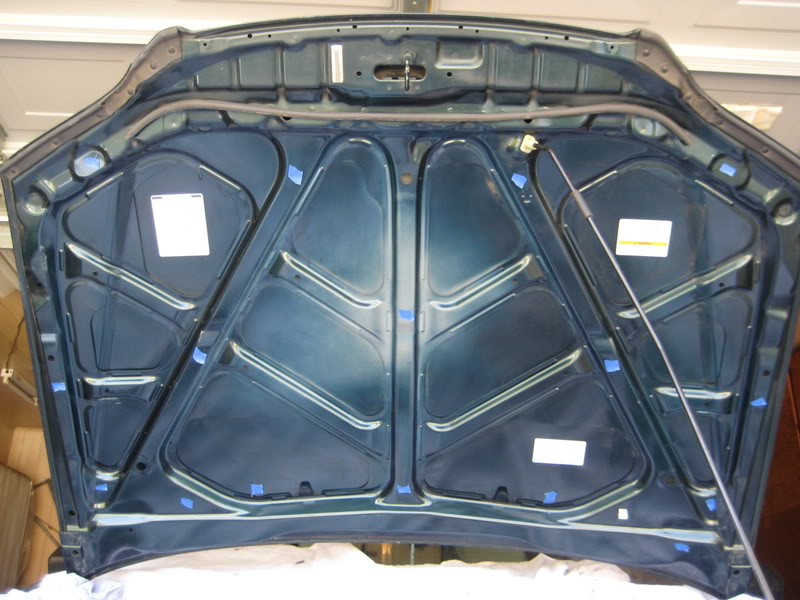
Covered the holes that will be used with tape so I don't cover them, and then try to look for the ones that I need to uncover.
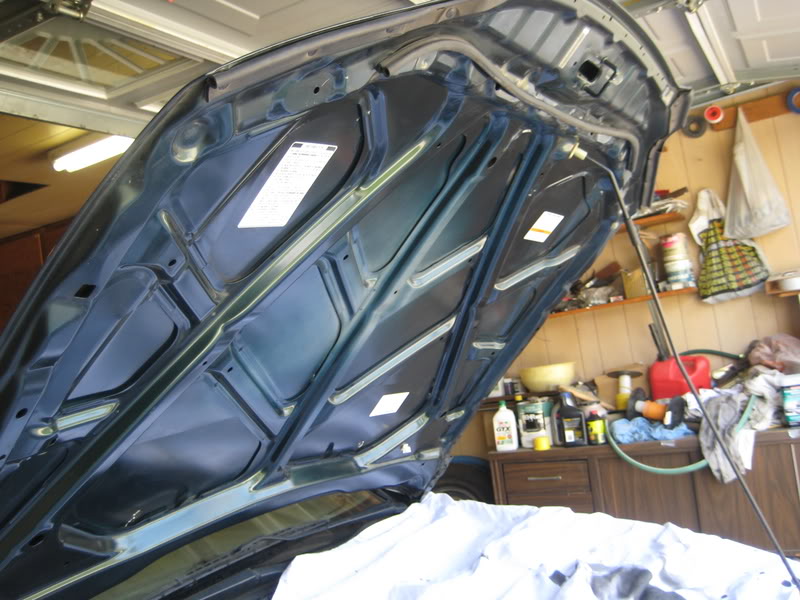
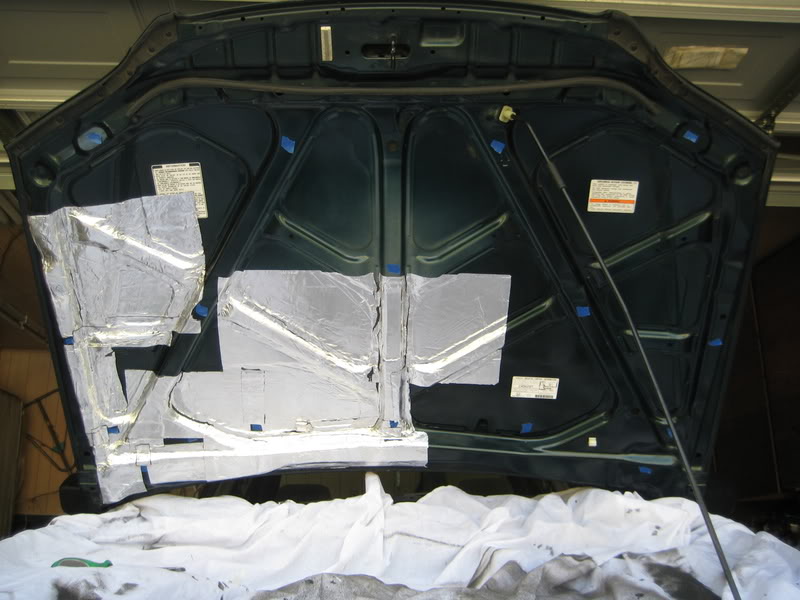
Two hours into it and about halfway done.
Decided to take a bit of a break so I decided to drink the drink of champions
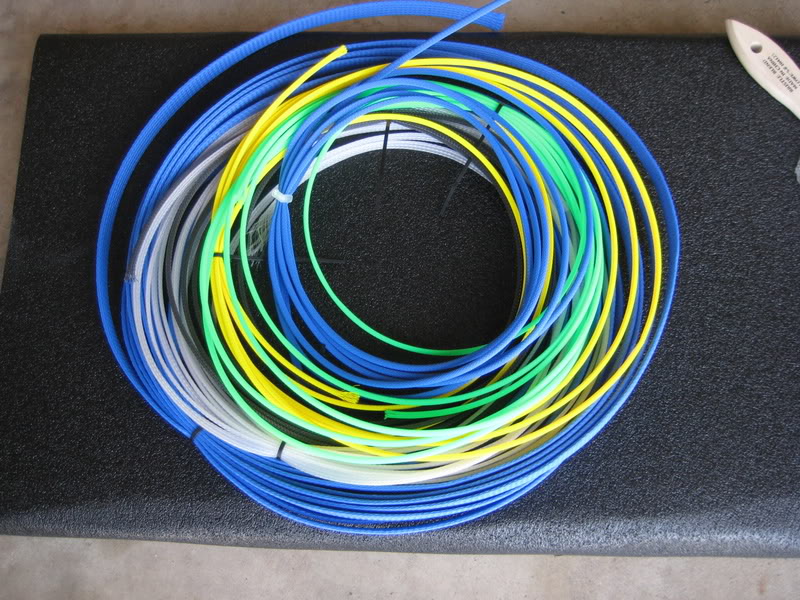
Some of the tech flex I ordered. Not shown is the black that I already have and the red that I will be needing to order. RCA's, speaker wire, power wire, ground wire, optical wire, Ai-Net cable, and navigation RCA will each have their own color.
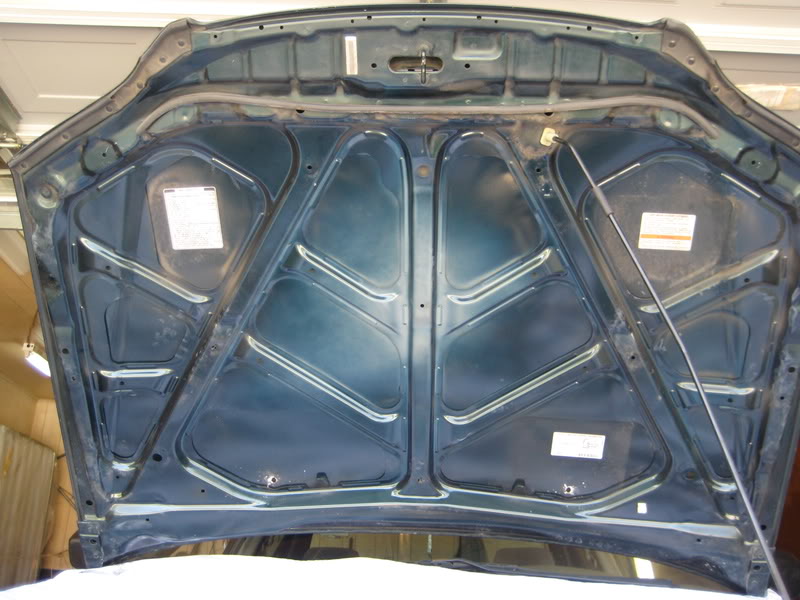
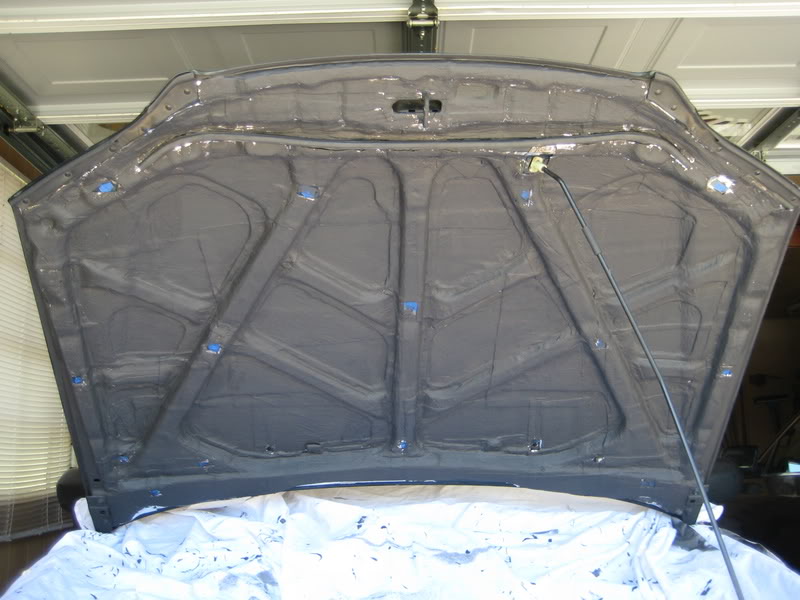
And four hours, 20 sq. ft. later since the beginning of the project....
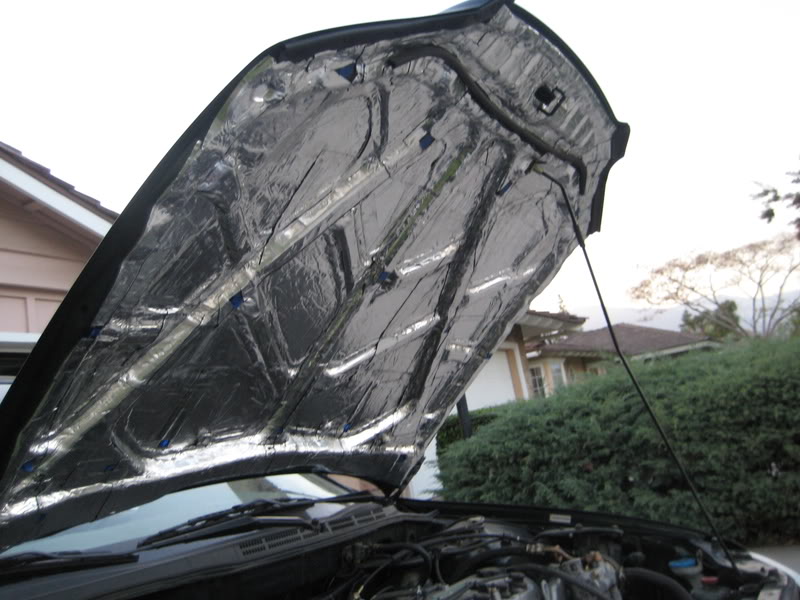
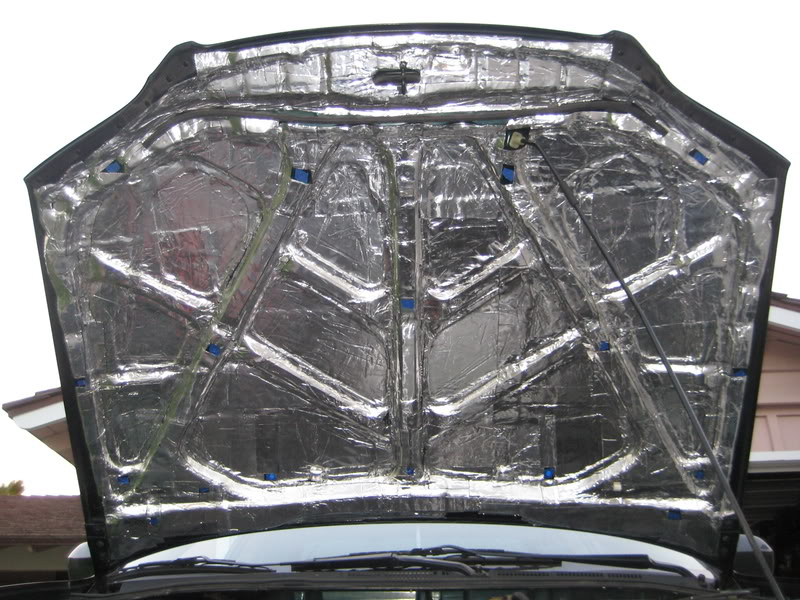
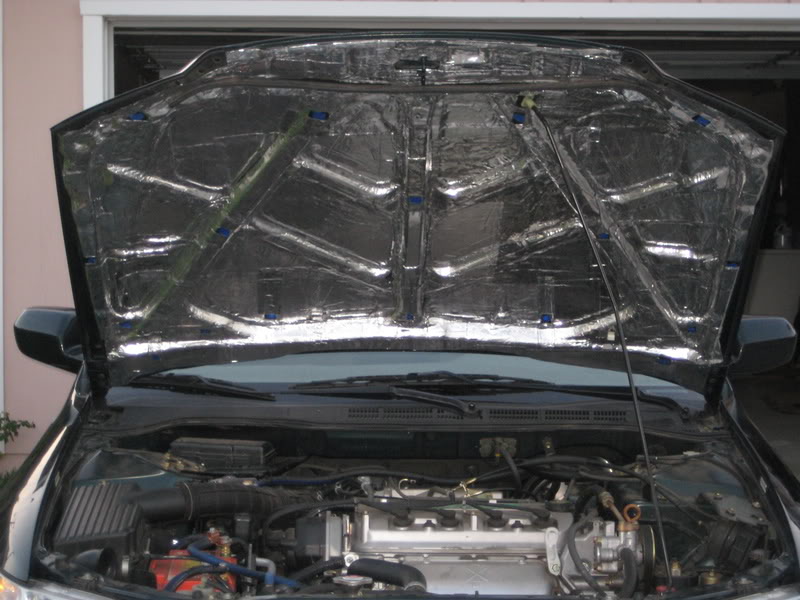
I have not put the insulation/splash guard back on yet since there is no need to put it on and take it back off. Either Saturday or Sunday I will be adding 2 or 3 layers of Spectrum and 1 layer of Sludge.
Engine noise was minimally reduced. I need to do part of the firewall still, so that should help a bit more. It is a little quieter, but with music on at low volumes, it's hard to hear. I got a hose and turned it on full blast. With the hose running I can faintly hear it about 6 ft. away from the car. When I had my cousin spray the fender and then the hood, there was a HUGE difference. So much that it surprised me. I could barely hear it and usually I would sorta feel it, but I didn't feel anything and this is just the beginning. As mentioned I have Spectrum and Sludge to add. The hood itself is a good difference heavier as well. This was well worth it and hearing the difference makes me want to see if I can remove the front fenders and put some spectrum on them.
With the insulation/splash guard (whatever its called) taken off.
Cleaned up and ready for Damplifier.
Covered the holes that will be used with tape so I don't cover them, and then try to look for the ones that I need to uncover.
Two hours into it and about halfway done.
Decided to take a bit of a break so I decided to drink the drink of champions
Some of the tech flex I ordered. Not shown is the black that I already have and the red that I will be needing to order. RCA's, speaker wire, power wire, ground wire, optical wire, Ai-Net cable, and navigation RCA will each have their own color.
And four hours, 20 sq. ft. later since the beginning of the project....
I have not put the insulation/splash guard back on yet since there is no need to put it on and take it back off. Either Saturday or Sunday I will be adding 2 or 3 layers of Spectrum and 1 layer of Sludge.
Engine noise was minimally reduced. I need to do part of the firewall still, so that should help a bit more. It is a little quieter, but with music on at low volumes, it's hard to hear. I got a hose and turned it on full blast. With the hose running I can faintly hear it about 6 ft. away from the car. When I had my cousin spray the fender and then the hood, there was a HUGE difference. So much that it surprised me. I could barely hear it and usually I would sorta feel it, but I didn't feel anything and this is just the beginning. As mentioned I have Spectrum and Sludge to add. The hood itself is a good difference heavier as well. This was well worth it and hearing the difference makes me want to see if I can remove the front fenders and put some spectrum on them.
#17
04-21-2008, 02:12 AM
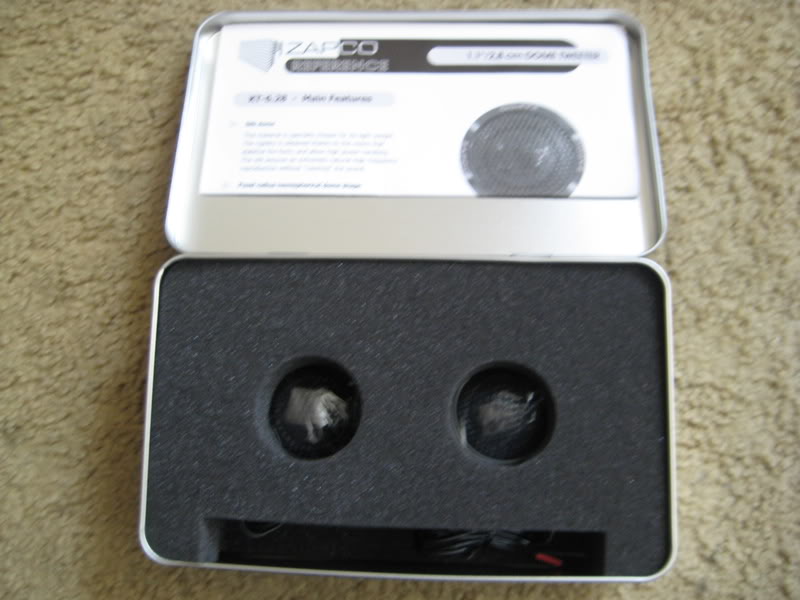
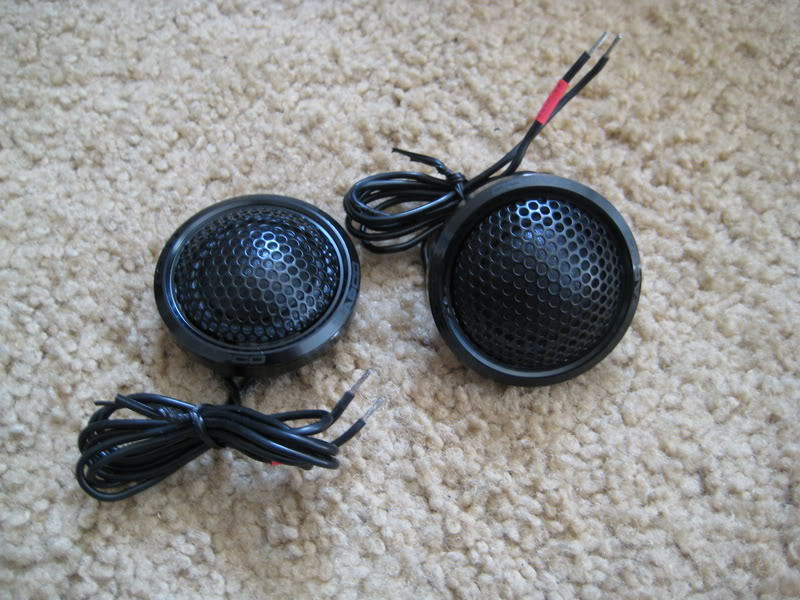
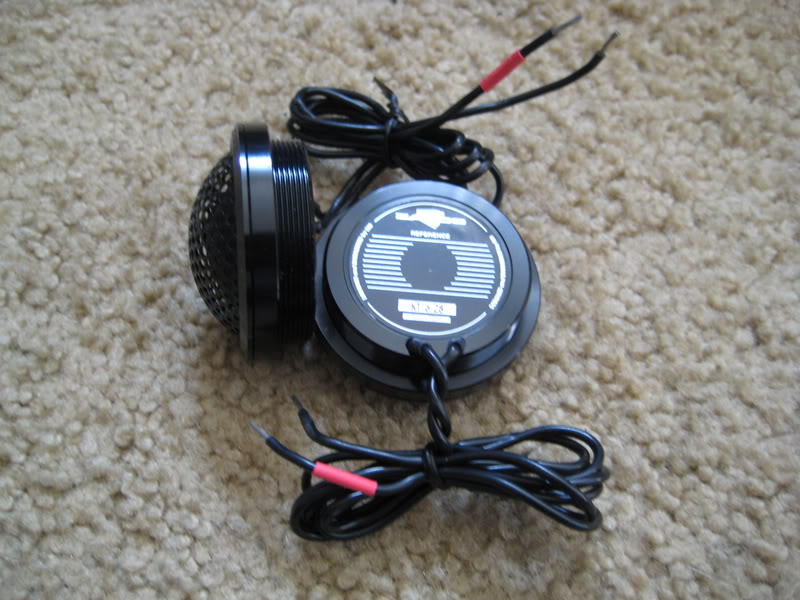
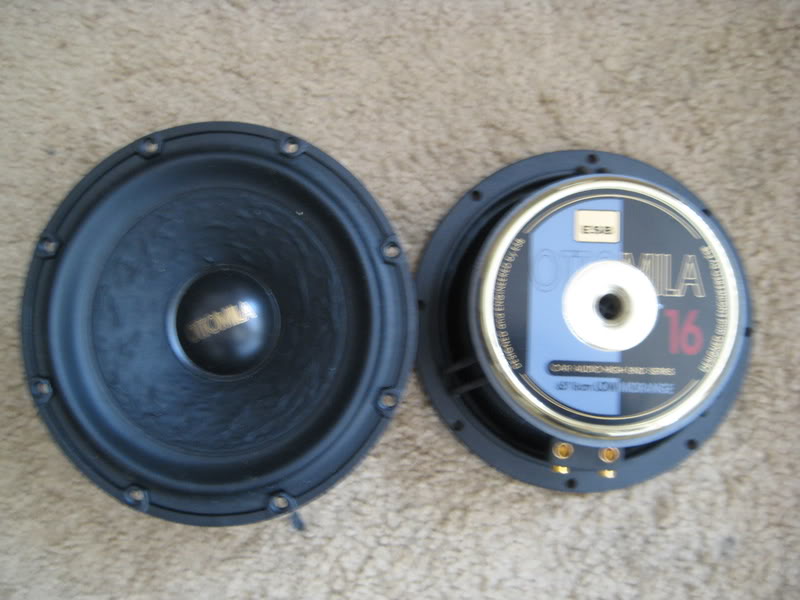
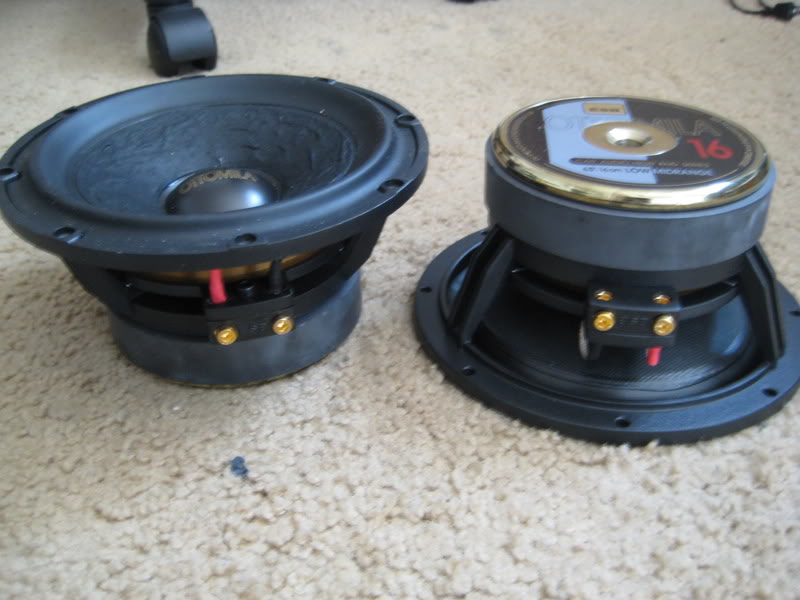
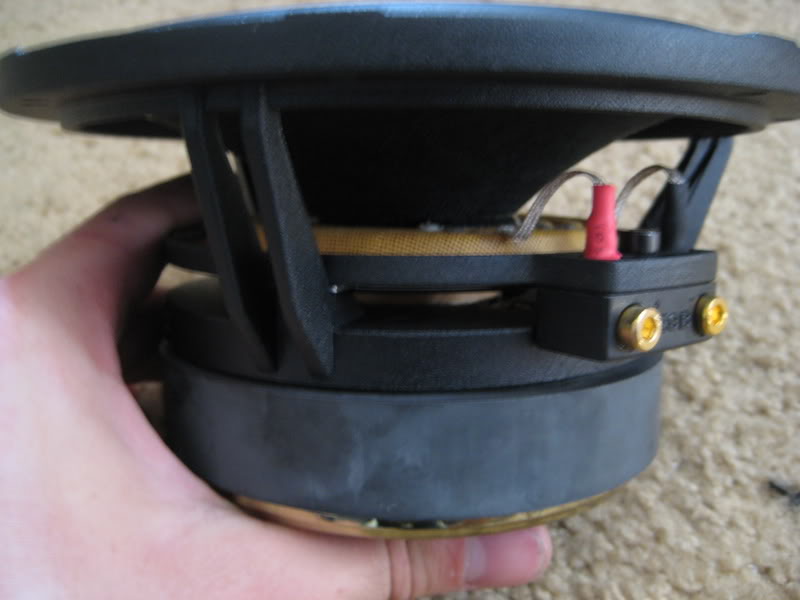
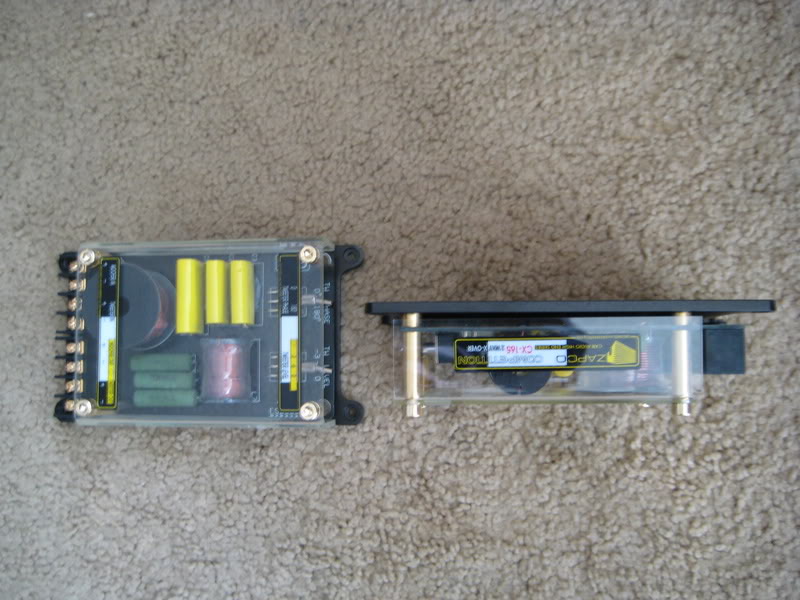
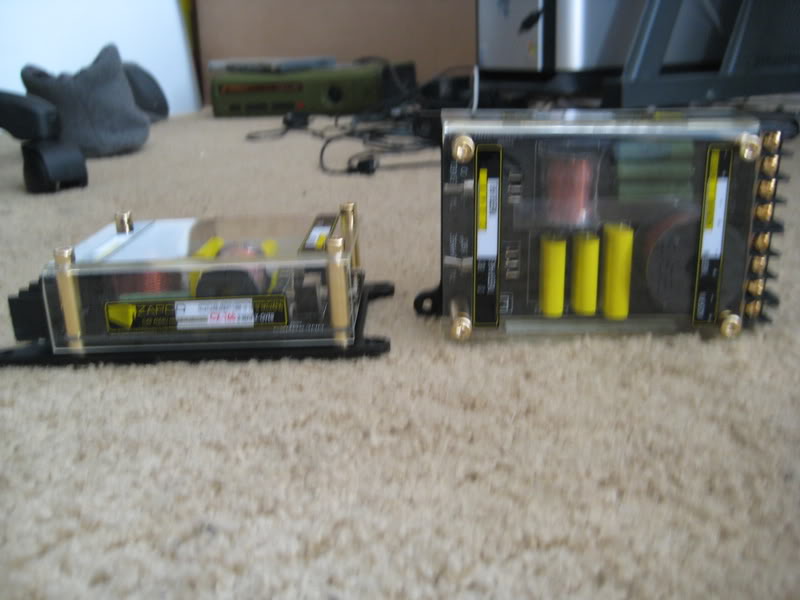
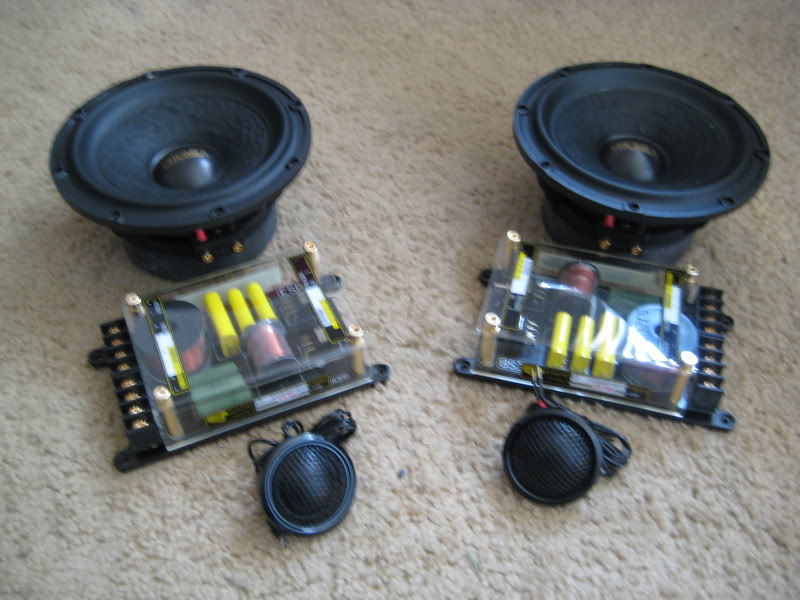
Picked up the Zapco's yesterday. I like them already and haven't even installed them. Mids are quite a bit heavier than the Iridums and the tweeters looks super sexy. Crossovers simple, but still look pretty nice...though I won't be using them.
Here are several pics.
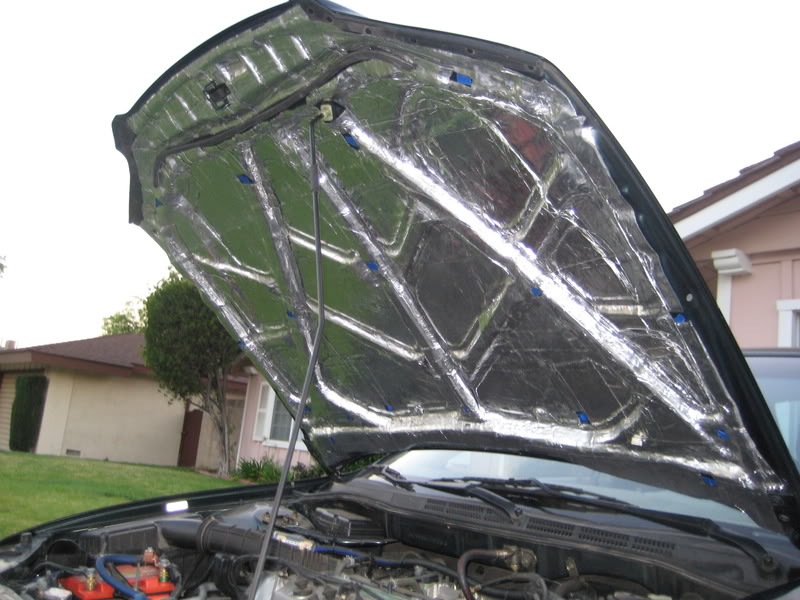
I also painted 3 layers of Spectrum on the hood. It will see an additional layer of Sludge in a few days. I'll be doing the trunk lid once more with a layer of Spectrum, the rear deck will receive some Damplifier and a couple layers of Spectrum, the C pillars with another layer of Spectrum, and then I will add a layer of sludge to the hood, trunk lid, and top and bottom of the rear deck. If I have any leftover I will probably do the bottom of the rear deck, then top, and if I have more still, then the trunk lid will get another layer of Sludge.

Tomorrow I will be making new baffles and hopefully I can get the mids in on the first try. I tried using my existing baffle but the cutout was too small so I couldn't check for depth either.
Here are several pics.
I also painted 3 layers of Spectrum on the hood. It will see an additional layer of Sludge in a few days. I'll be doing the trunk lid once more with a layer of Spectrum, the rear deck will receive some Damplifier and a couple layers of Spectrum, the C pillars with another layer of Spectrum, and then I will add a layer of sludge to the hood, trunk lid, and top and bottom of the rear deck. If I have any leftover I will probably do the bottom of the rear deck, then top, and if I have more still, then the trunk lid will get another layer of Sludge.
Tomorrow I will be making new baffles and hopefully I can get the mids in on the first try. I tried using my existing baffle but the cutout was too small so I couldn't check for depth either.
#18
04-21-2008, 02:15 AM
I started on the baffles today...all I can say is that all went downhill. a 3/4" baffle is definitely not going to work. The mid still hits the glass. Another issue is that the mid overlaps the holes for the stock location. To overcome this issue I figured I would cut one baffle out first and screw it into the stock location. And for test purposes, use the baffle I had just cut out and screw that into the 1st baffle. The mid would then get screwed into the 2nd baffle. Sine I was using two 3/4" baffles I had more than enough depth, but that brought another problem, the door panel sticking out.
I think I will be fine with a 1" baffle, so I will do two 1/2" baffles. When I do the final product, I will glue the two baffles together and do a combo of eyeballing and using the stock baffle to figure out where the first baffle will be screwed in from. Even with the 1" baffle, I still have overlap from the door panel. Some of the melted clips that were on the speaker grill that I cut off need to be entirely cut off. There are small portions where the inner part of the door panel need to be cut off which isn't a big deal. My only worry is the door panel that will be exposed. I kind of don't want to cut through the door panel. My worry is cutting and messing up and it being visible.
I may (hopefully not) have to put this into the hands of a professional, or maybe another DIY'er who can lend a hand. I'll try and see what I can do tomorrow as far as test fits go and if all goes well, I will work on the final products by gluing the pieces and then screwing into the door, followed by covering the baffles with deadener. The last task will be to make some speaker grills, which it think will be the tricky part. If anyone has suggestions I'd love to hear them.
#19
04-21-2008, 02:22 AM
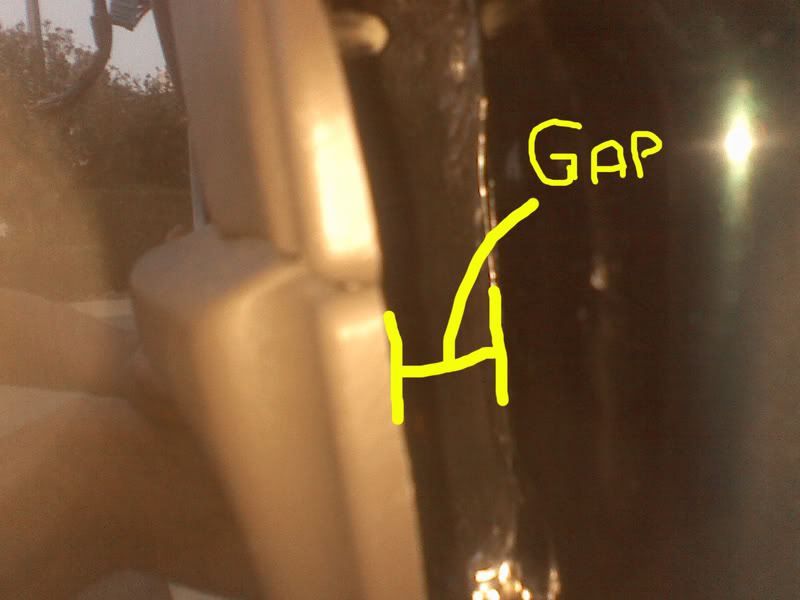
First, please excuse the crappy cell phone pictures. It was getting dark outside and I think I left my camera at my gf's house.
Here is how the baffle will be and I will have to cover that open space up with my own grill somehow.
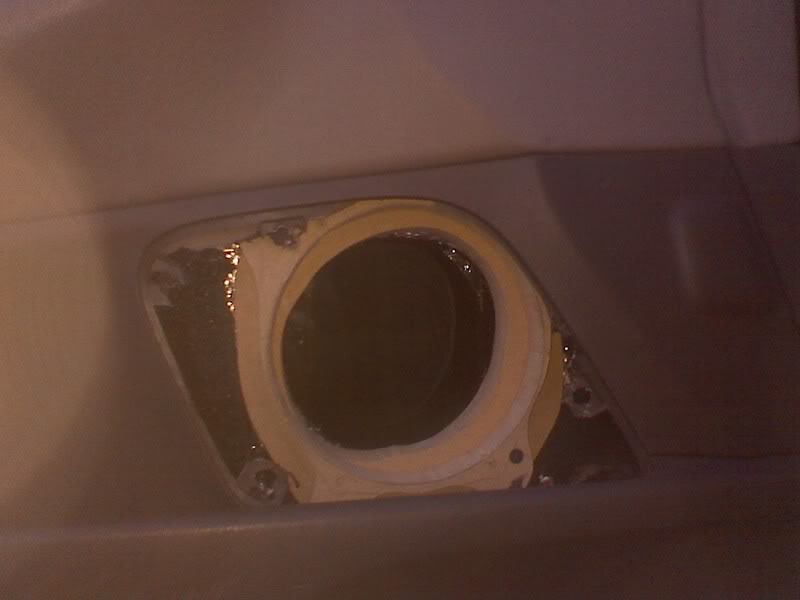
Notice the two different baffles. They are not cut to shape, they were just test fits. The second baffle is way too thin on certain sides.
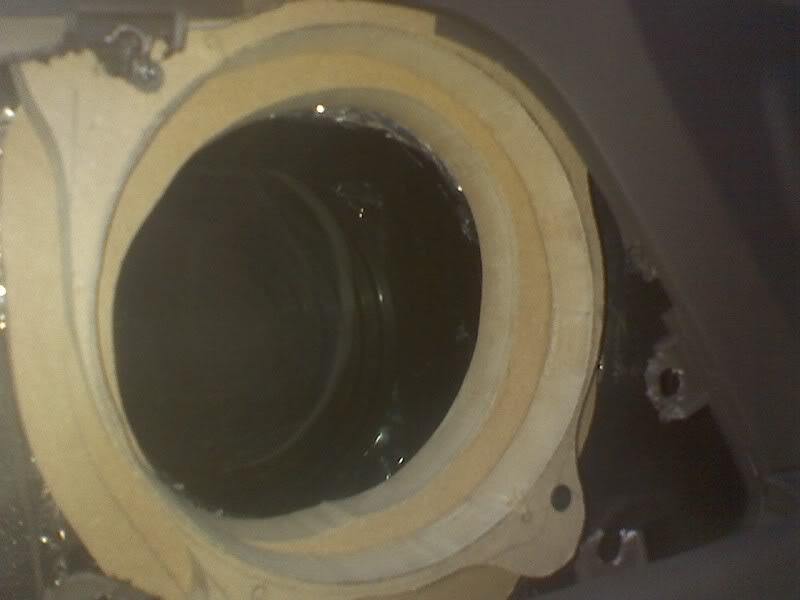
Portions like these little buggers will need to be cut out, which I'm not worried about and don't mind doing.
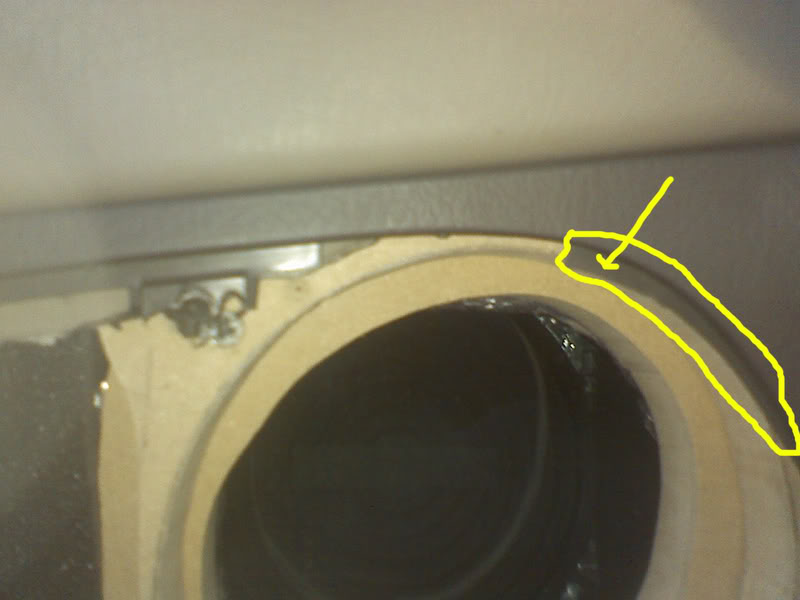
About a 1/4" gap between the door panel and the door with 1.5" baffles.
Here is how the baffle will be and I will have to cover that open space up with my own grill somehow.
Notice the two different baffles. They are not cut to shape, they were just test fits. The second baffle is way too thin on certain sides.
Portions like these little buggers will need to be cut out, which I'm not worried about and don't mind doing.
About a 1/4" gap between the door panel and the door with 1.5" baffles.
#20
04-21-2008, 02:25 AM
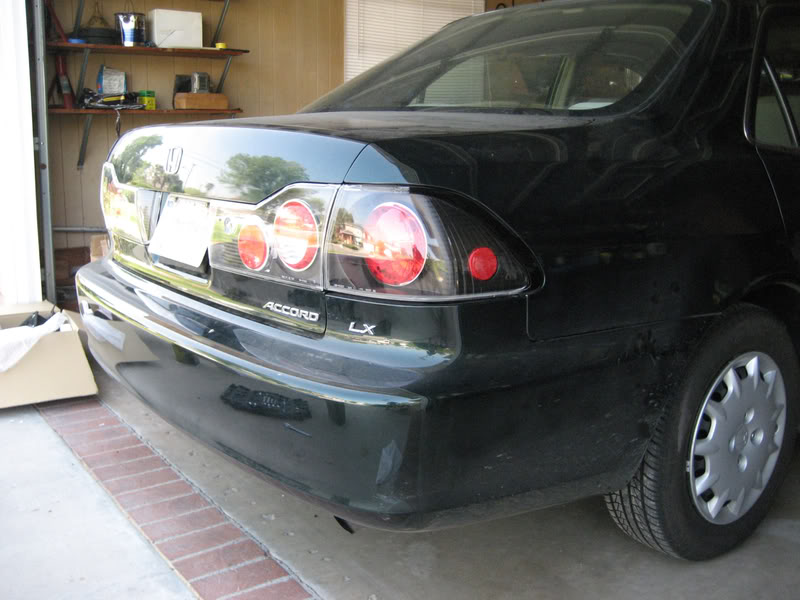
I figured with the state tax refund I'll modify the cosmetics of the vehicle. Got a pretty good deal on this stuff so I figured why not. I got JDM Altezza black tail lights, JDM Black projector lights, and a cold air intake. I installed the tail lights, but need to deaden the back of the lights since they will rattle quite a bit. I probably will even put rattle pad behind them.
As for the headlights, I have to take off the bumper so I'll be working on that tomorrow and hopefully the intake as well. I'll also be buying an HID conversion kit next week
Here are before and after pictures.
Before:

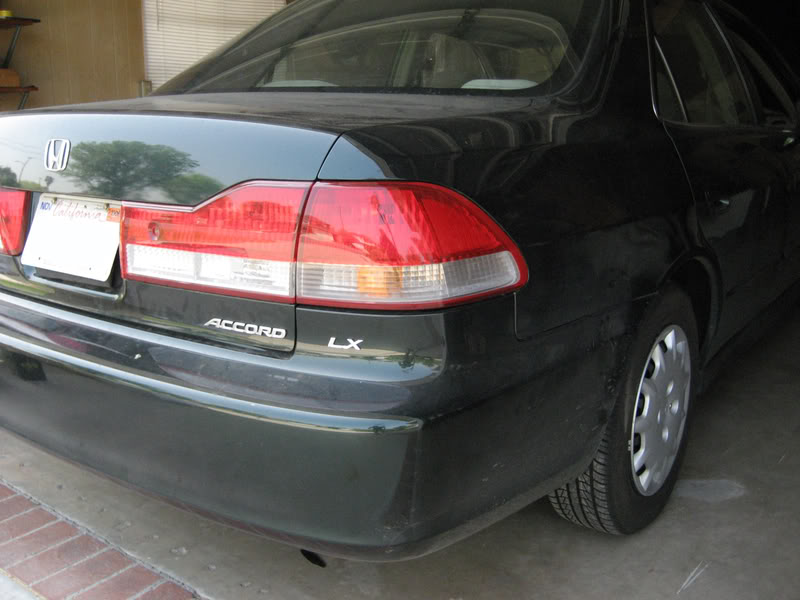
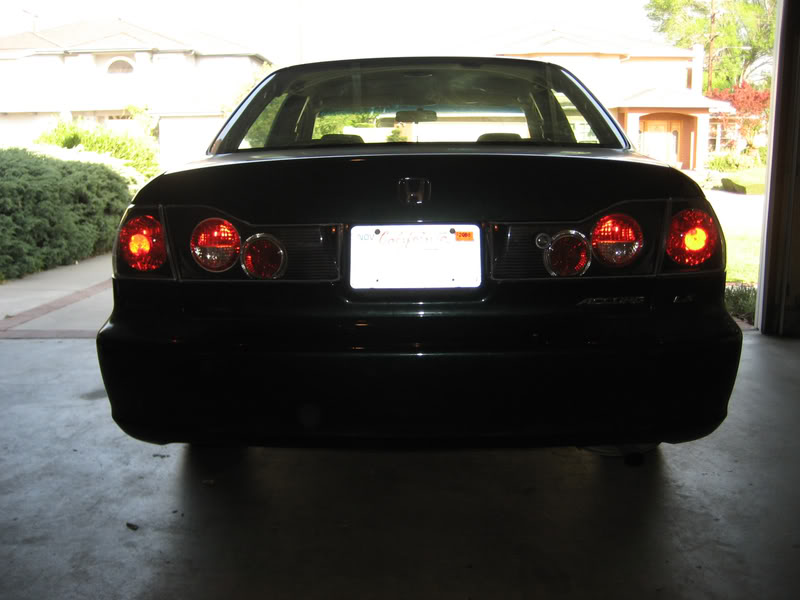
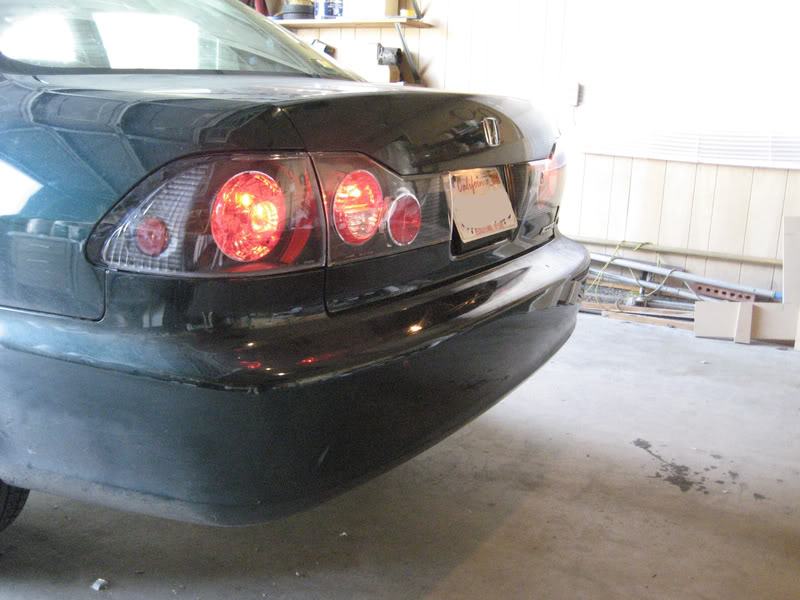
After:
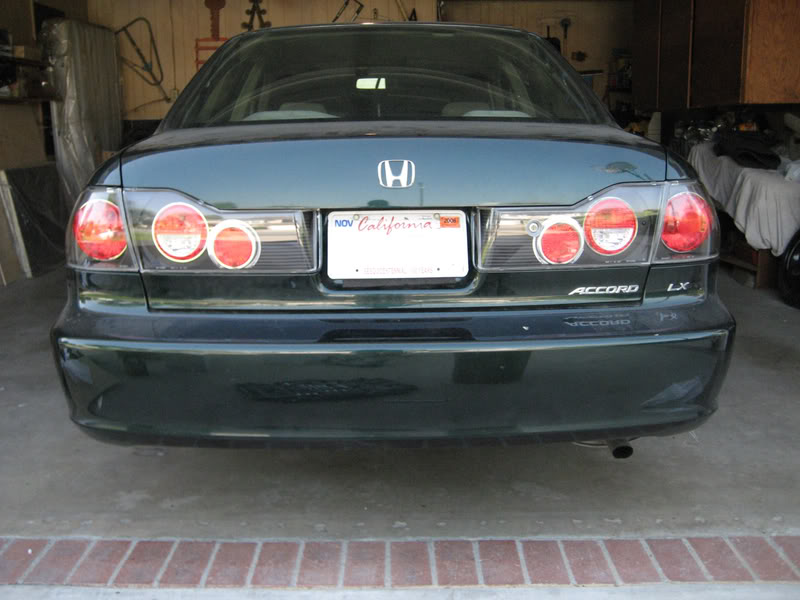
With the lights on (wasn't really dark out at all so you can't really see the full effect).
As for the headlights, I have to take off the bumper so I'll be working on that tomorrow and hopefully the intake as well. I'll also be buying an HID conversion kit next week
Here are before and after pictures.
Before:
After:
With the lights on (wasn't really dark out at all so you can't really see the full effect).