
Interior Modifications


Super Moderator
Joined: Dec 2009
Posts: 3,279
From: Quad Cities, IL
where do i begin? 2001 Accord EX
how about with painting the interior trim?
Some side-by-side of old vs. new. i really like the new look.
I am not a fan of the woodgrain.
i wanted to update the look of the dash. The woodgrain looked out of place and the plain black plastic was just i wanted to update the look of the dash. The woodgrain looked out of place and the plain black plastic was justdepressing. I used Rustoleums for Plastics - Silver Hammered. It gave the pieces some texture while providing a nice coat. I had to disassemble a lot more than I expected. But I'm glad I did.
I also had my rear deck recovered with vinyl. I used some 3M 90 spray adhesive, and trimmed it to fit perfectly. i also painted the rear speaker and seatbelt pieces silver to match the doors and front. i took my third brake light and the mystery child seat loops off and now the rear has a simple and sleek look.


Super Moderator
Joined: Dec 2009
Posts: 3,279
From: Quad Cities, IL
The Alpine RUX-C701 controller for the PXA-H701 is in the same location as the previous ERA-G320 controller. I liked it previously. I would prefer to eliminate the carpet and fiberglass a nicer looking mount.

The latest work has been in the kick panels. The kick panels are home to an Oz Audio 3-way set. a 6.5" midbass in the floor, a 4" midrange in the side kick, and a tweeter up in the apillar. I've cut out a cavity in the floor of each kick for the midbass, and vented this to the outside. I have some more sealing to do since this factory made cavity has some openings that let water in. the roof vent i'm using will resist water very well. The midrange is vented to the apillar cavity (with some polyfil inside).
I have more pics of the cutting process available upon request. And BTW - i do not recommend Fatmat products. It is thin, and the adhesive is weak. I used what I had and will soon redo the deadening.


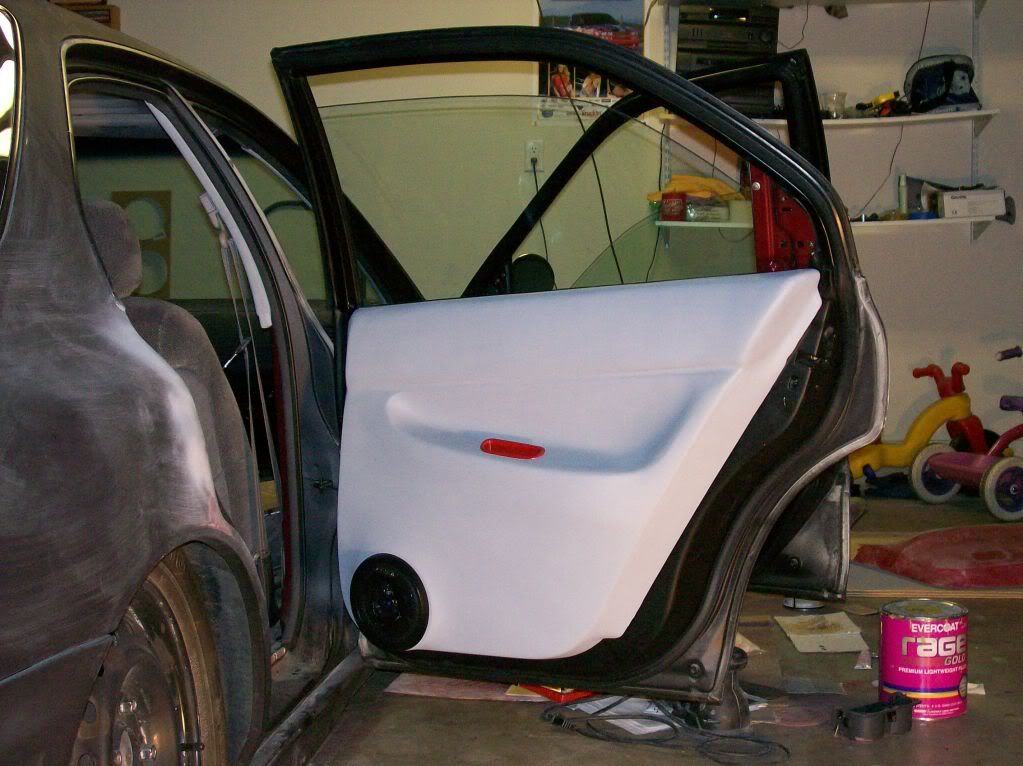
Baffles sealed to the car - the midrange baffle is removable for easy swaps later. Non-hardening modeling clay is used to create midrange seals and smooth the transtion from the baffle to the opening. deadener is used over the clay to prevent messes and further seal them to the openings. You can see where i relocated the controller that used to live where the midrange is (in the last pic silver with the orange harness).


same for the driver's side - relocated the hood latch - it's "hidden" now. again you can see the unpainted rear baffle the midrange mounts to (3/4" MDF with 1/2" MDF baffle. Midbass has 3/4" MDF.


Grills are there for protection. The grille cloth on the midbass is for temporary protection until i get fiberglassed, neither grille is actual Oz Audio grilles, they won't be visible with the final covers anyway. And I quickly got sick of the silver grill cloth, now i have open weave gray carpet there, it is much more subtle.


Notice how I got them to fit without losing any space. they are flush with factory carpet and trim. the Midrange cover will be custom fiberglass (once it warms up).
Tweeters mounted in apillars. Some modeling clay was used to form a shape, fiberglass will be used to finish these once I get the aiming nailed in. A small terminal strip was used in place of a molex plug to allow easy disconnecting of wiring to remove apillars.


The latest work has been in the kick panels. The kick panels are home to an Oz Audio 3-way set. a 6.5" midbass in the floor, a 4" midrange in the side kick, and a tweeter up in the apillar. I've cut out a cavity in the floor of each kick for the midbass, and vented this to the outside. I have some more sealing to do since this factory made cavity has some openings that let water in. the roof vent i'm using will resist water very well. The midrange is vented to the apillar cavity (with some polyfil inside).
I have more pics of the cutting process available upon request. And BTW - i do not recommend Fatmat products. It is thin, and the adhesive is weak. I used what I had and will soon redo the deadening.


Baffles sealed to the car - the midrange baffle is removable for easy swaps later. Non-hardening modeling clay is used to create midrange seals and smooth the transtion from the baffle to the opening. deadener is used over the clay to prevent messes and further seal them to the openings. You can see where i relocated the controller that used to live where the midrange is (in the last pic silver with the orange harness).


same for the driver's side - relocated the hood latch - it's "hidden" now. again you can see the unpainted rear baffle the midrange mounts to (3/4" MDF with 1/2" MDF baffle. Midbass has 3/4" MDF.


Grills are there for protection. The grille cloth on the midbass is for temporary protection until i get fiberglassed, neither grille is actual Oz Audio grilles, they won't be visible with the final covers anyway. And I quickly got sick of the silver grill cloth, now i have open weave gray carpet there, it is much more subtle.


Notice how I got them to fit without losing any space. they are flush with factory carpet and trim. the Midrange cover will be custom fiberglass (once it warms up).
Tweeters mounted in apillars. Some modeling clay was used to form a shape, fiberglass will be used to finish these once I get the aiming nailed in. A small terminal strip was used in place of a molex plug to allow easy disconnecting of wiring to remove apillars.


Super Moderator
Joined: May 2006
Posts: 18,398
From: Wisconsin
I agree, that looks way better. Wood looks OK to me, but that stuff never looked like real wood.
Tremendous amount of work, but it looks awesome.
Let us know how that paint worked on plastic, after it has some time to chip off. Kinda wondering how durable that is.
ps. This thread might get more attention in the Detailing section, so if you guys want, I could move it.
Tremendous amount of work, but it looks awesome.
Let us know how that paint worked on plastic, after it has some time to chip off. Kinda wondering how durable that is.
ps. This thread might get more attention in the Detailing section, so if you guys want, I could move it.
Super Moderator
Joined: Dec 2009
Posts: 3,279
From: Quad Cities, IL
The Rustoleums for Plastics - Silver Hammered worked very well. I gave each panel a light sanding (120 and 220 grid IIRC) and cleaned them with some alcohol. Then I used a coat of primer (for plastic). I had an option to just do one light coat of the Hammered paint and have a marbled finish, or several coats (2-3) for a light textured finish - i chose the latter. I also applied 4-5 clear coats on it - all rattle can. the only chipping i've notice is a few small specs on the driver door window control panel. That's about 2-3 years of wear and tear.
In all, it was an afternoon's worth of work. Taking the A/C controls apart was a great idea and really helped the overal look, IMO. also, i've since painted the shifter cover and trim ring to match. The heater vents were tricky, and since they were just all grey before, getting the silver and black is a nice contrast, but disassembling the vents was interesting. I'm used to taking the car apart so i wouldn't consider it a lot of work. And compared to the >$100 stick on kits, i think it looks a lot better.
however, i think this would look 10x better if i had black interior.
Last edited by keep_hope_alive; Jan 15, 2010 at 12:00 PM.

Super Moderator
Joined: Dec 2009
Posts: 3,279
From: Quad Cities, IL
cool. are you doing anything special with the center console? do you have plans to cover the doors - vinyl/leather/suede/etc?
more recent pics of the doors (painted speaker grills) - when i got the car the door handle screw covers were missing.
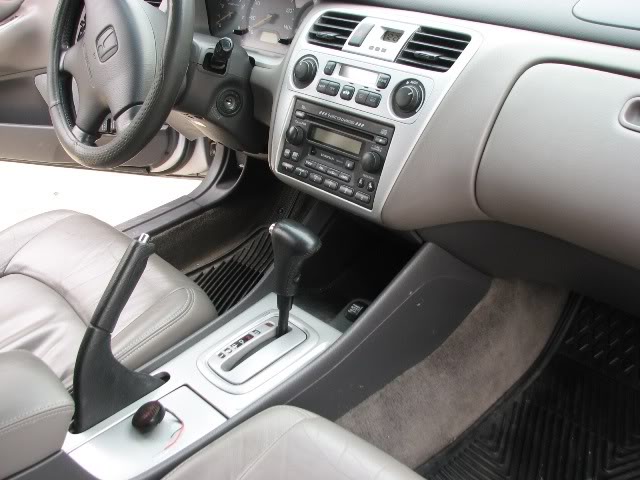
And the center console with painted shifter trim, for a while i was selling this car - hence the stock HU.
and you can barely see it, but the trim around the instrument cluster is also painted.
i can't wait for it to warm up so i can finish the kicks.
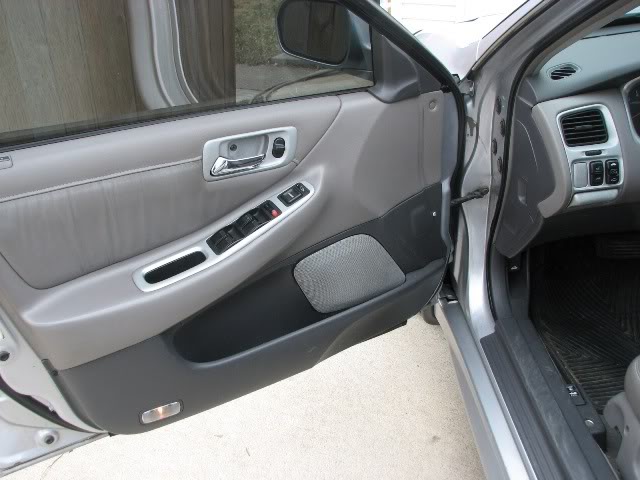
more recent pics of the doors (painted speaker grills) - when i got the car the door handle screw covers were missing.
And the center console with painted shifter trim, for a while i was selling this car - hence the stock HU.
and you can barely see it, but the trim around the instrument cluster is also painted.
i can't wait for it to warm up so i can finish the kicks.
Unregistered
Posts: n/a
I'm really wanting to paint my interior plastic pieces everytime I see this!
I just don't know what color....I love the color you chose, but I don't think it will flow very well with the gray/dark gray/black interior of mine.
How much is the paint + primer? How many cans did you need?
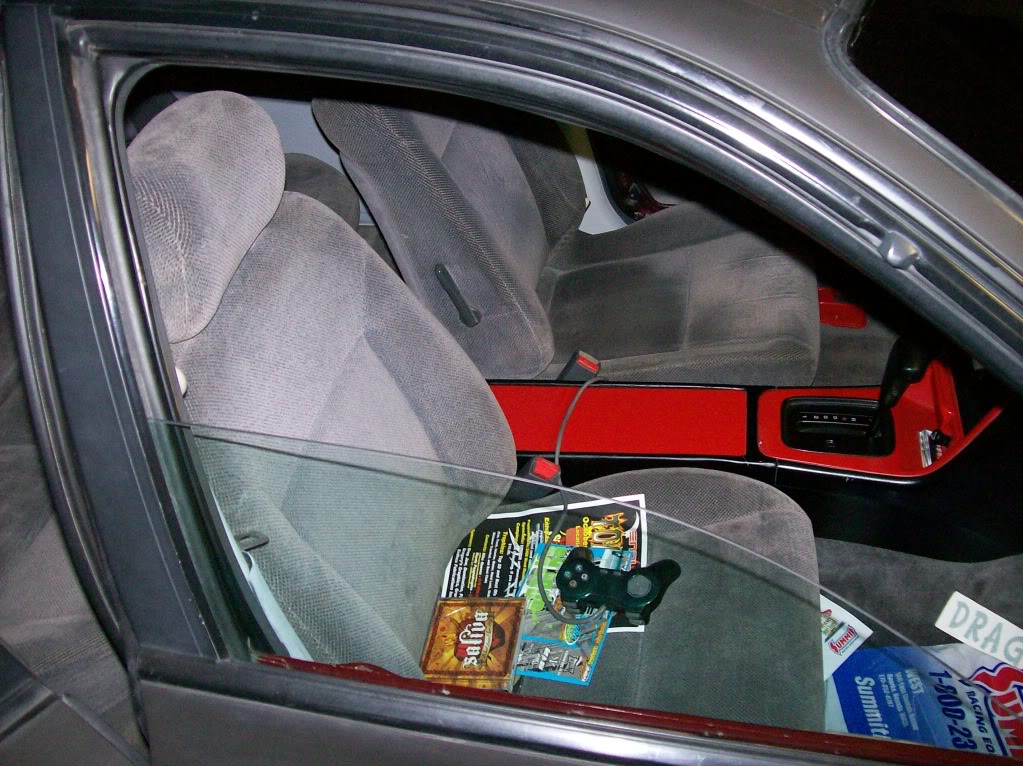
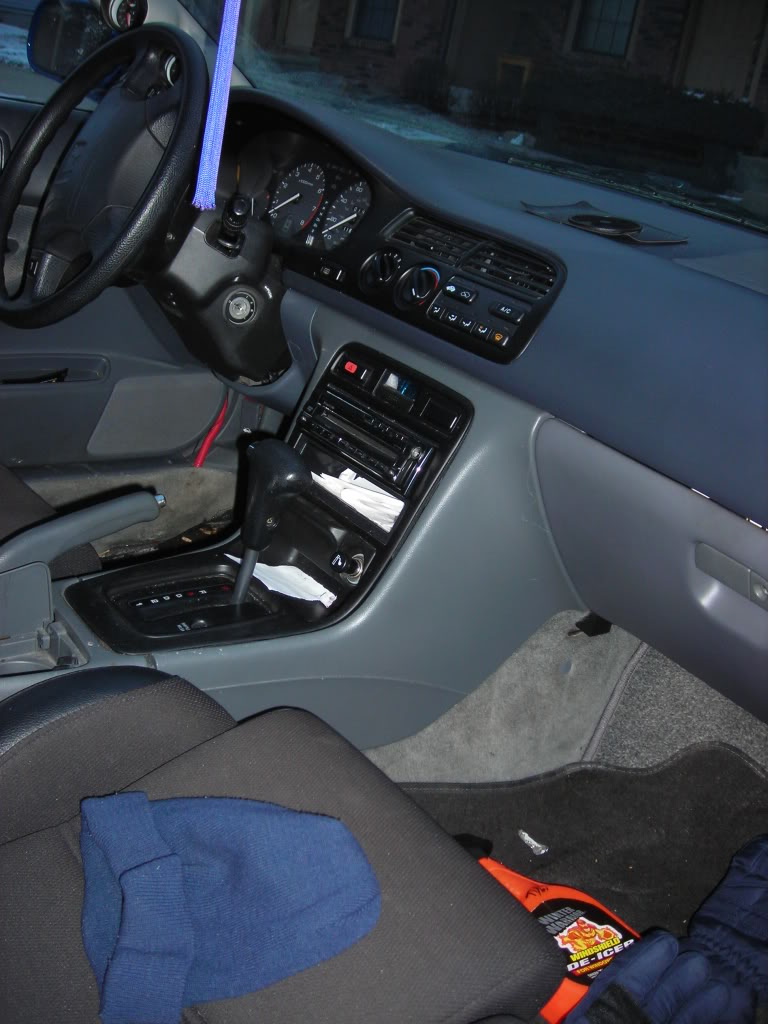
Heres a crappy pic I snatched real quick (TO COLD outside!)
I just don't know what color....I love the color you chose, but I don't think it will flow very well with the gray/dark gray/black interior of mine.
How much is the paint + primer? How many cans did you need?
Heres a crappy pic I snatched real quick (TO COLD outside!)
Last edited by 19Accord97; Jan 29, 2010 at 05:11 PM.

Thread
Thread Starter
Forum
Replies
Last Post
slamdaccord
PRIVATE For Sale / Trade Classifieds
3
Dec 4, 2011 01:27 AM