
2008 sedan body kit what you think?


Thread Starter
|
Member
Joined: Jun 2011
Posts: 177
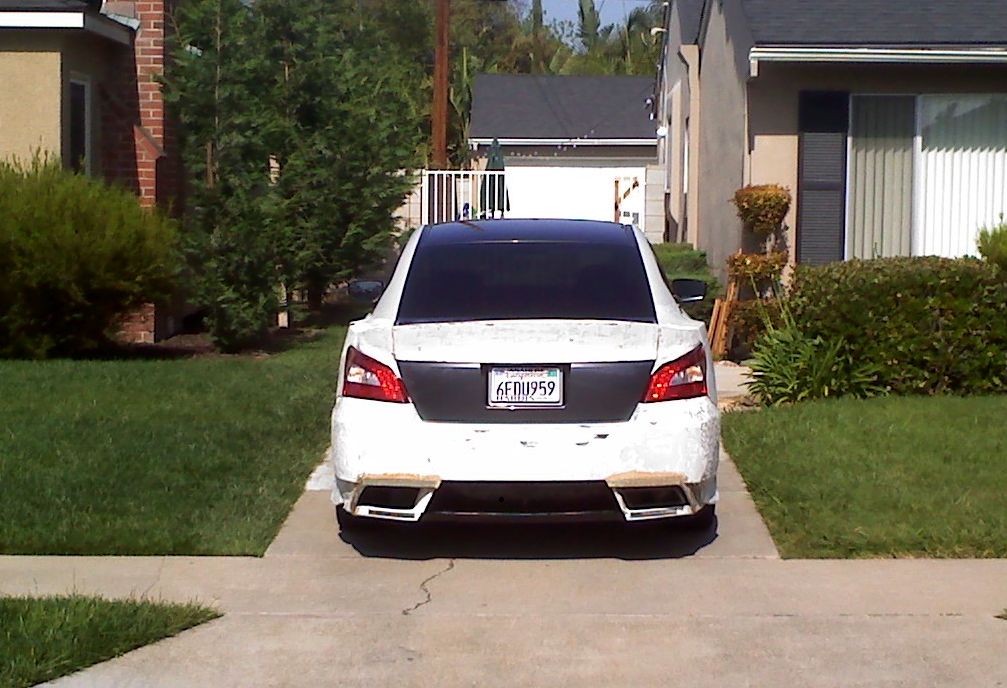
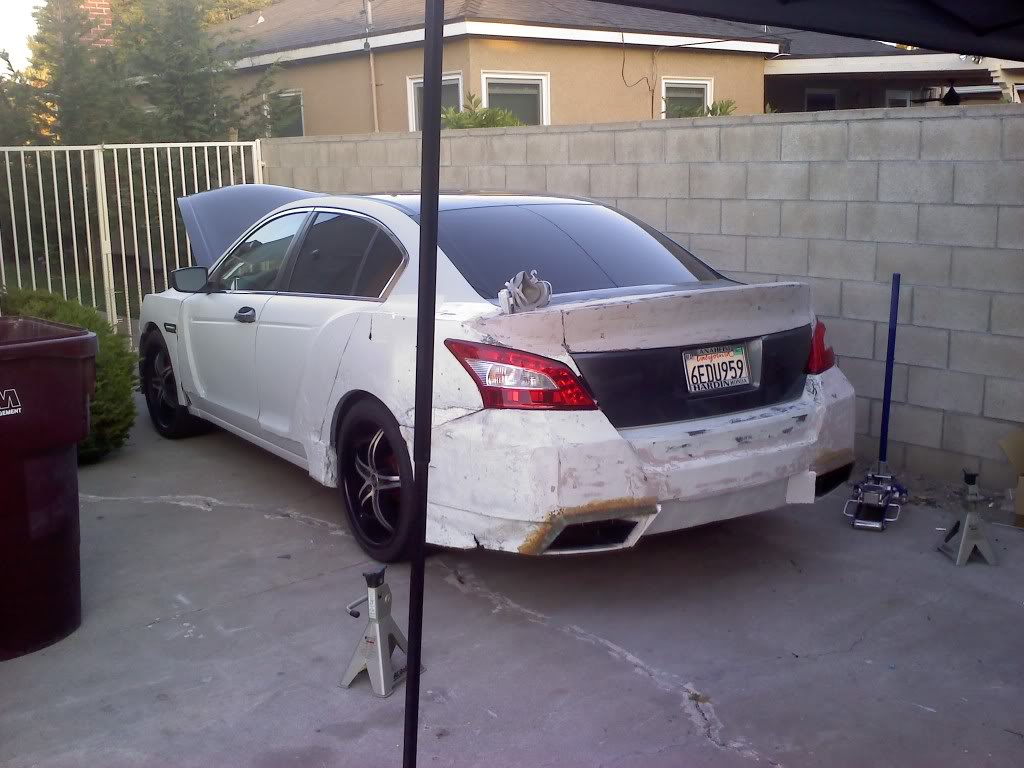
well i have to knew ideas for the rear.
the first one i think makes the car look a little DUB and im not going for that look

the previous bumper i thought looked rice and im trying to go for a more stock looking car is this still rice?
the first one i think makes the car look a little DUB and im not going for that look
the previous bumper i thought looked rice and im trying to go for a more stock looking car is this still rice?

Newest Of Newbies
Joined: Feb 2012
Posts: 19
From: New York
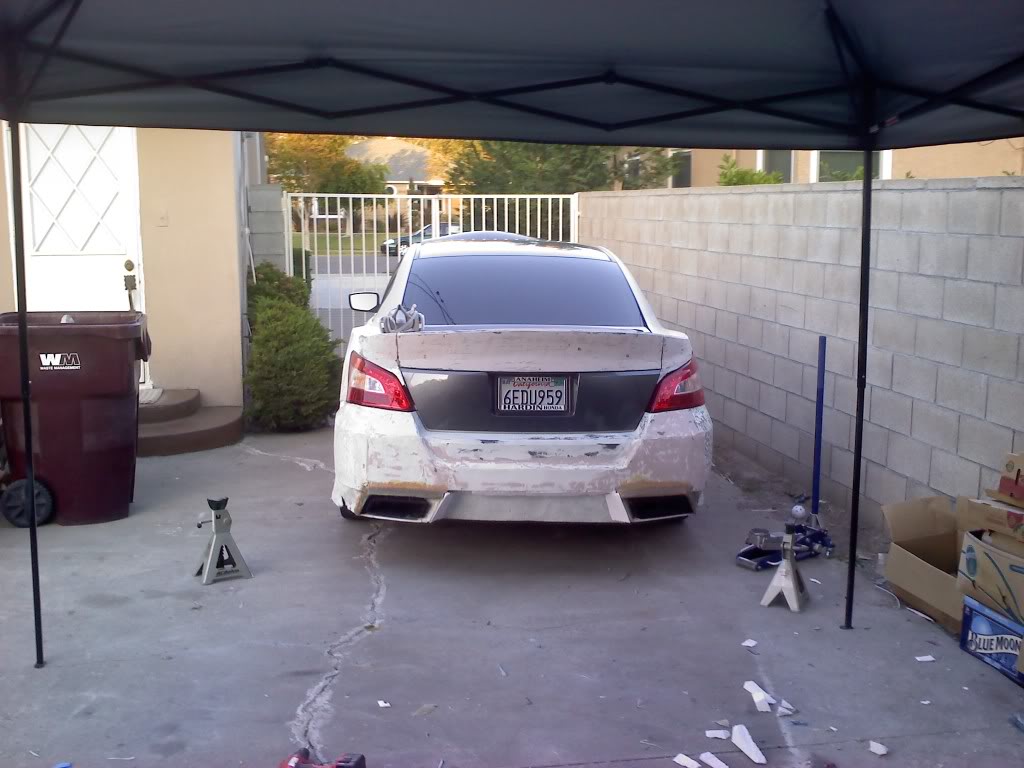
Damn DUDE crazy skillz you got there. LOL if i was you i would of been going crazy with all these changing around i give you props for that cuz i think i might of been like **** what have i done lol..but good job man. Love all the looks and ideas you getting.. in my point of view with that "spoiler" you made now i think makes the back look a little BULKY with a 750 bmw look ..the front fender is sick as **** lol..and i love what you did with the headlights. This might be a stupid question but how do you figure to open the back passager doors without the handle? lol =X and i love that muffler cut out you did thats hot to man...but anyways you got skillz and like everyone stated here cant wait for the finish product keep up the good work kid
Thread Starter
|
Member
Joined: Jun 2011
Posts: 177
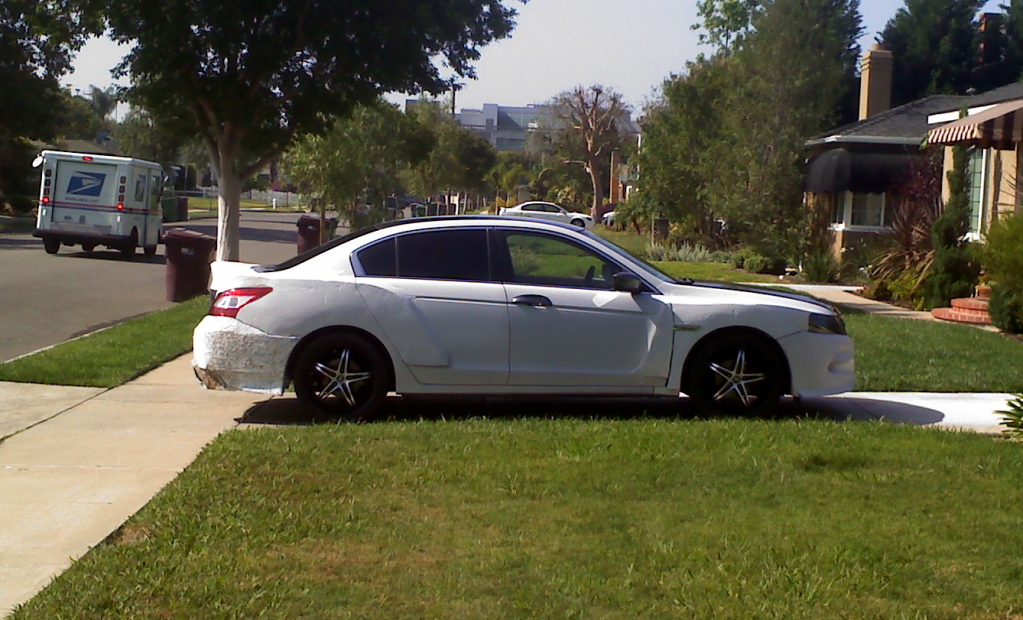
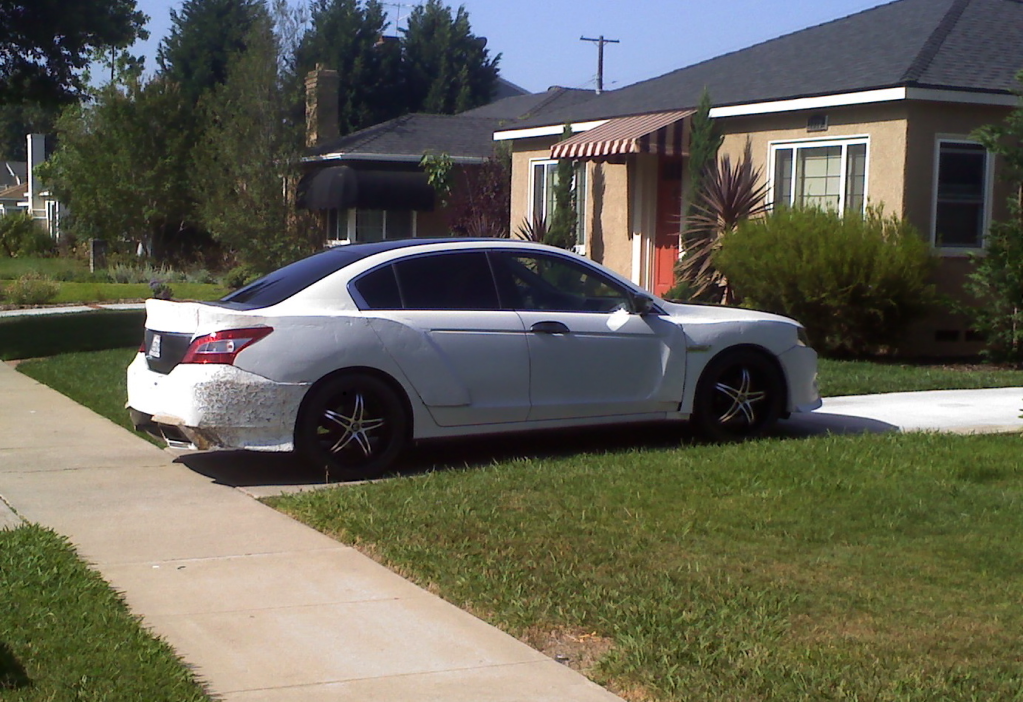
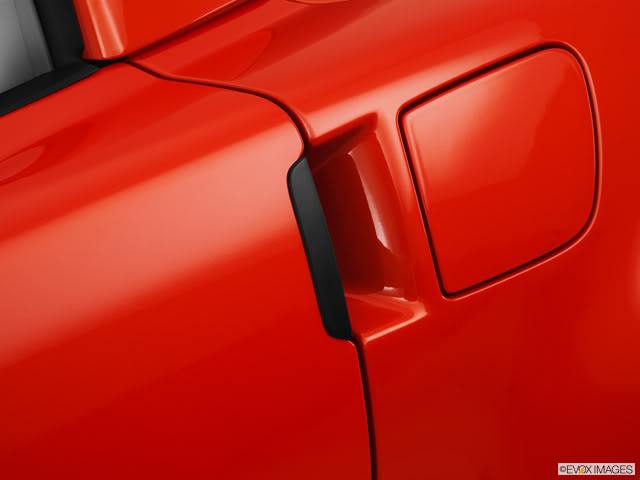
yeah still go crazy trying to design something i like that will also not look stupid on the street. anyways thanks for the comments. the headlight was a lot of work i still have to do the other left side lol. the rear i know looks a little bulky but theres not much i can do at this point about it but im still checking all my options. as for the rear door im going with something similar to the way chevy made the corvette door handles (2009up) heres a pic of one.
Thread Starter
|
Member
Joined: Jun 2011
Posts: 177
Not really there's a botton inside and a solenoid to unlatch the door the front door will almost be the same. Difference is the botton will be under the side mirrors. I would have used camaro lights. I just didn't want to spend the $700 each for them so I had to go with the challeger lights $130 each plus I think these look better than if I were to have gone with camaro.

Thread Starter
|
Member
Joined: Jun 2011
Posts: 177
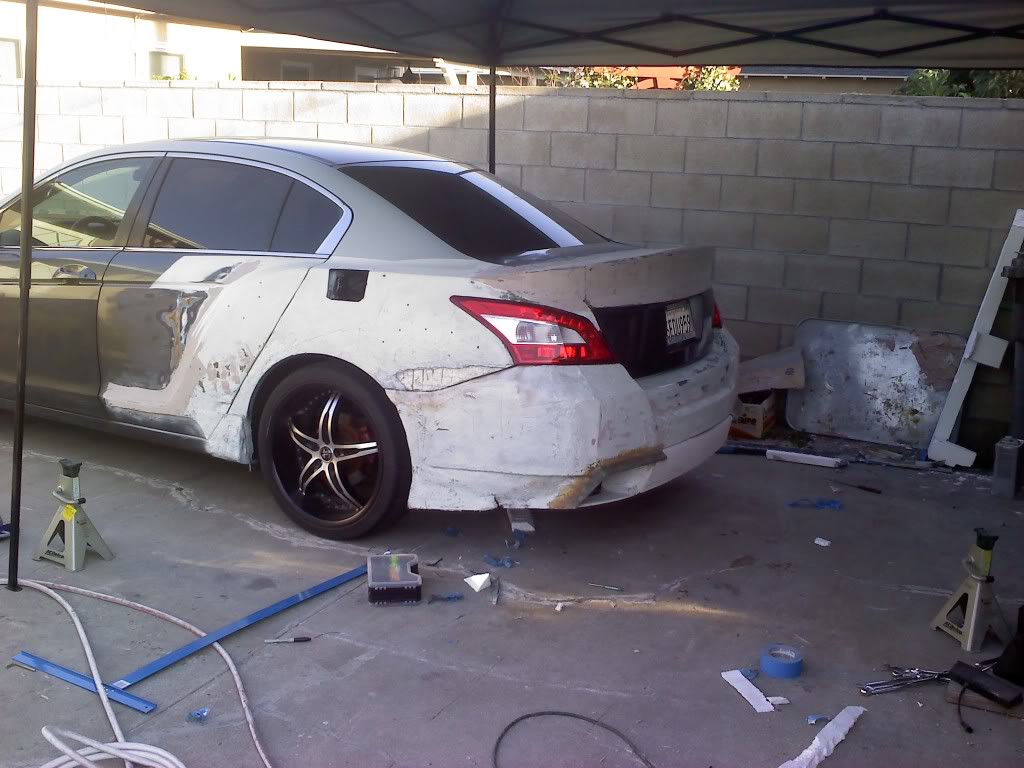
It's much much harder than you think. Im waiting to get three consecutive days to finish them and I'll put pics of every step hopefully I can start this Friday oh and there's a lot of cutting.
Thread Starter
|
Member
Joined: Jun 2011
Posts: 177
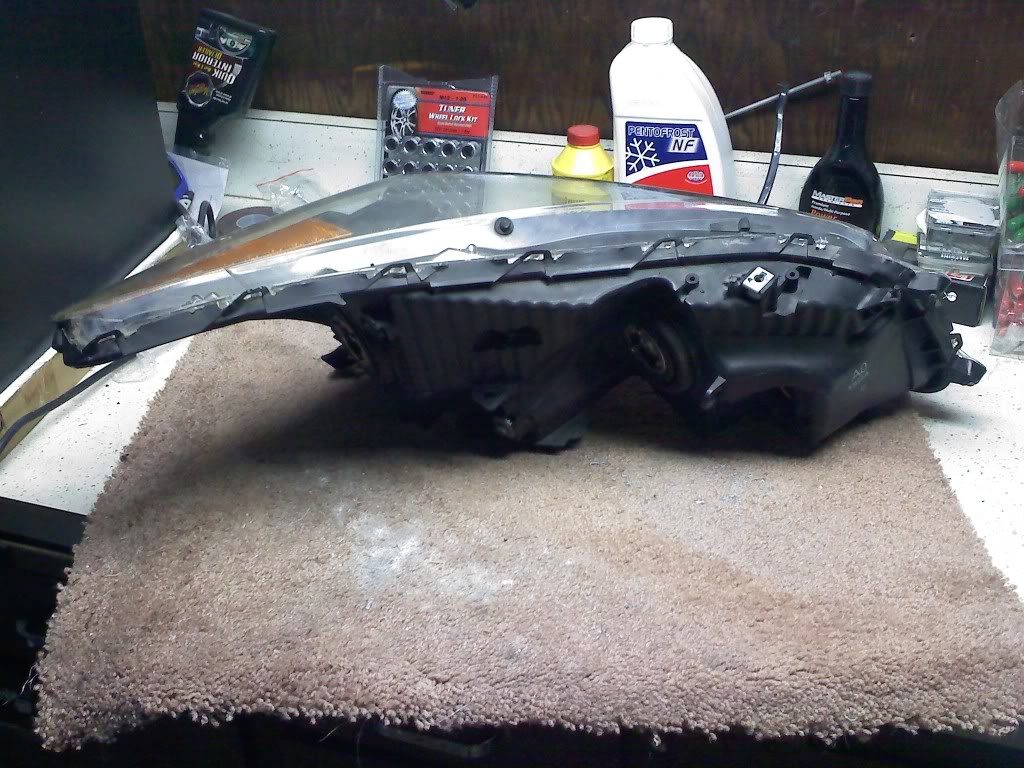
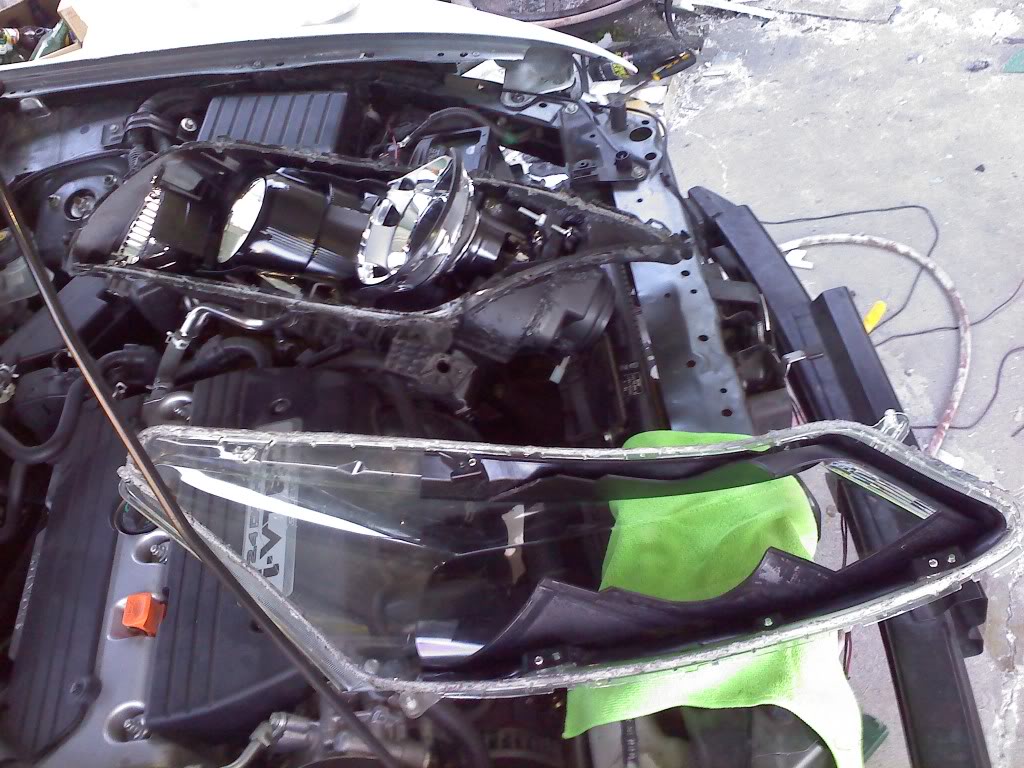
here is the build on my retro projector lights
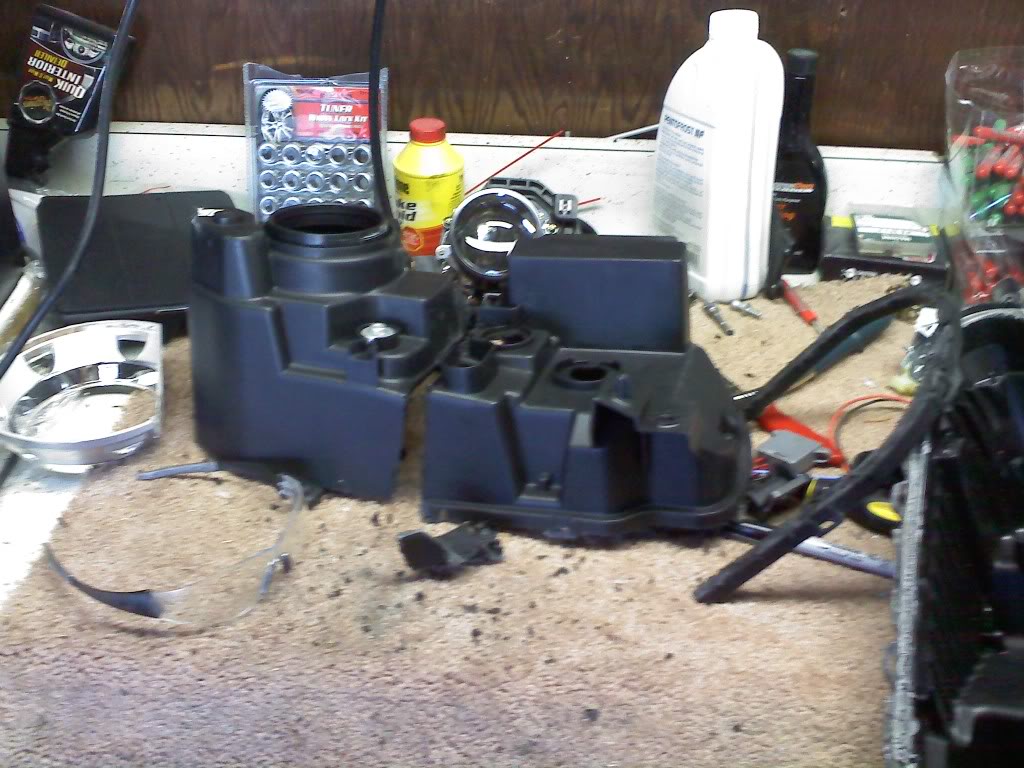
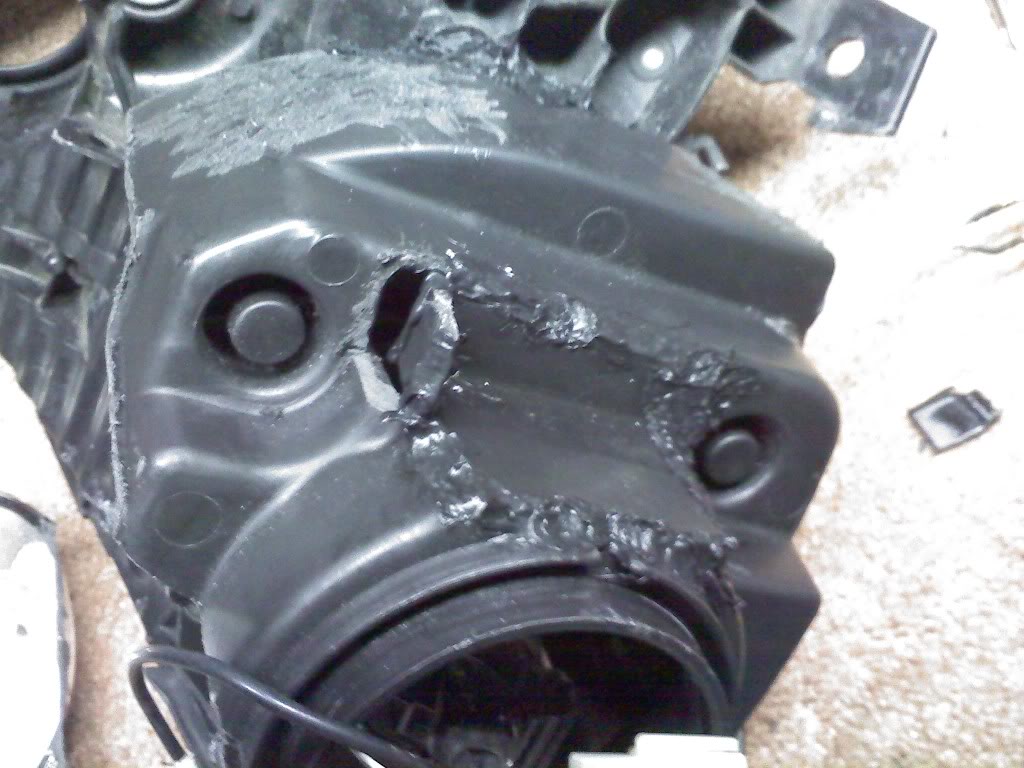
here the back of my assembly stock
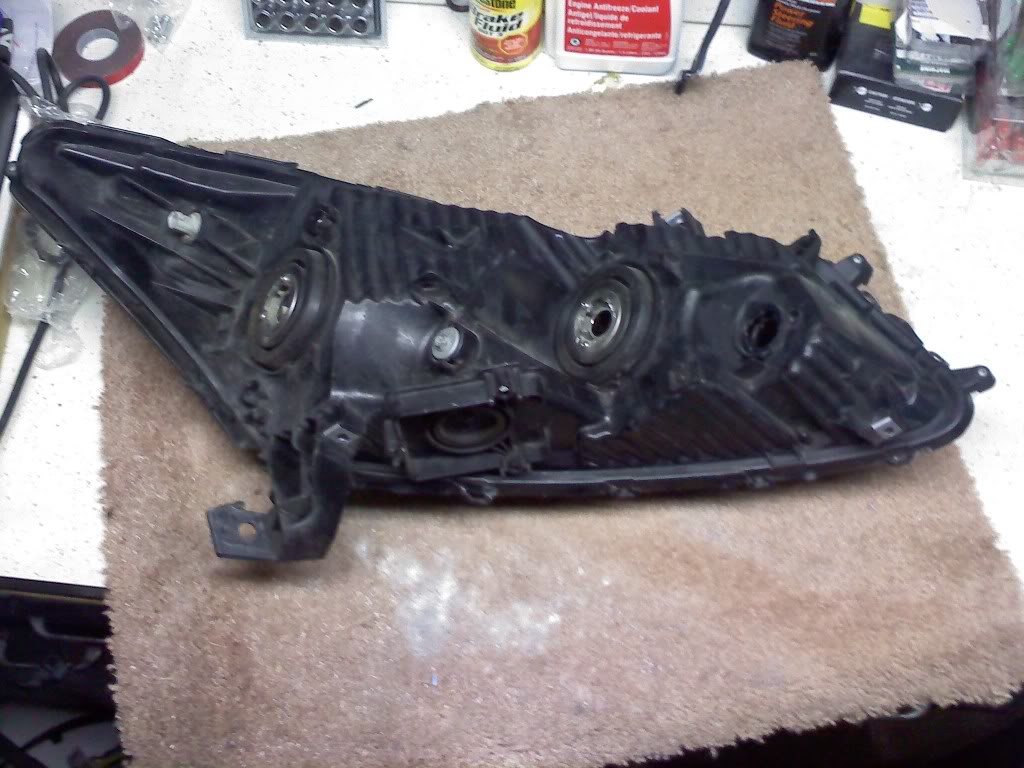
i have to cut much of the inside out including the head light, the side marker, and the back of the light assembly
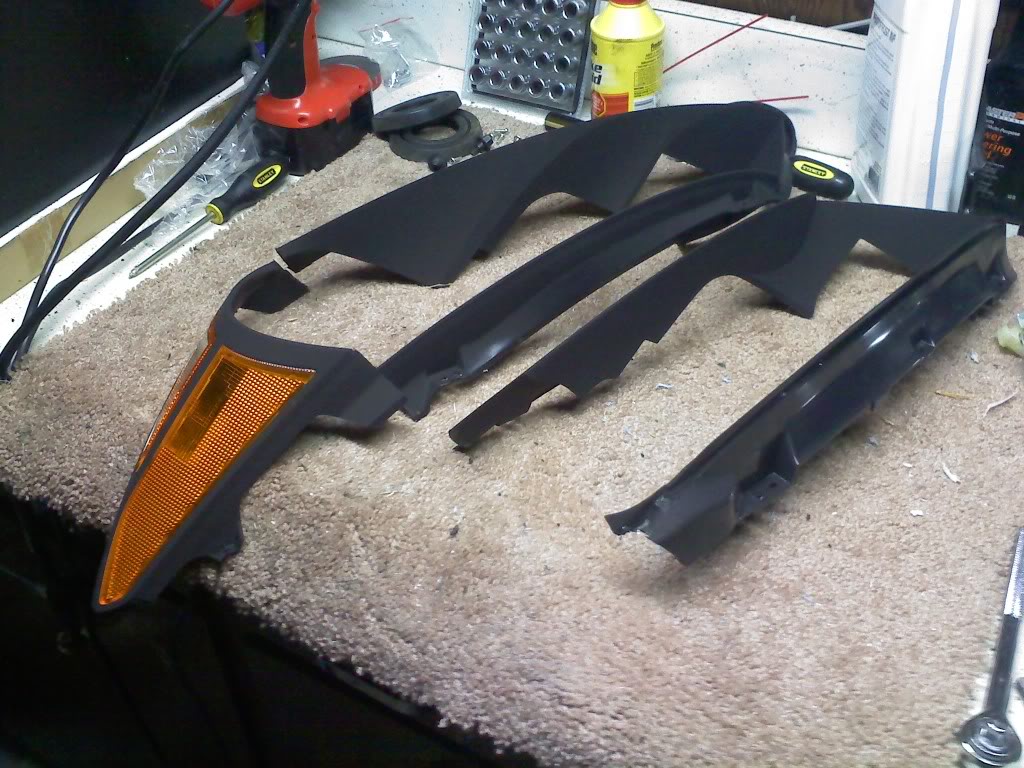
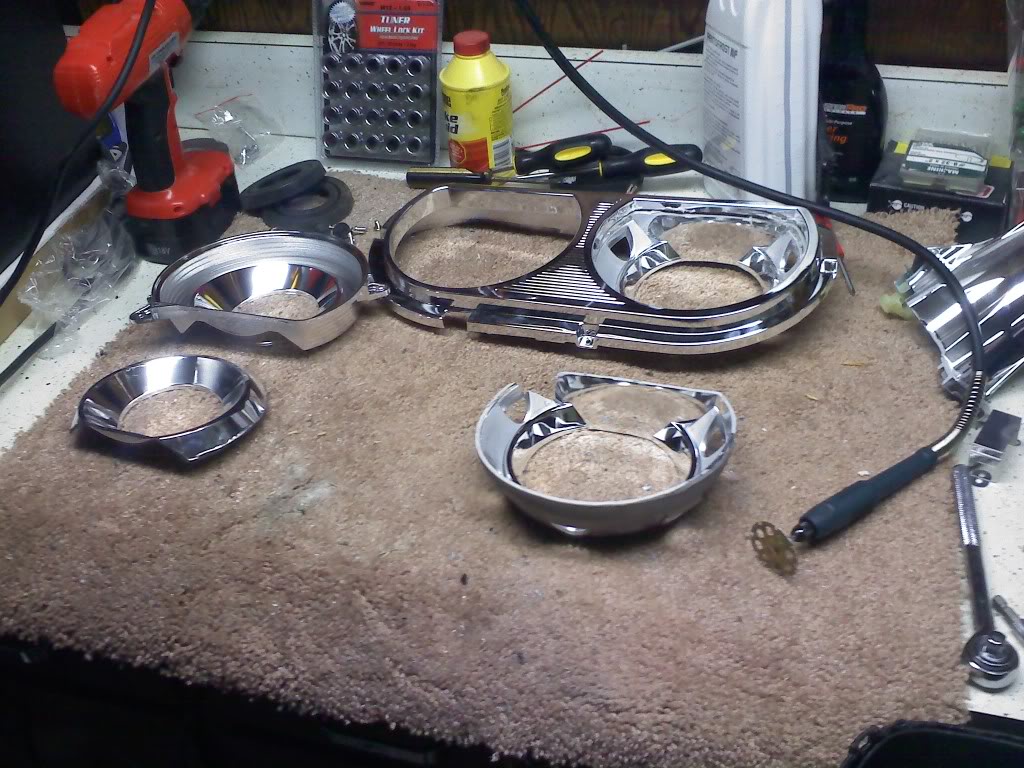
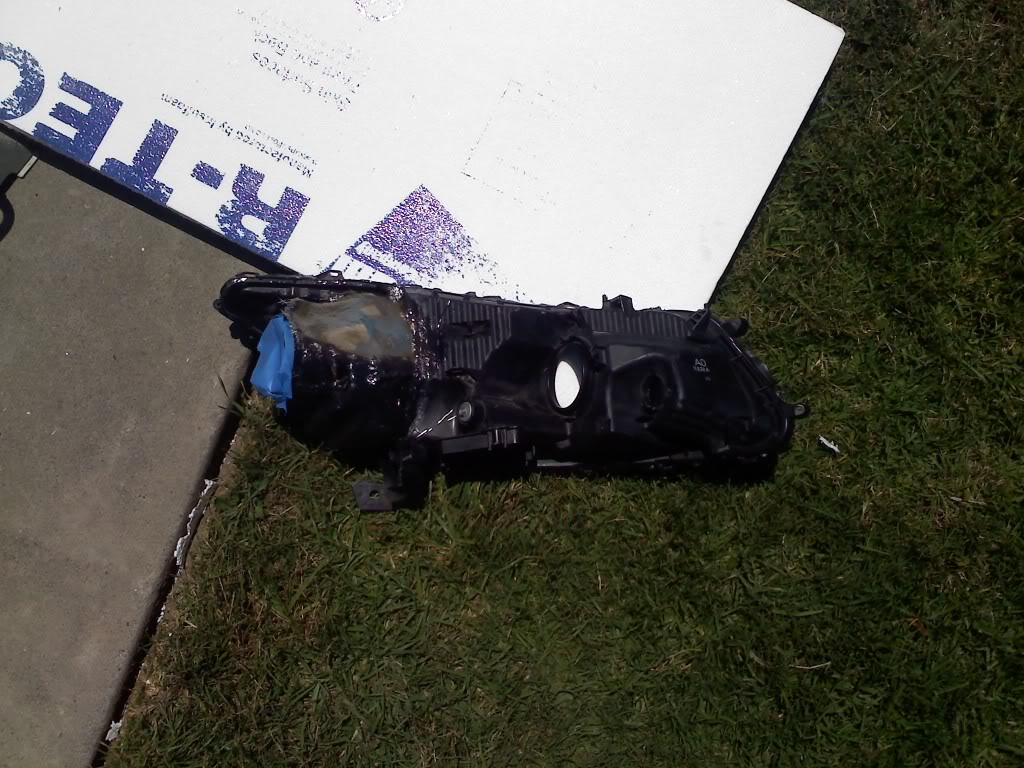
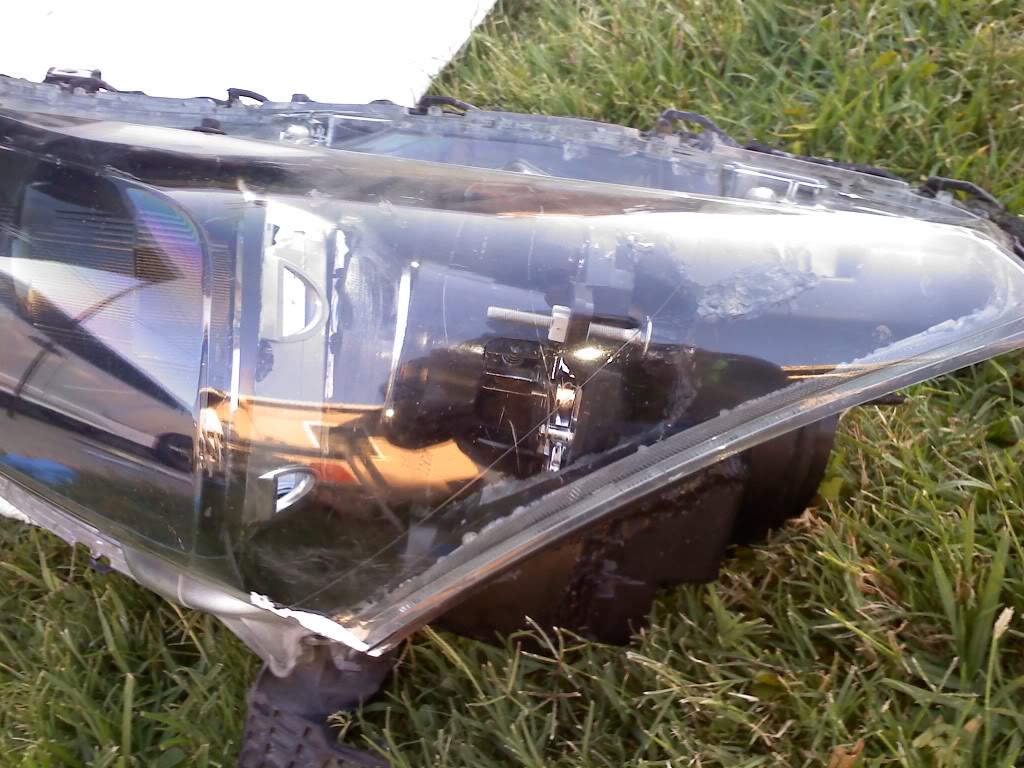
the challenger light get the same treatment
after everything is cut i then attach both housings together by melting the edges of the plastic.

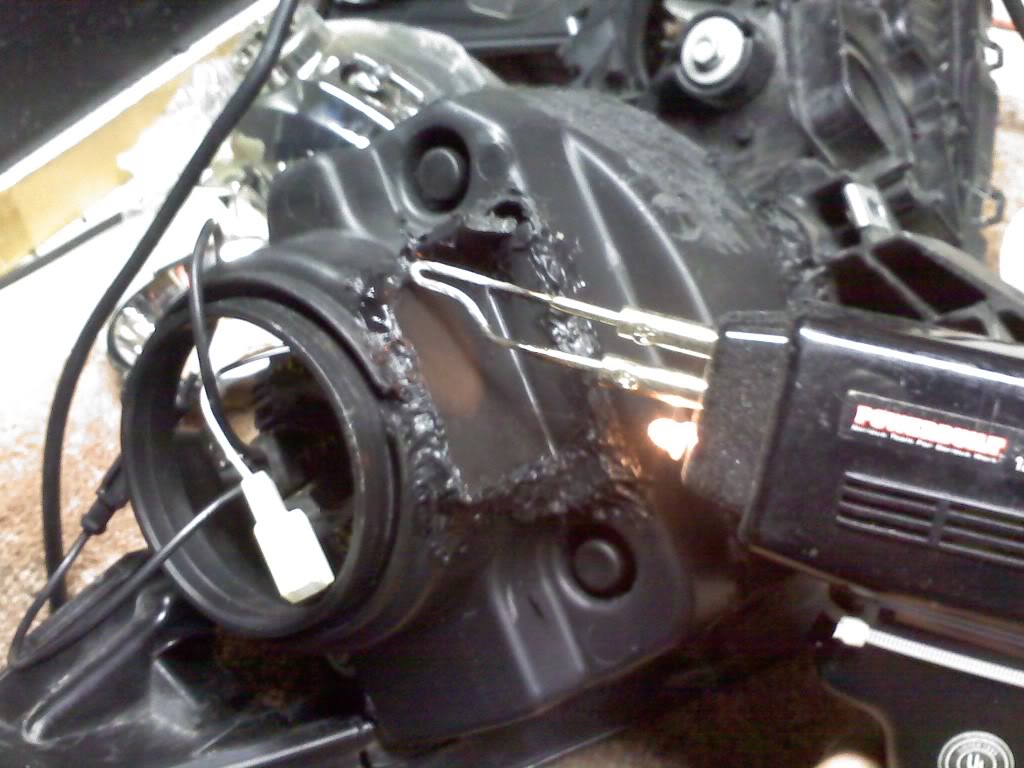
I then fiberglass the last hole shut.
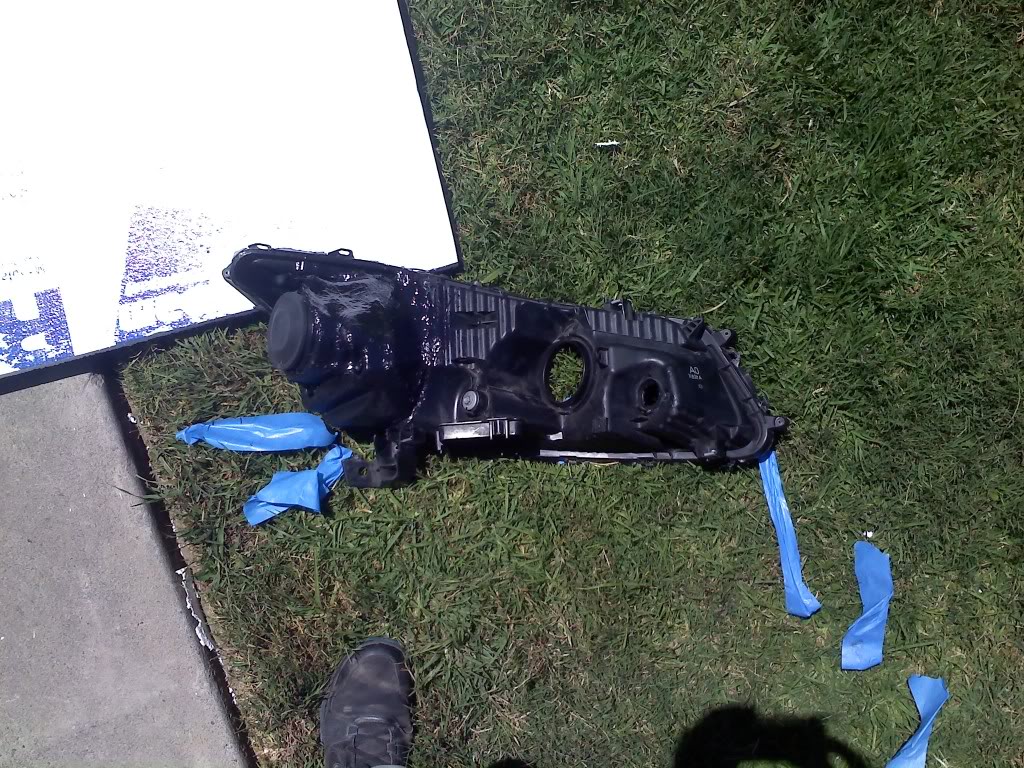
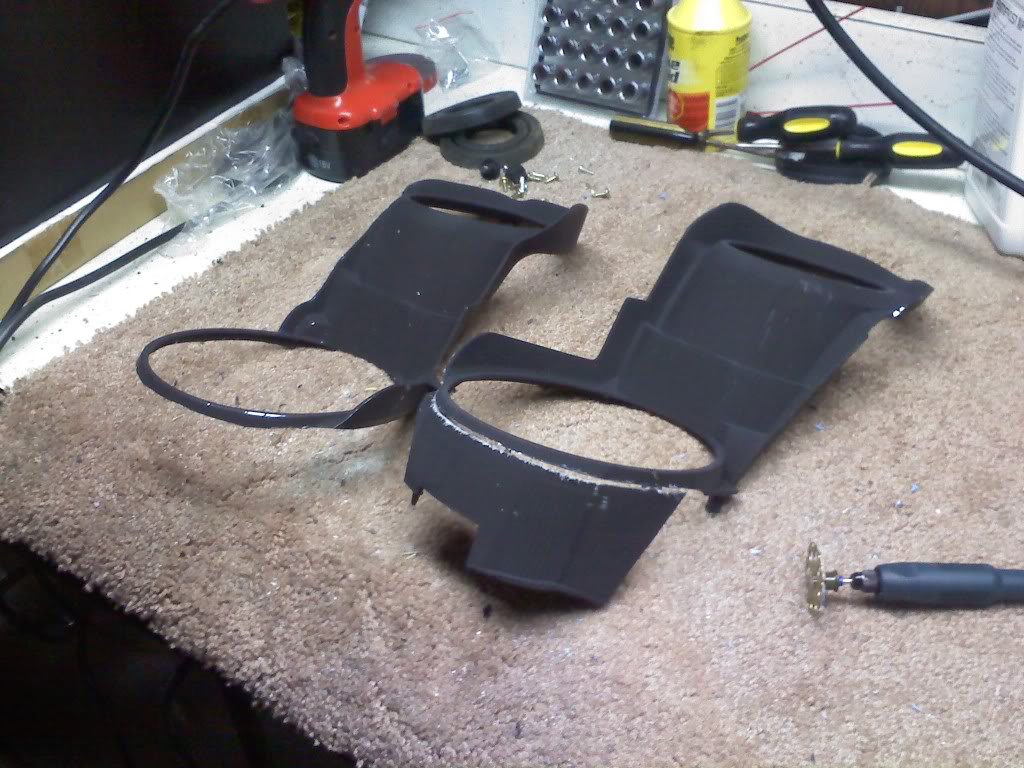
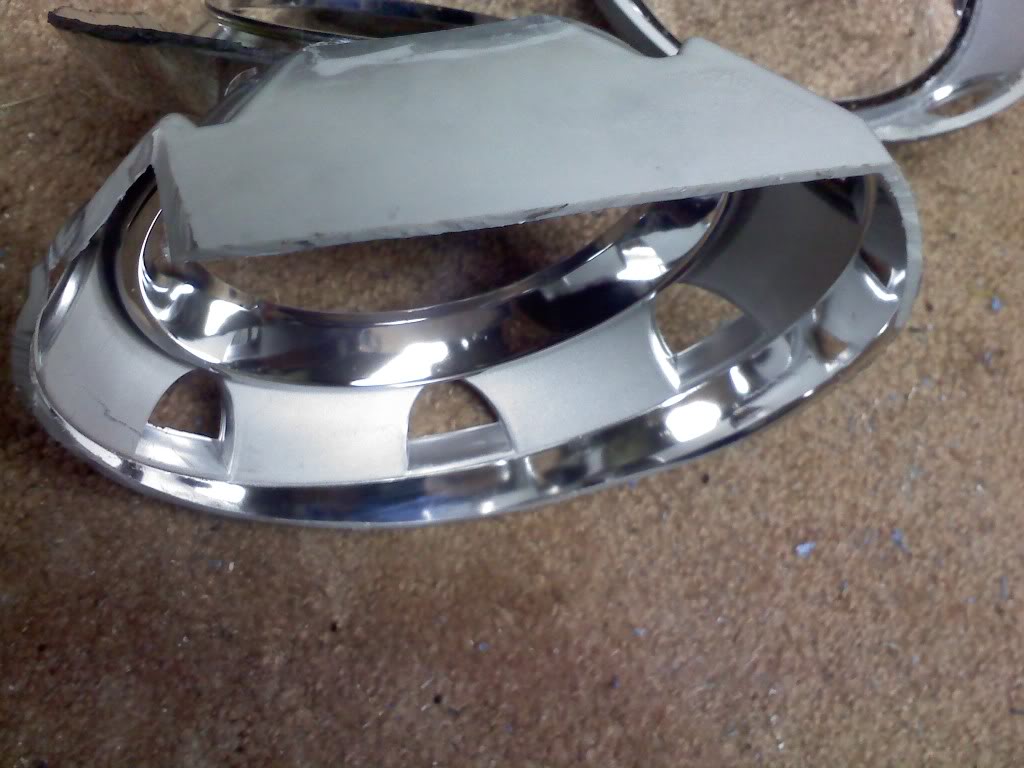
Removing the side marker exposes the projector but my fender covers it
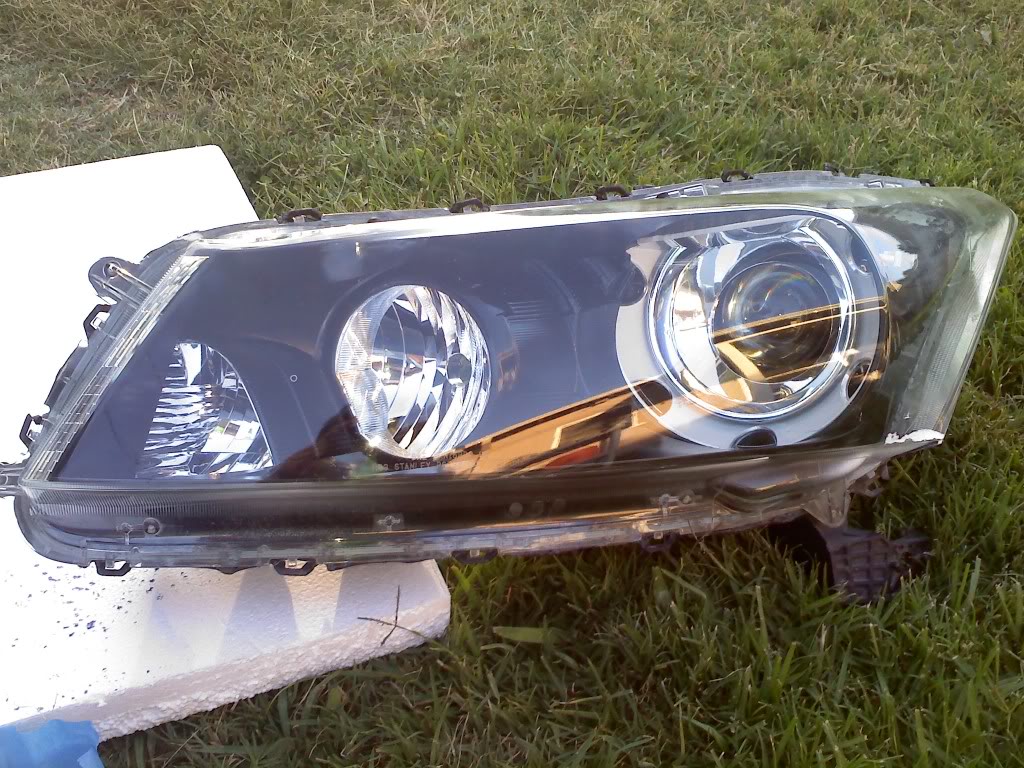
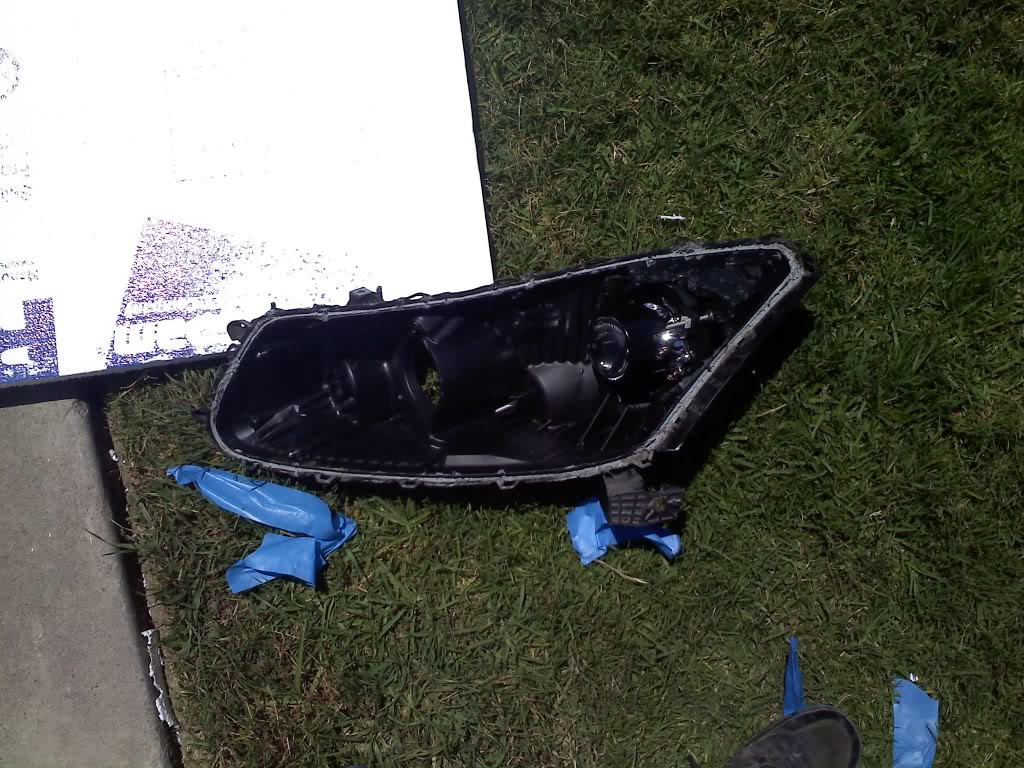
The finished product

here the back of my assembly stock
i have to cut much of the inside out including the head light, the side marker, and the back of the light assembly
the challenger light get the same treatment
after everything is cut i then attach both housings together by melting the edges of the plastic.
I then fiberglass the last hole shut.
Removing the side marker exposes the projector but my fender covers it
The finished product

