
Putting speakers in the kicks of a 2001 EX


Thread Starter
|
Super Moderator
Joined: Dec 2009
Posts: 3,279
From: Quad Cities, IL
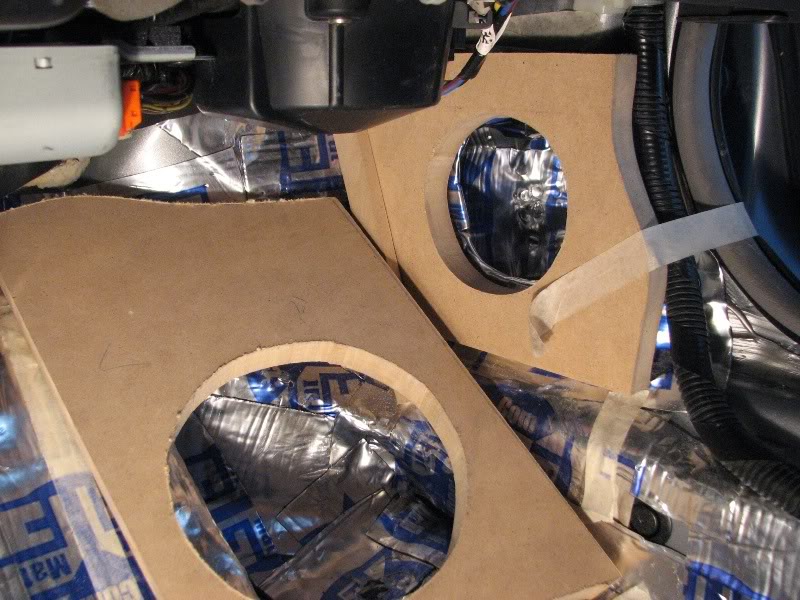
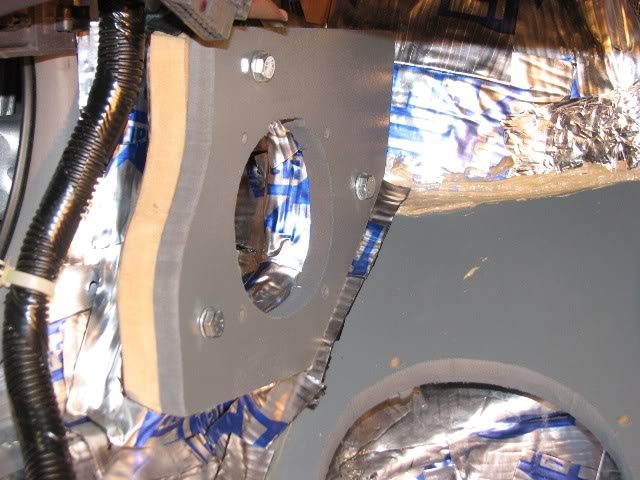
The process:
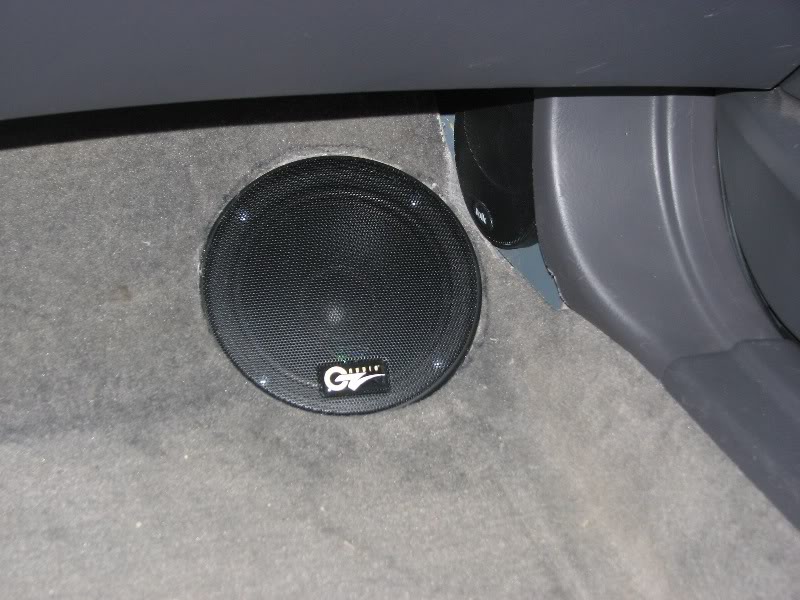
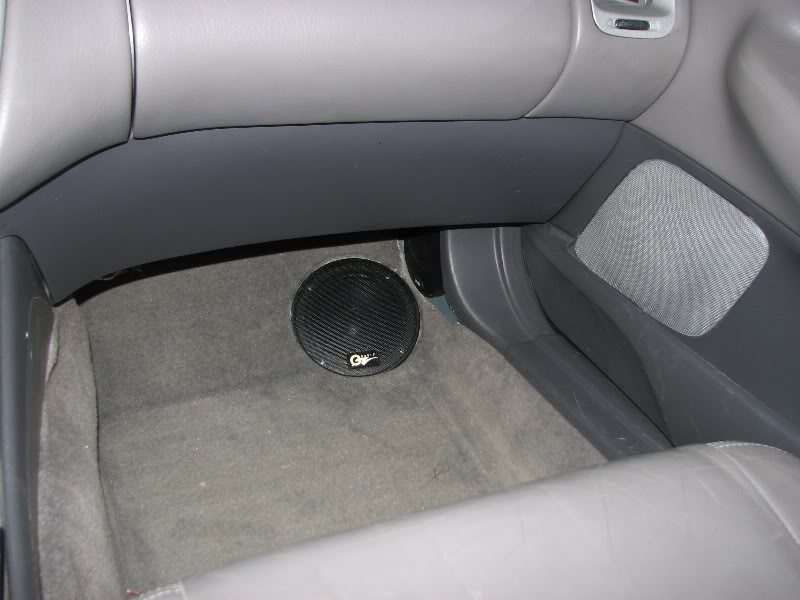
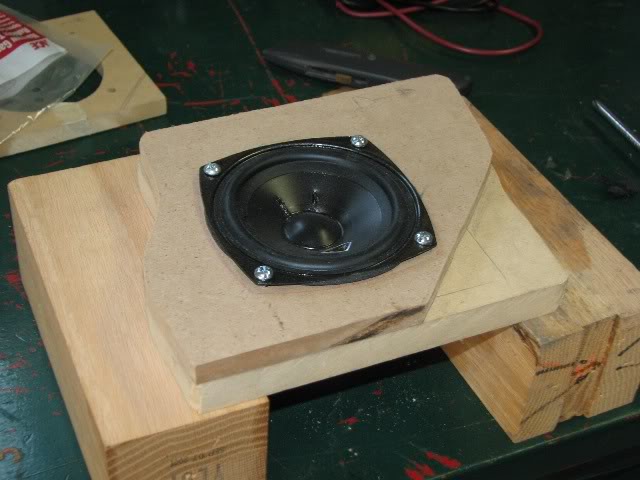
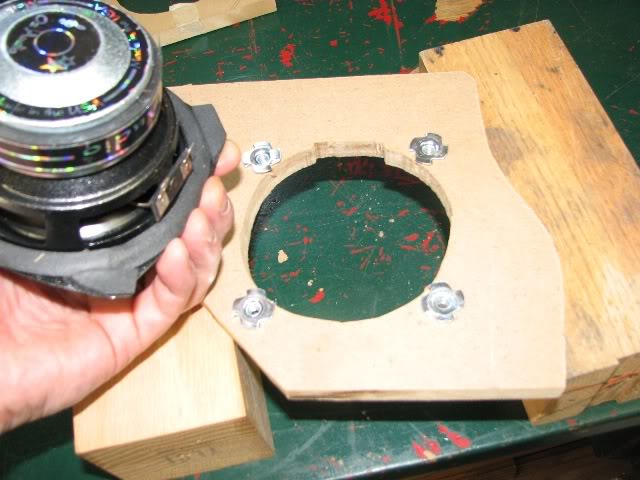
driver
exposed
cutting
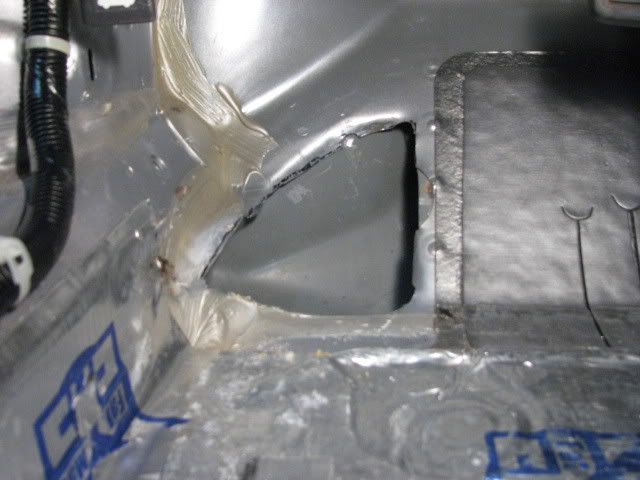
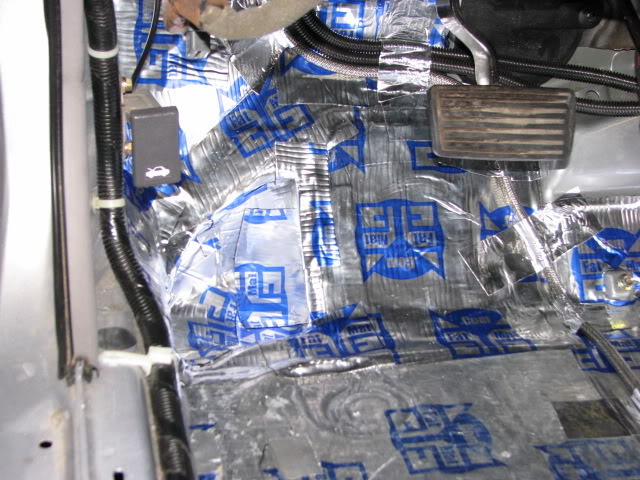
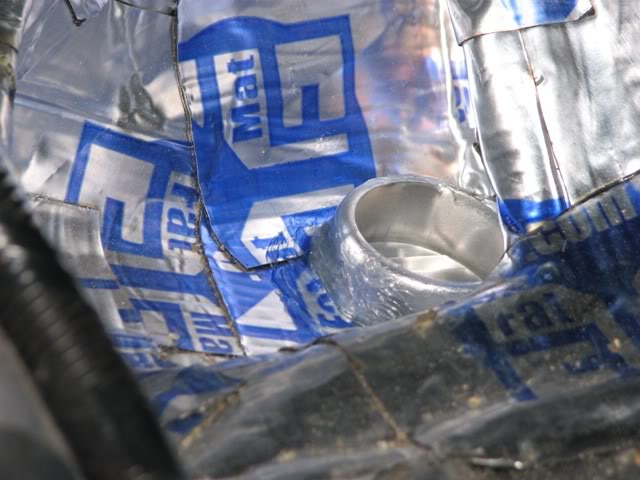
deadening
vented
baffles
grills (updated with Oz grills- not pictured)
carpeted (need to replace/cover factory carpet)
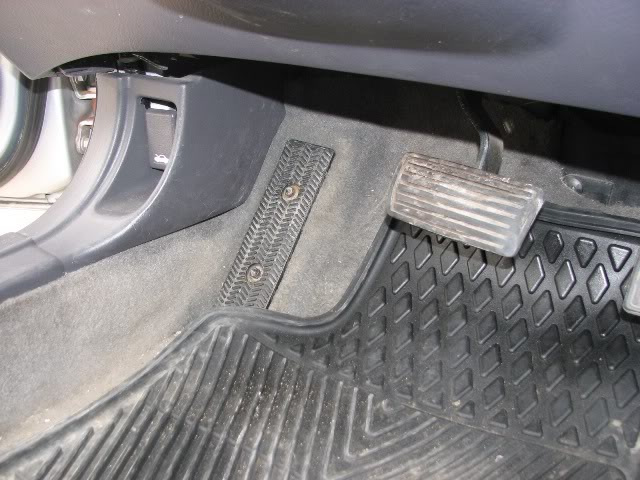
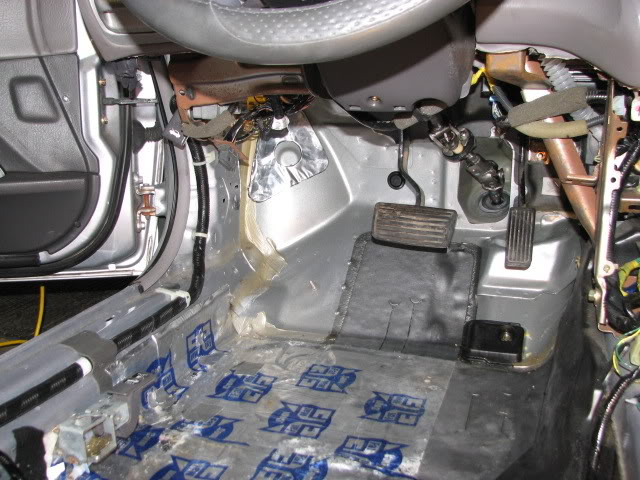
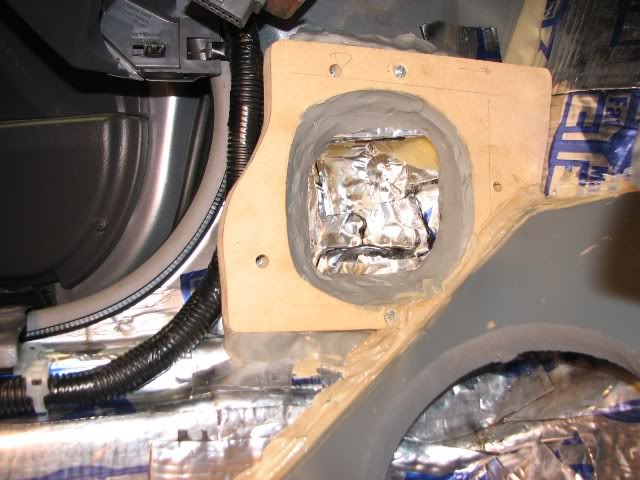
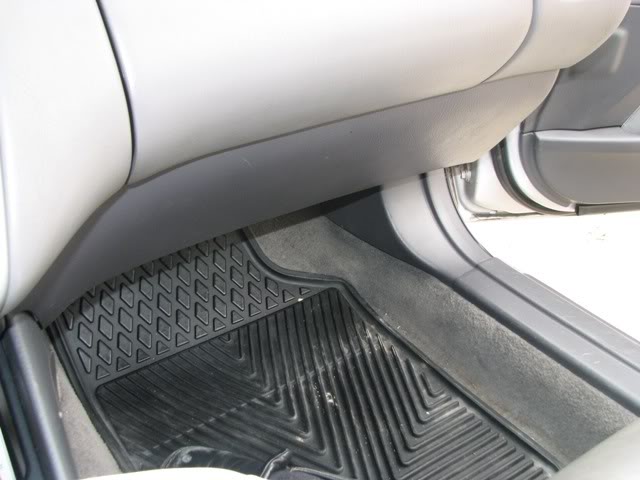
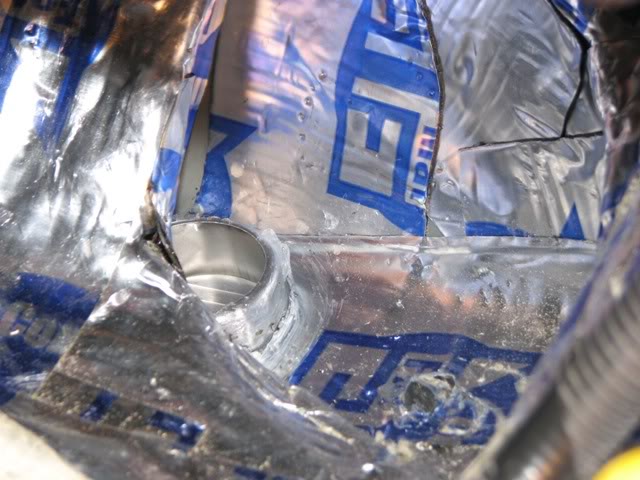
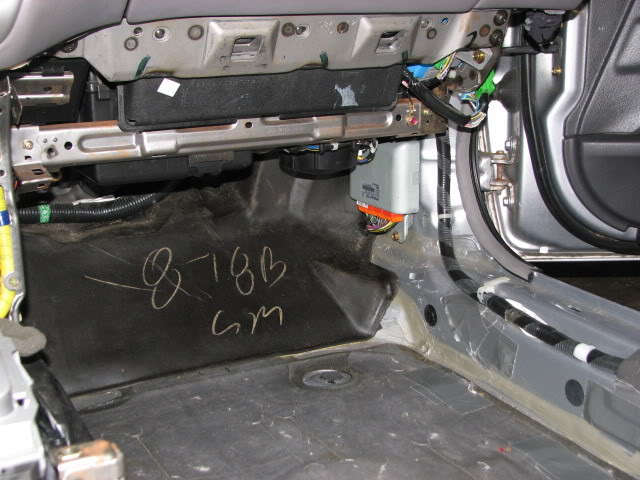
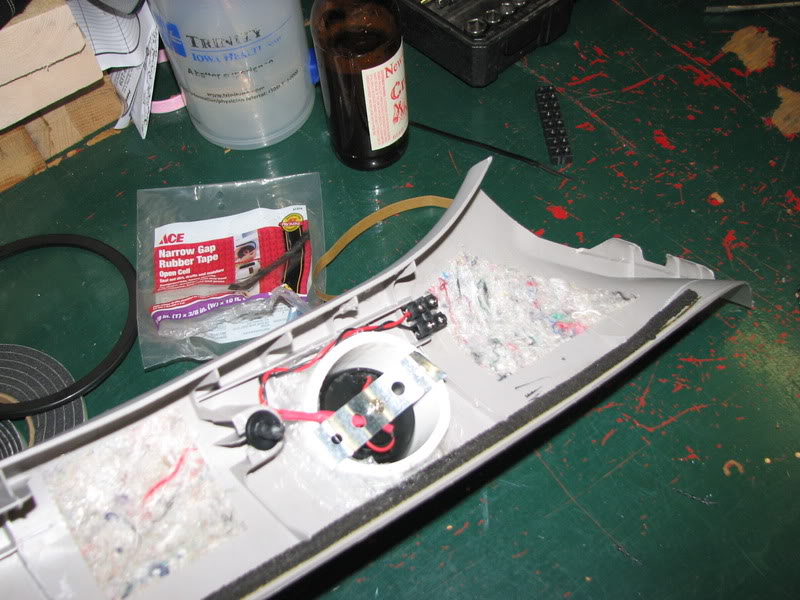
- disassemble all interior trim panels and remove carpet to expose kick panel metal.
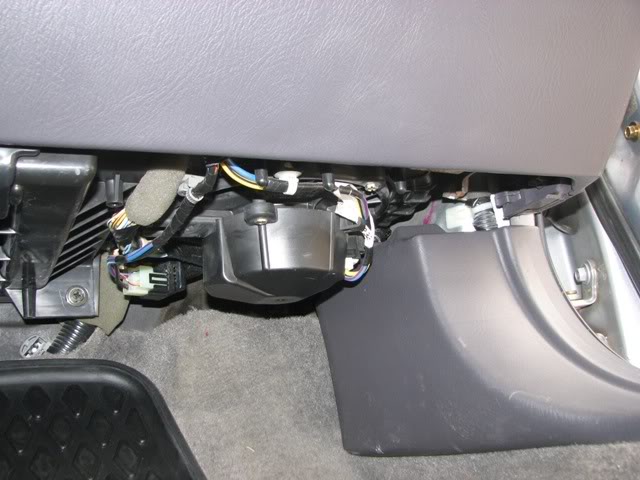
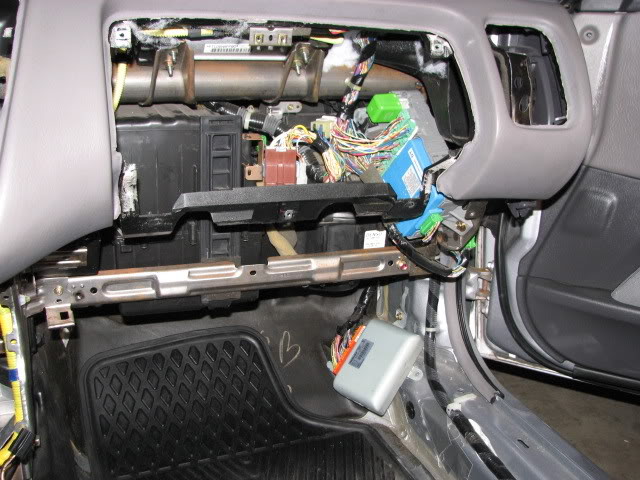
- plan on relocating anything currently located there - i.e. computers and hood release
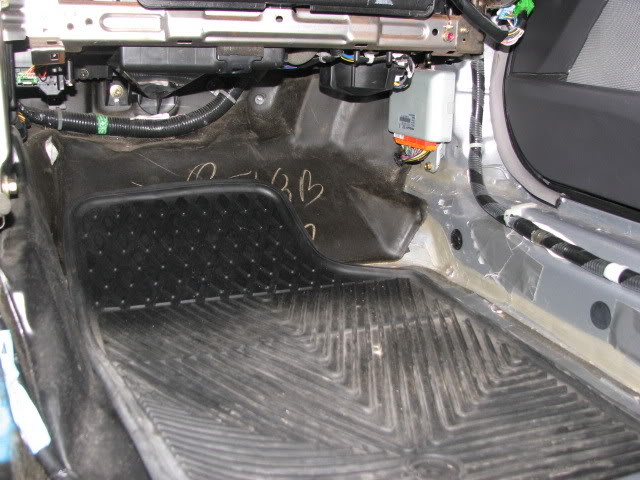
- find any cavities in the kick area - in my case there was a cavity in the floor and one on the lower apillar (side)
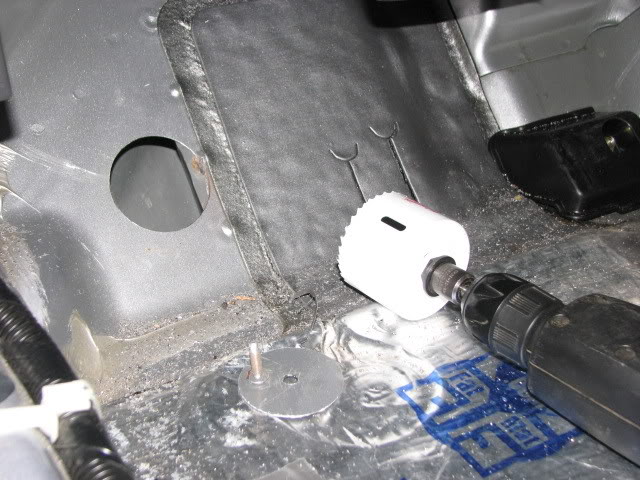
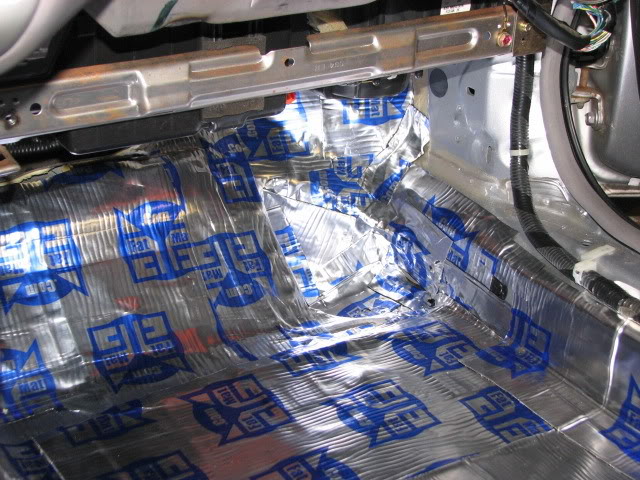
- cut away metal that is not structurally important
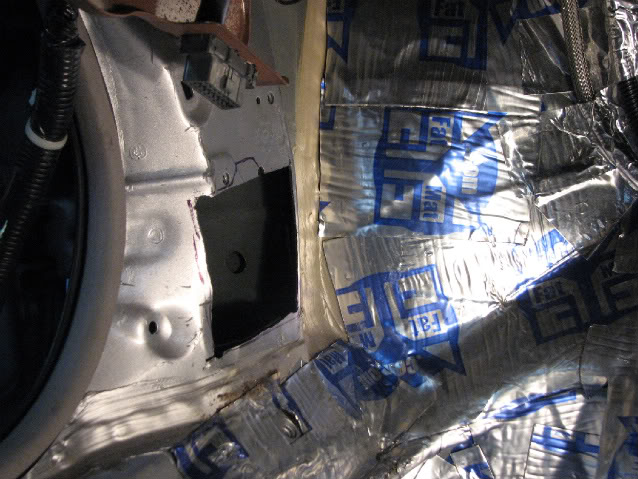
- deaden the hell out of the area
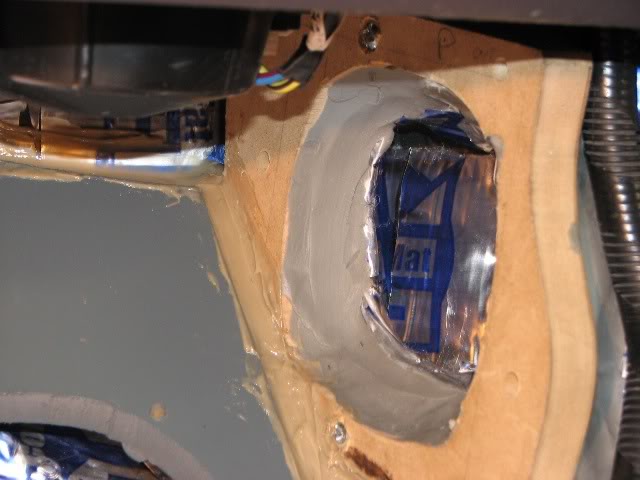
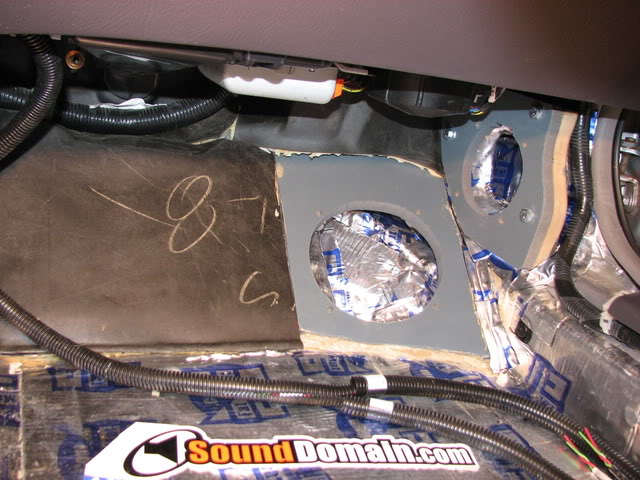
- build baffles - i used painted MDF with t-nuts
- secure baffles - i used liquid nails construction adhesive and silicone
- modify factory trim panels and carpeting to accept new drivers
driver
exposed
cutting
deadening
vented
baffles
grills (updated with Oz grills- not pictured)
carpeted (need to replace/cover factory carpet)


Thread Starter
|
Super Moderator
Joined: Dec 2009
Posts: 3,279
From: Quad Cities, IL
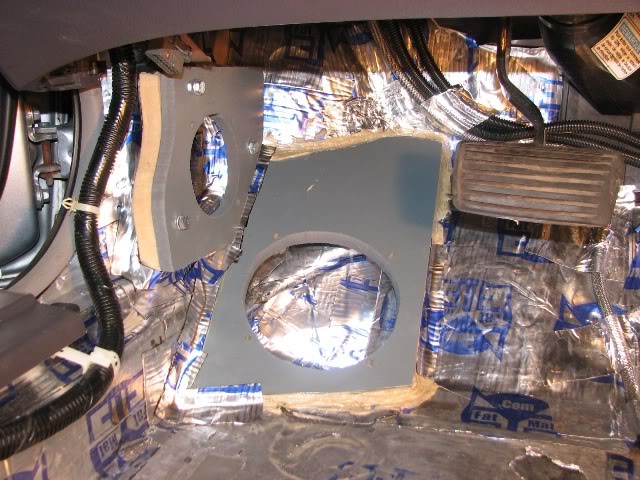
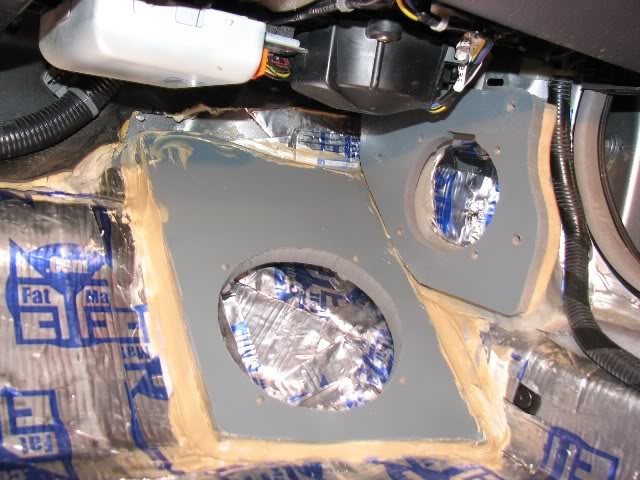
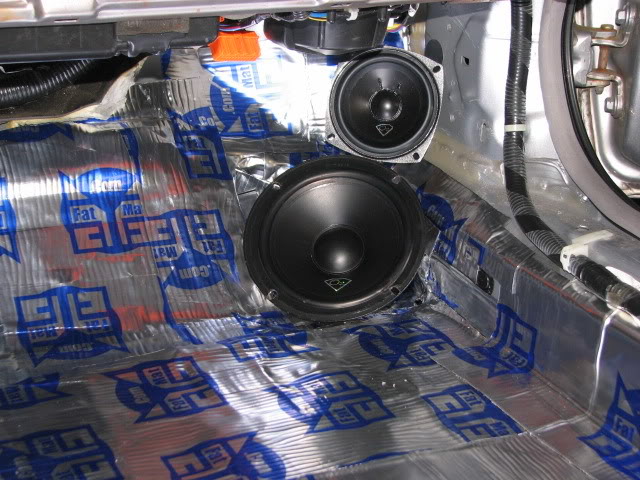
test fitting process
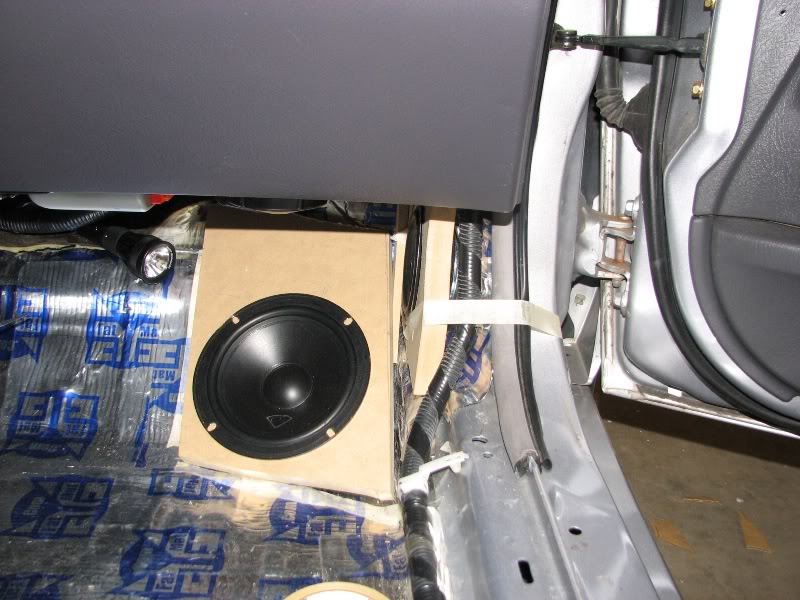
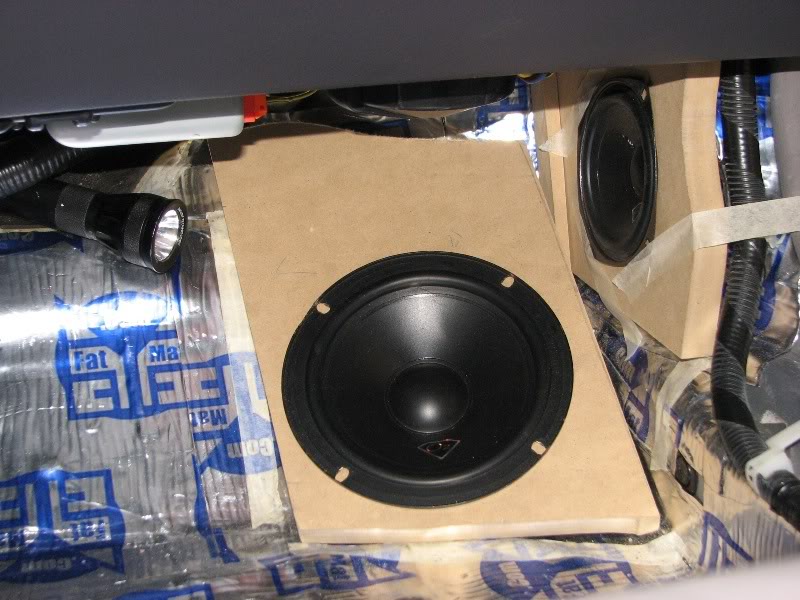
midrange baffle creation

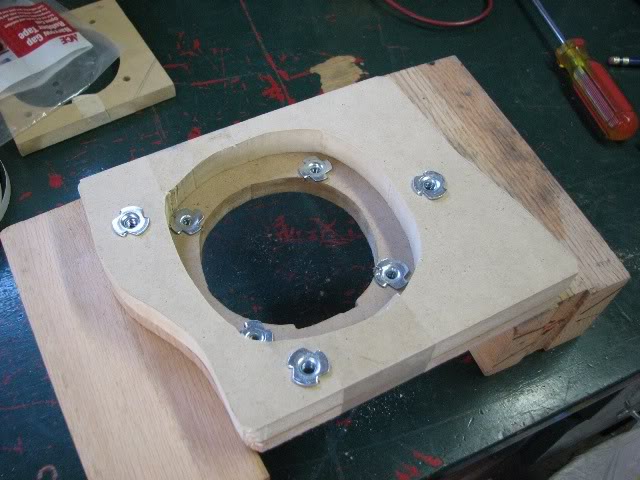
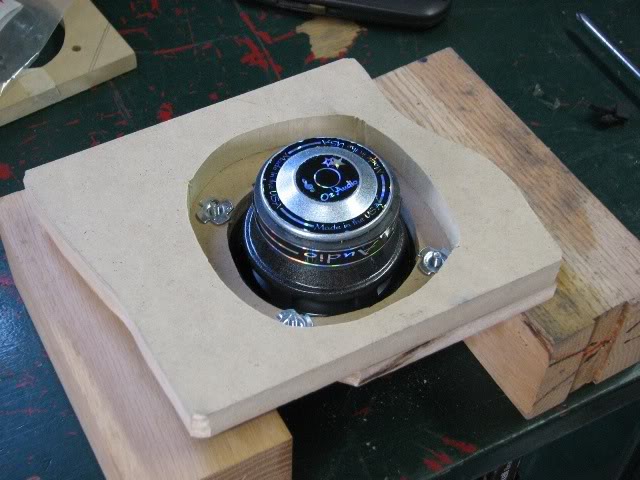

designed for flexibility with midrange selection. i made the rear piece to secure to the car with three t-nuts for mounting the outer baffle. the outer baffle is removable so i can try different midrange drivers that don't align with the Oz mounting locations. the midbass baffle is fixed.
midrange baffle creation
designed for flexibility with midrange selection. i made the rear piece to secure to the car with three t-nuts for mounting the outer baffle. the outer baffle is removable so i can try different midrange drivers that don't align with the Oz mounting locations. the midbass baffle is fixed.
Thread Starter
|
Super Moderator
Joined: Dec 2009
Posts: 3,279
From: Quad Cities, IL
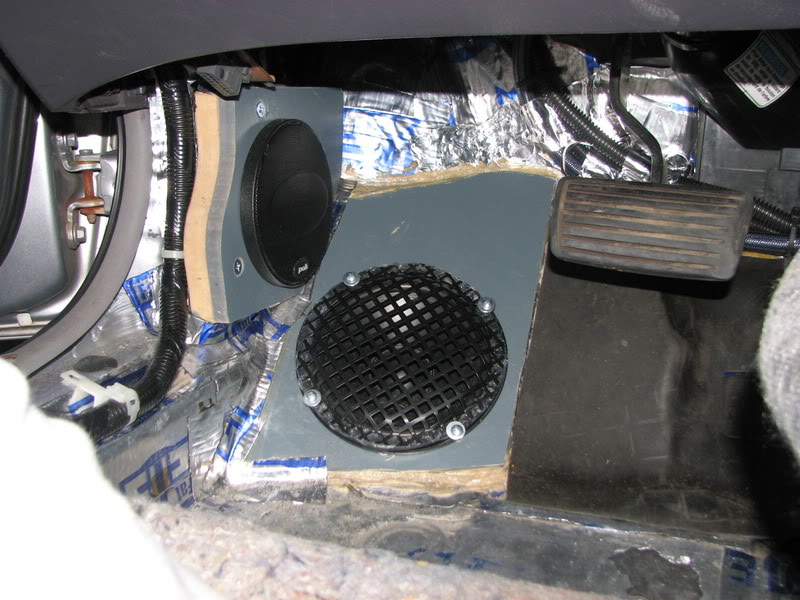
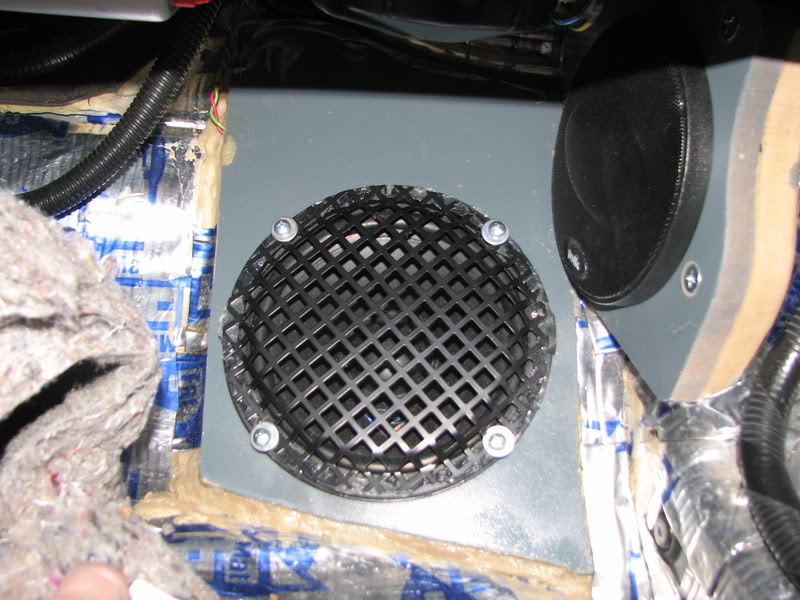
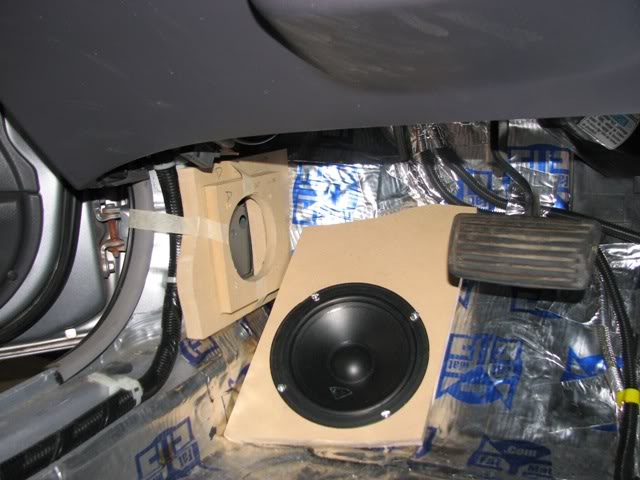
testing speaker locations
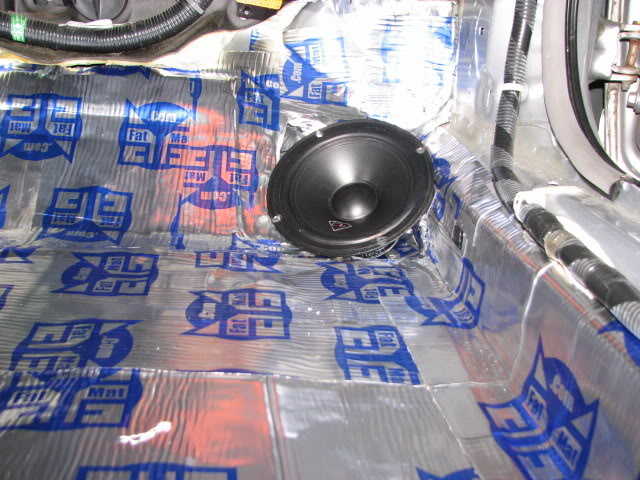
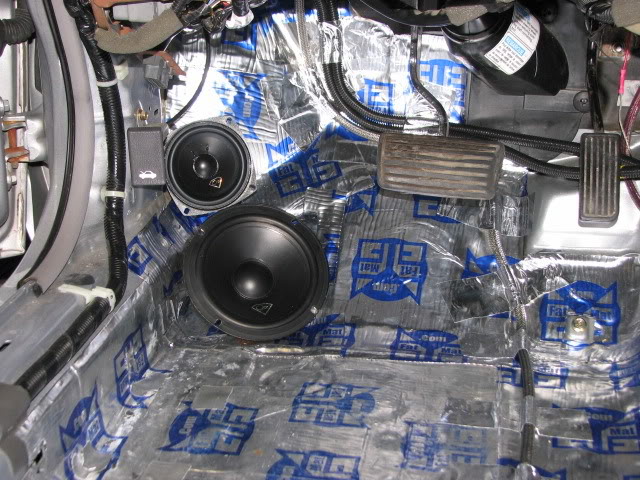
computer relocated
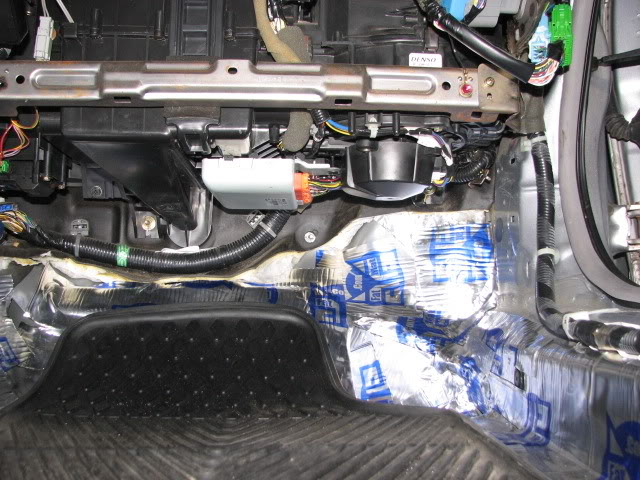
retention of factory firewall barrier.
speaker wire disconnects protected with heat shrink.
speaker protected from fiberglass with grill cloth
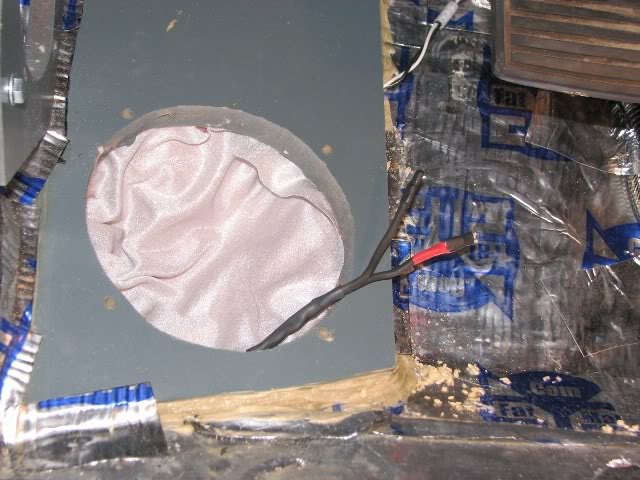
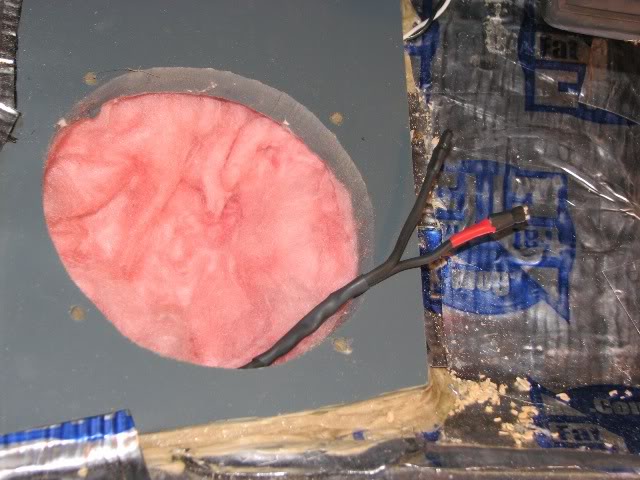
i've been experimenting with different fill types (fiberglass, polyfill, etc.) and different amounts. the fiberglass is no longer in there.
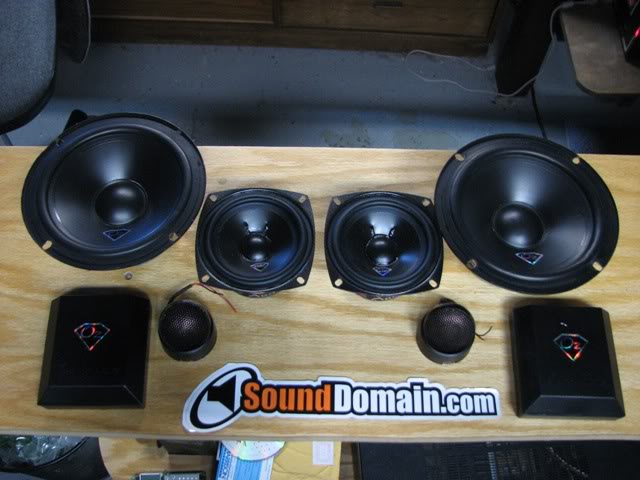
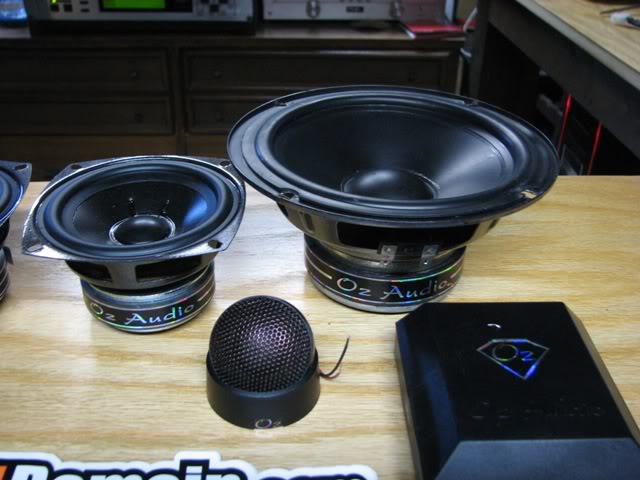
these are the drivers in the kicks:
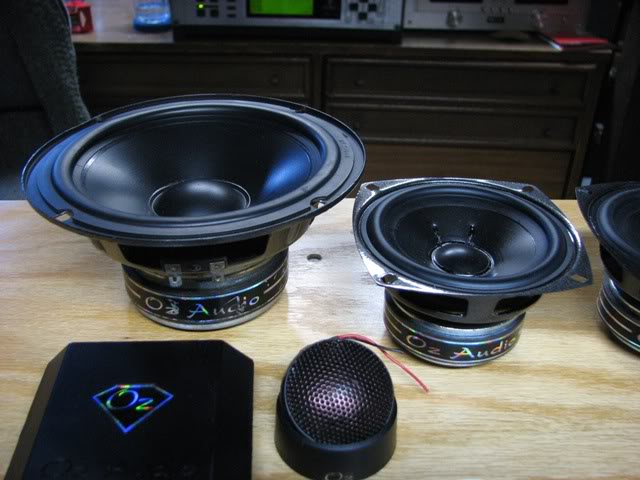
system diagram

computer relocated
retention of factory firewall barrier.
speaker wire disconnects protected with heat shrink.
speaker protected from fiberglass with grill cloth
i've been experimenting with different fill types (fiberglass, polyfill, etc.) and different amounts. the fiberglass is no longer in there.
these are the drivers in the kicks:
system diagram

Thread Starter
|
Super Moderator
Joined: Dec 2009
Posts: 3,279
From: Quad Cities, IL
hobby, of sorts. professionally, i'm an Acoustics Engineer. i've sold home/car audio b4, and installed home audio professionally. but car audio has been a hobby for 15 years, and i perform my own work. i will do installations for others, and my rates are very reasonable. i'll consult on installations, help purchase equipment (usually from a local shop but sometimes online), install and tune, and teach how to use it.
this is my everyday car, most of this work was performed between 11pm-3am, after the wife and kids go to bed, with enough time to sleep b4 i go to work at 8am.
i posted this so others with a 6th gen can see the potential.
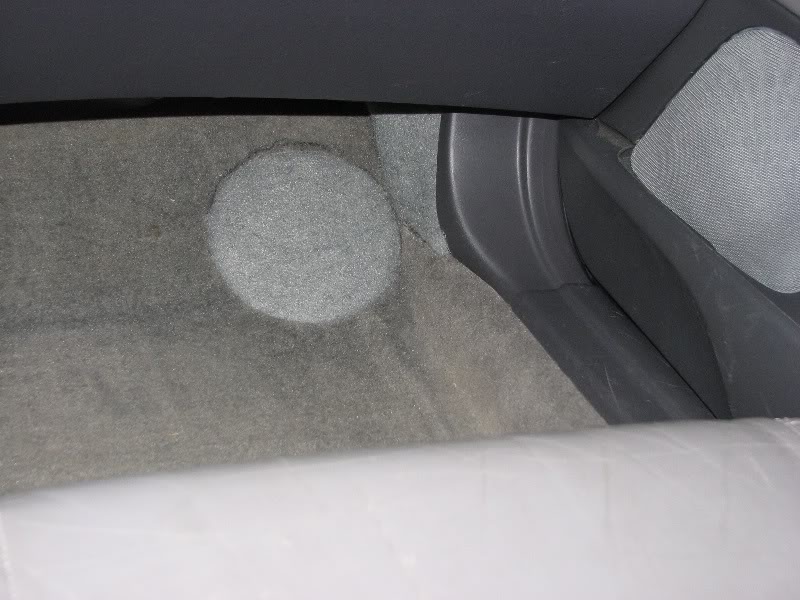
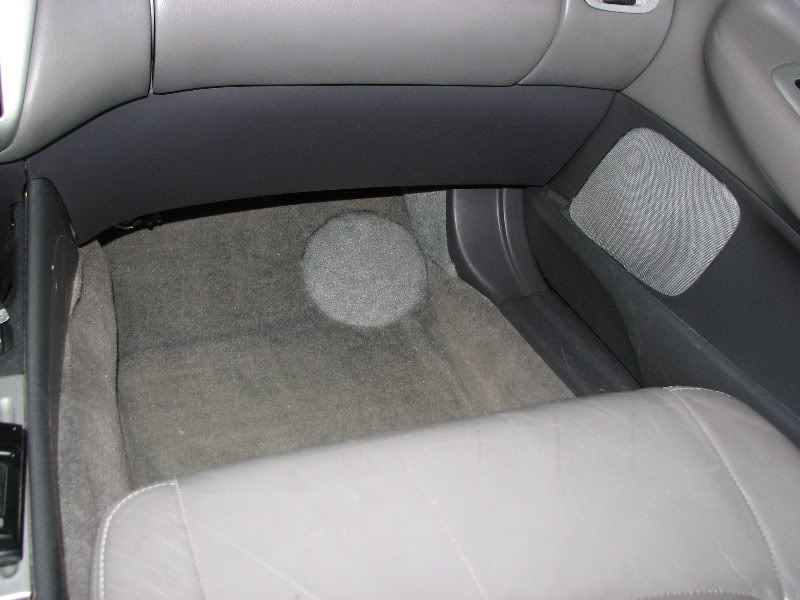
my next task is to recover the factory carpet so i have a seamless look. i don't like that you can see the difference in carpet. and i don't like the stains.
this is my everyday car, most of this work was performed between 11pm-3am, after the wife and kids go to bed, with enough time to sleep b4 i go to work at 8am.
i posted this so others with a 6th gen can see the potential.
my next task is to recover the factory carpet so i have a seamless look. i don't like that you can see the difference in carpet. and i don't like the stains.
Thread Starter
|
Super Moderator
Joined: Dec 2009
Posts: 3,279
From: Quad Cities, IL
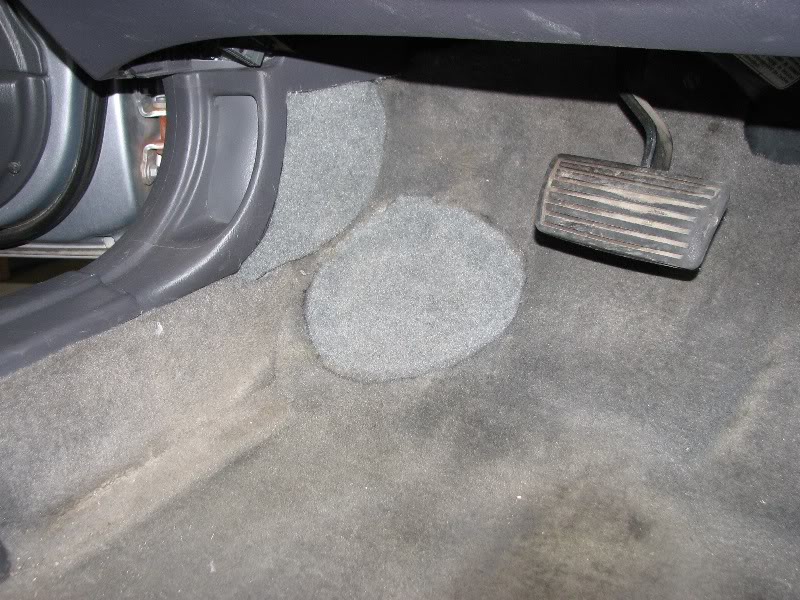
the coolest part is that after all of that stuff down there, i lost ZERO space in my kicks. everything is flush with factory carpet and factory panels.
and the sound stage is amazing.
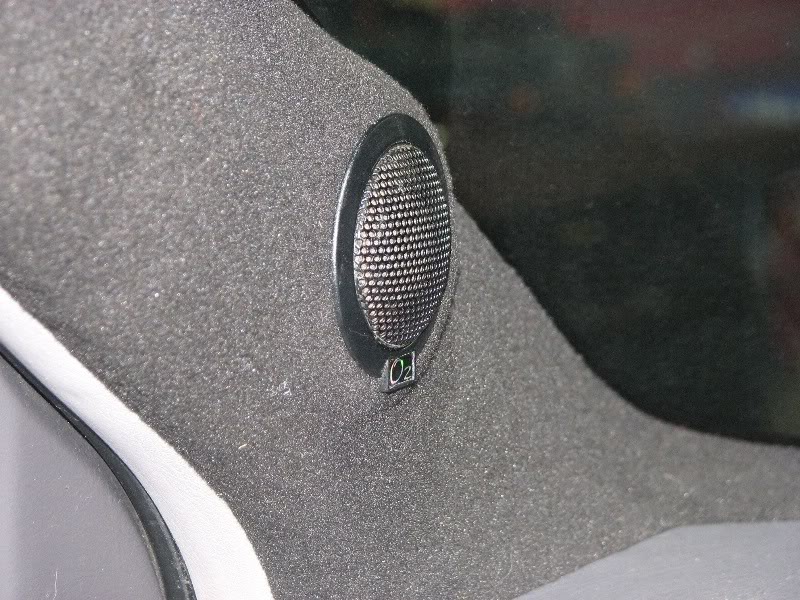
tweeter installation:
extending tweeter wires - solder and heat shrink
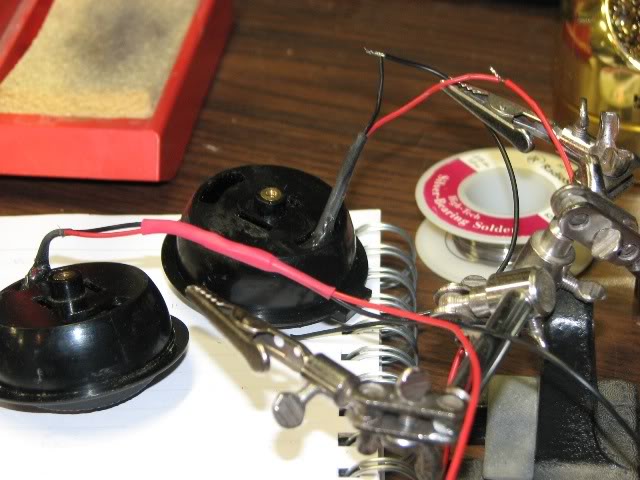
tweeter prep
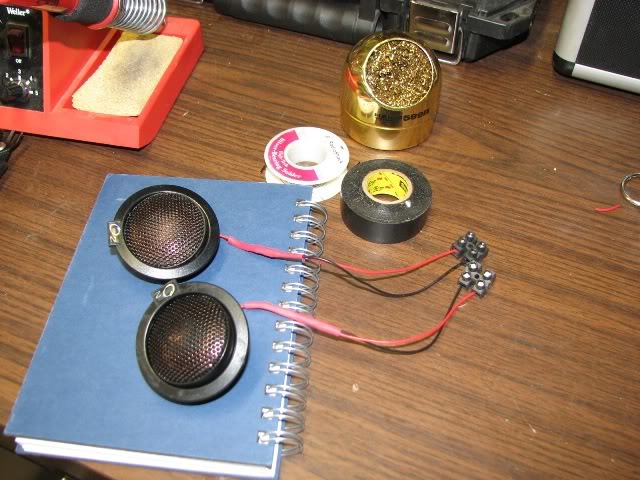
wire terminals - a molex plug is planned for future
pvc with modeling clay for shape
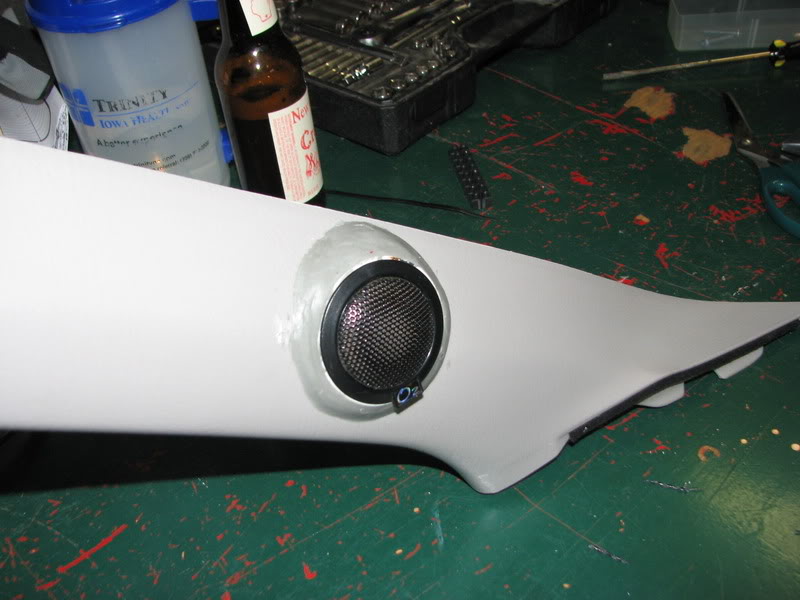
covered with black fleece - black so they are not visible from outside and so it matches the tweeters. i may recover most of the car black to set off the silver trim.
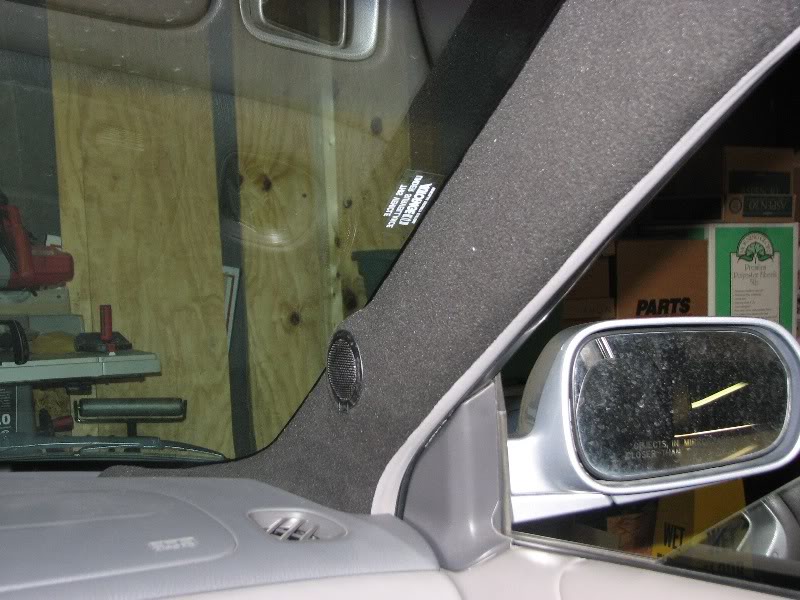
finished look
and the sound stage is amazing.
tweeter installation:
extending tweeter wires - solder and heat shrink
tweeter prep
wire terminals - a molex plug is planned for future
pvc with modeling clay for shape
covered with black fleece - black so they are not visible from outside and so it matches the tweeters. i may recover most of the car black to set off the silver trim.
finished look


Lets hope it was something good he said...

Super nice shots and info my Stereo Manager...
WheelBrokerAng