
'01 Accord Sedan Complete Car Audio Install


Thread Starter
Joined: Apr 2008
Posts: 113
I got the cold air intake installed today, a pain to get the stock piece out. I had to take out the front bumper and part of the fender. I'll have pictures later. I'll admit, it is a bit more on the ricer side because it's louder once the VTEC kicks in and if I'm accelerating fast, but it sounds nice. Other than that you can't really notice it with normal driving and for $35 bucks hopefully I see a difference with better gas mileage.
I was going to buy an HID conversion kit, but I found out the projector lights I got are not compatible with them. In a way that's good, because it's money I can save and I can get the headlights in already. I was going to wait till I got the HID's. I'll probably install the lights on Friday and my car will FINALLY get a wash after maybe 4 months. I was going to wait till my car was completely finished and get a full blown detail, but I'll stick to a regular wash by myself for the meantime.
I was going to buy an HID conversion kit, but I found out the projector lights I got are not compatible with them. In a way that's good, because it's money I can save and I can get the headlights in already. I was going to wait till I got the HID's. I'll probably install the lights on Friday and my car will FINALLY get a wash after maybe 4 months. I was going to wait till my car was completely finished and get a full blown detail, but I'll stick to a regular wash by myself for the meantime.
Thread Starter
Joined: Apr 2008
Posts: 113
More deadener to come...Gonna do the wheel wells some more, probably several layers more of spectrum.
As for the Zap's, haven't done any audio updates lately, been resting on that. I'll start on the weekend or sometime next week. I might move the tweeters to the a pillars though. Gotta visit a junkyard first.
As for the Zap's, haven't done any audio updates lately, been resting on that. I'll start on the weekend or sometime next week. I might move the tweeters to the a pillars though. Gotta visit a junkyard first.
Thread Starter
Joined: Apr 2008
Posts: 113
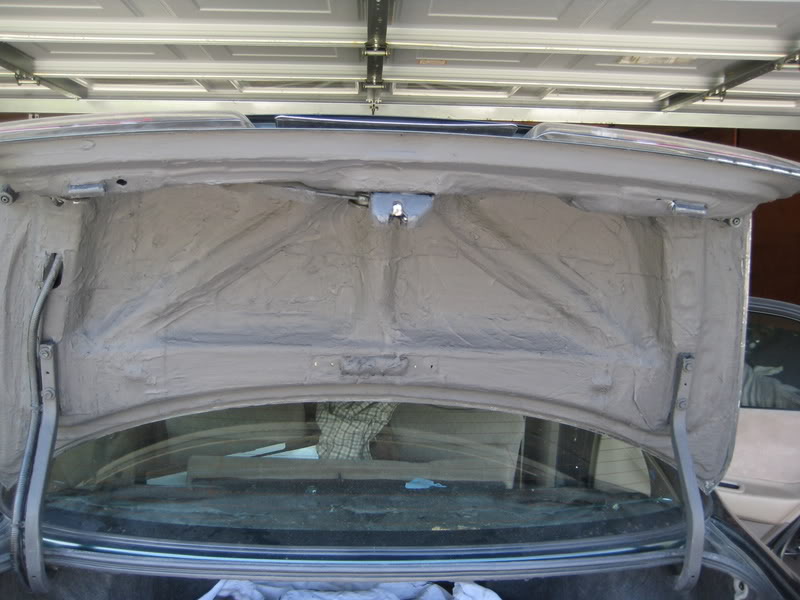
I mixed some sludge activator with the gallon of spectrum and wow, that stuff is thick! I put on some gloves and spread a nice and thick layer on the front wheel wells, along with a layer of spectrum before that, another thick layer of sludge on the top and bottom of the rear deck, and a thick layer on the trunk lid. Tomorrow I will add a layer of sludge to the rear wheel wells and if I have any leftover I will do the trunk bottom of the rear deck for sure and either the hood or the trunk lid again.
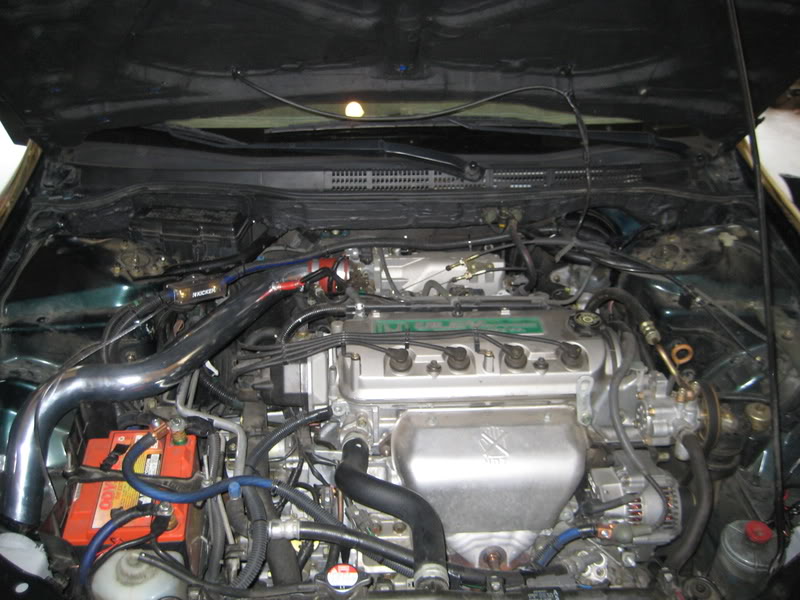
I think the trunk lid is fine though, it has a layer of Damplifier, 5 layers of Spectrum and one layer of sludge. I also put a layer of damplifier, 2 layers of spectrum, and 1 layer of sludge on the firewall on the engine side, but since there is so little room to work with I was only able to do pretty much the top portion. I would really need for everything to come out, well mainly the engine, in order to do the entire firewall as I would like. That would kill a great amount of road noise.
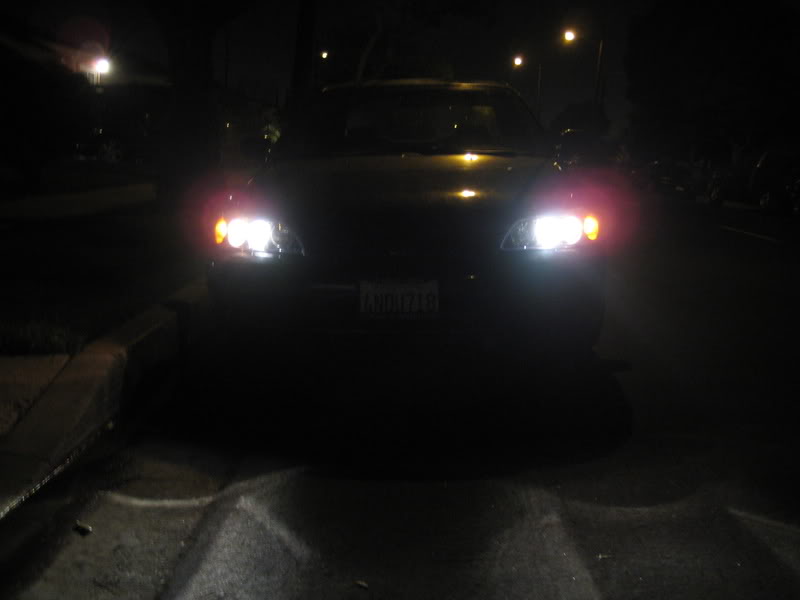
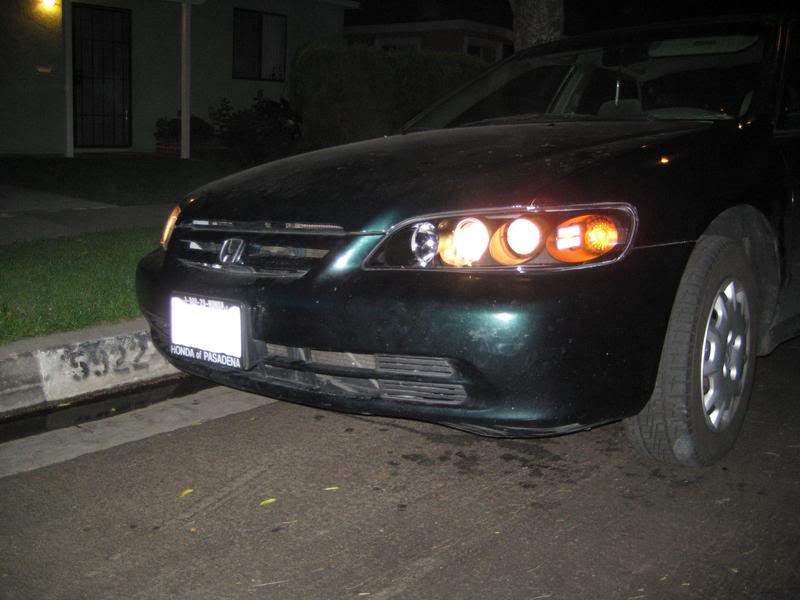
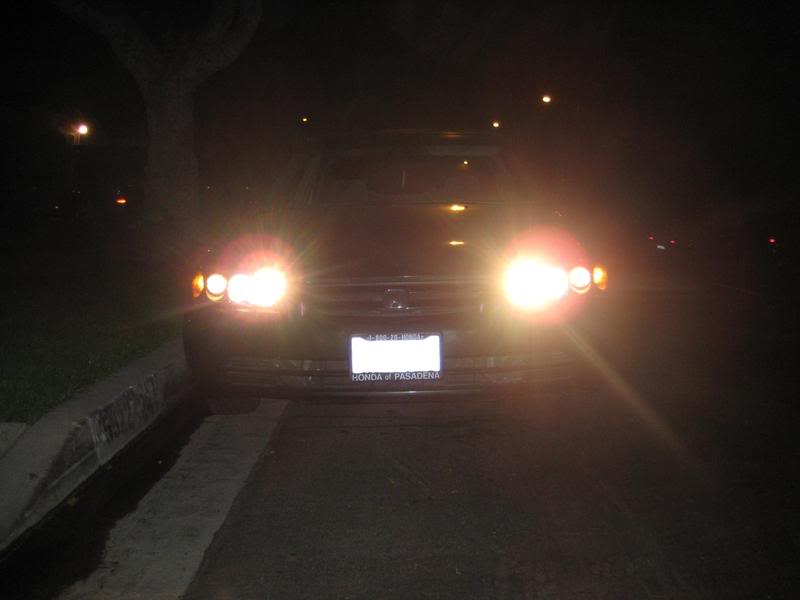
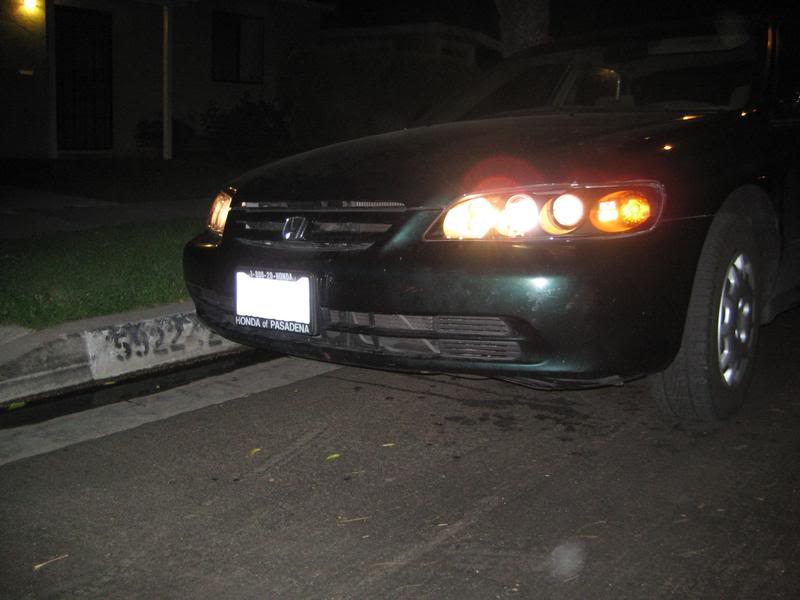
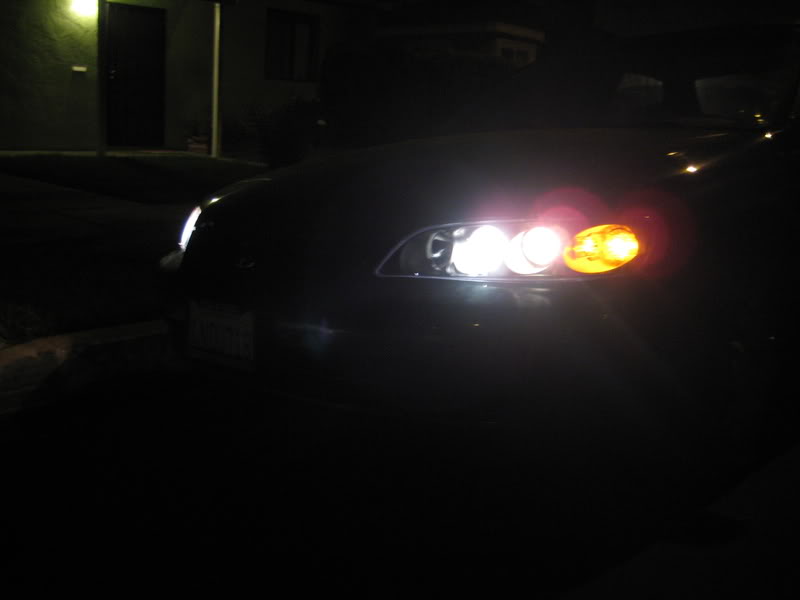
I also installed the projector lights and they are brighter and the beams are wider than the stock. I still have to connect the wires for the little circles that light up. I do need help with that though. If anyone knows how I can get the positive/power wire connected so that it turns on when the headlights turn on I'd really appreciate it. I will have some pictures up of what I did yesterday and what I will do tomorrow up around noon or so. I plan to wash my car so it won't have layers dirt either
I think the trunk lid is fine though, it has a layer of Damplifier, 5 layers of Spectrum and one layer of sludge. I also put a layer of damplifier, 2 layers of spectrum, and 1 layer of sludge on the firewall on the engine side, but since there is so little room to work with I was only able to do pretty much the top portion. I would really need for everything to come out, well mainly the engine, in order to do the entire firewall as I would like. That would kill a great amount of road noise.
I also installed the projector lights and they are brighter and the beams are wider than the stock. I still have to connect the wires for the little circles that light up. I do need help with that though. If anyone knows how I can get the positive/power wire connected so that it turns on when the headlights turn on I'd really appreciate it. I will have some pictures up of what I did yesterday and what I will do tomorrow up around noon or so. I plan to wash my car so it won't have layers dirt either
Thread Starter
Joined: Apr 2008
Posts: 113
Haven't posted in a while, but I've done little work here and there. I put the splash guard back onto the hood, installed the head lights and cold air intake, and deadened a bit more.
Pics of headlights installed:
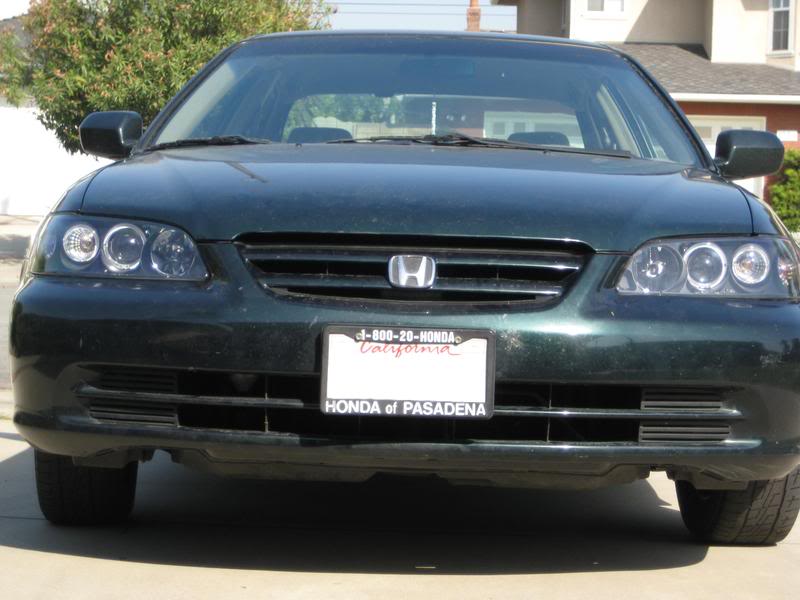
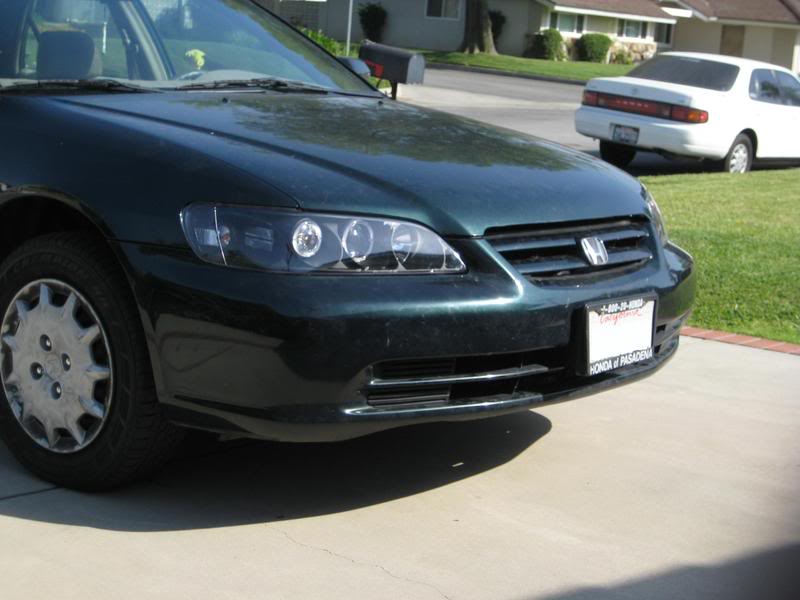
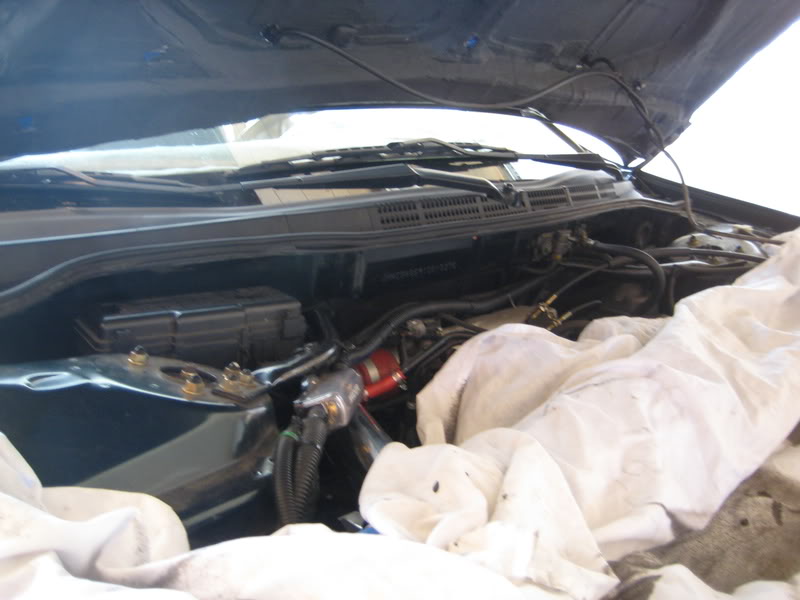
I put a layer of damplifier, 2 layers of spectrum, and 1 layer of sludge on the firewall (engine side), but unfortunately I couldn't do the entire firewall, just the top portion which probably covers about 10-15% of the entire firewall. I would need to pull out the engine in order to do the rest and I'm not wanting to do that at all. It's hard to see the difference between the before and after pictures, but nonetheless, here they are.
Pics of headlights installed:
I put a layer of damplifier, 2 layers of spectrum, and 1 layer of sludge on the firewall (engine side), but unfortunately I couldn't do the entire firewall, just the top portion which probably covers about 10-15% of the entire firewall. I would need to pull out the engine in order to do the rest and I'm not wanting to do that at all. It's hard to see the difference between the before and after pictures, but nonetheless, here they are.
Thread Starter
Joined: Apr 2008
Posts: 113
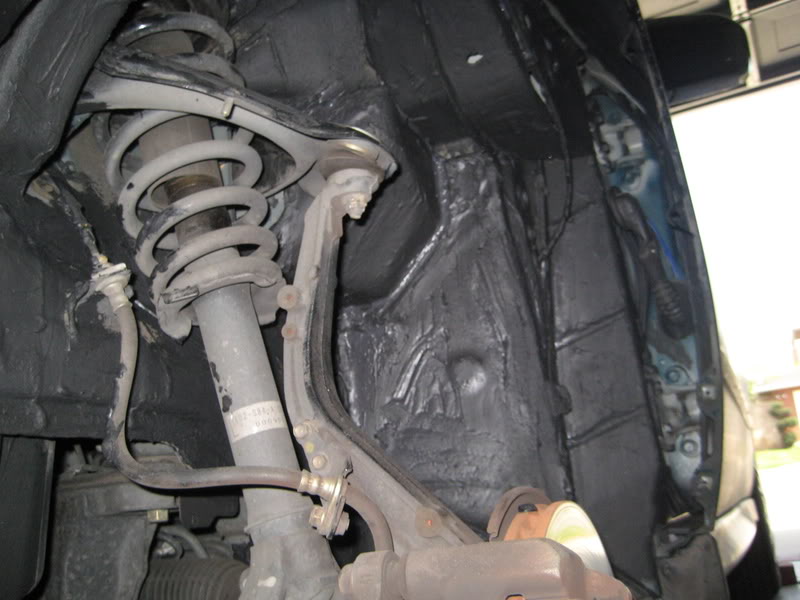
I mixed up the sludge activator with the spectrum and man, that stuff is THICK! I did some thick layers on all the surfaces I covered and did so by putting on a latex glove and spreading with my hand. Much easier and quicker than using a putty knife. I did the front wheel wells with 1 layer, though may have been two, I can't quite remember.Also when I had done the wheel wells before with spectrum, I did the front quarter panels as well. I did the front quarter panels with a layer of sludge too. I actually noticed a difference once doing the layer of sludge on the quarter panels.
Sludge on the wheel wells
The top of the rear deck with one layer
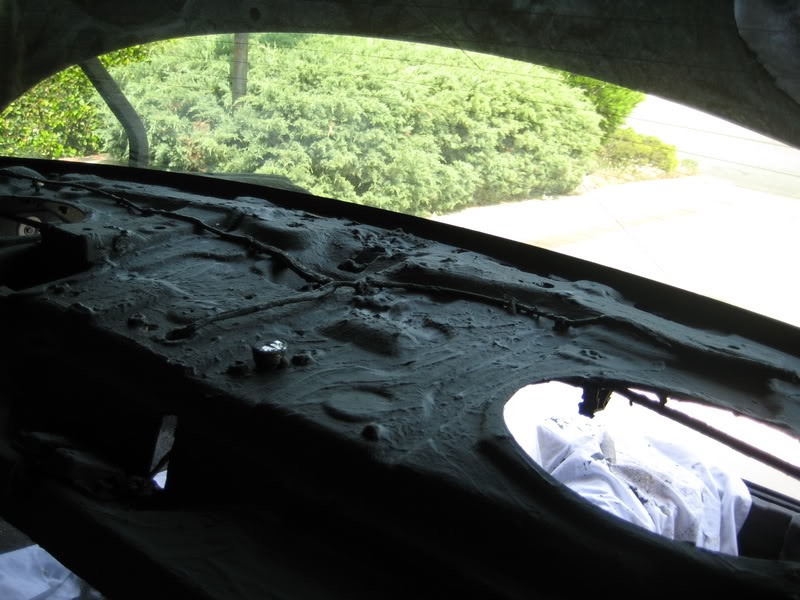
The bottom of the rear deck with two layers
The trunk lid with one layer
I still have some left, so I'll probably do the bottom of the rear deck again or the trunk lid...i'll do both if I have enough though.
I also put deadener over some of the holes in the rear doors. I didn't bother with sheet metal because I didn't feel like it and I still have some deadener left over, about 7 sq. ft. I'll have to figure out where that will go.
I have not worked on the baffles yet either...well, I actually was yesterday until my cousin brought over his sister's 6 month old. She was sitting in my car playing video games, rather my cousin was playing, she was pretend playing, and I didn't want to do any wood cutting while she was around. I did cut parts of the door panel where the mids might be be touching the panel. If it doesn't rain today I will work on the baffles.
I have to re-do my big 3 and I still need to put the tech flex on those wires. Going to replace the Kicker fuse holder with a nicer Kicker fuse holder I have as well. I just noticed I never put the power wire that goes along the firewall back where its supposed to be. Gonna start working on the baffles now.
Sludge on the wheel wells
The top of the rear deck with one layer
The bottom of the rear deck with two layers
The trunk lid with one layer
I still have some left, so I'll probably do the bottom of the rear deck again or the trunk lid...i'll do both if I have enough though.
I also put deadener over some of the holes in the rear doors. I didn't bother with sheet metal because I didn't feel like it and I still have some deadener left over, about 7 sq. ft. I'll have to figure out where that will go.
I have not worked on the baffles yet either...well, I actually was yesterday until my cousin brought over his sister's 6 month old. She was sitting in my car playing video games, rather my cousin was playing, she was pretend playing, and I didn't want to do any wood cutting while she was around. I did cut parts of the door panel where the mids might be be touching the panel. If it doesn't rain today I will work on the baffles.
I have to re-do my big 3 and I still need to put the tech flex on those wires. Going to replace the Kicker fuse holder with a nicer Kicker fuse holder I have as well. I just noticed I never put the power wire that goes along the firewall back where its supposed to be. Gonna start working on the baffles now.
Thread Starter
Joined: Apr 2008
Posts: 113
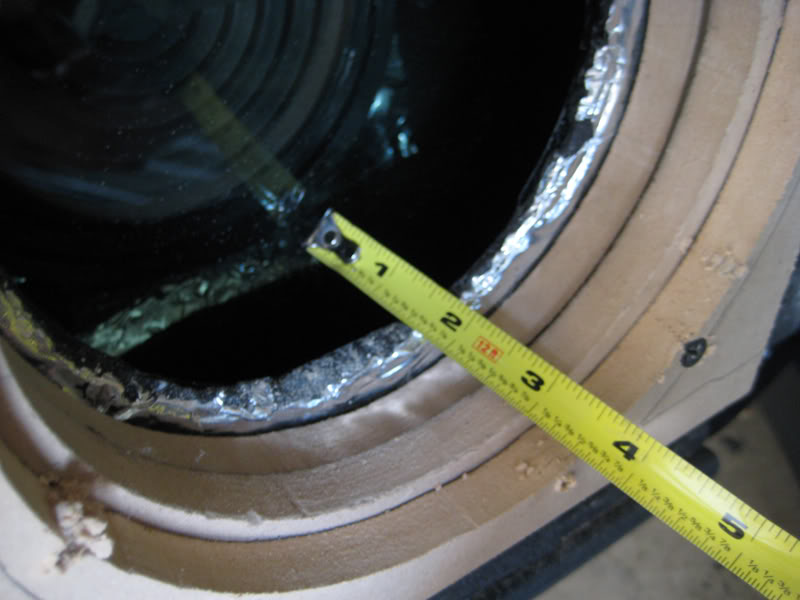
Just got done working on the baffles and it was going quite well till I had actually cut them out and did a test fit. Everything went downhill from there. With two baffles, a total of 1", the mid had perfect clearance depth-wise. Unfortunately, the basket was still hitting the door so I figured I'd give it a shot and add another 0.5" baffle. The mid went in perfectly, no issues.
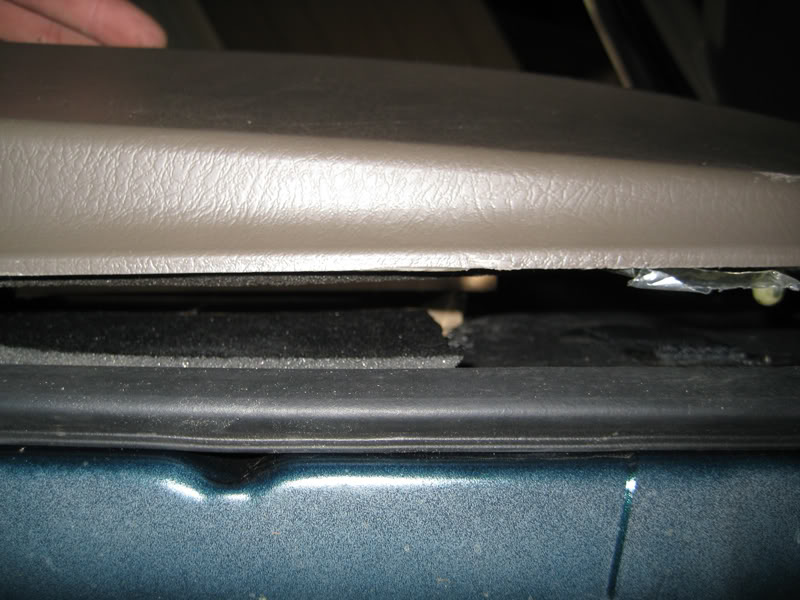
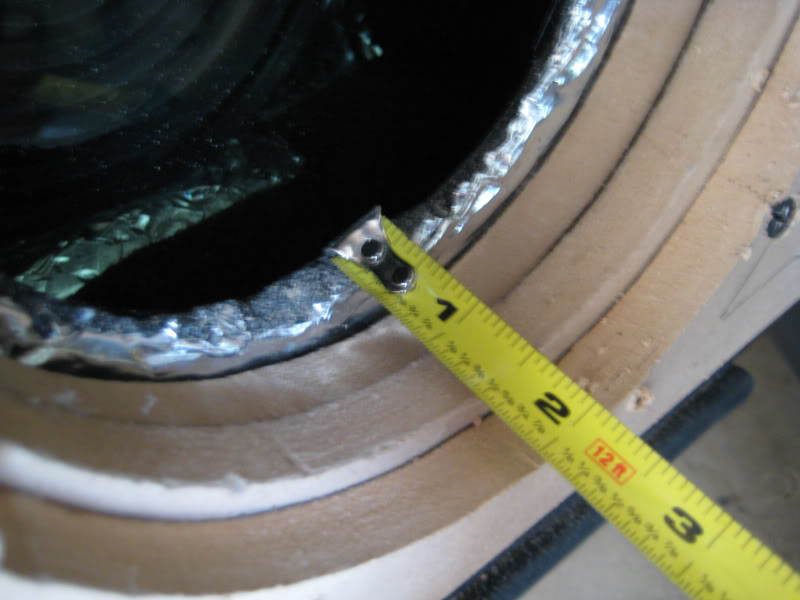
Just by looking at it, it looked like it extended quite a bit. I put the door panel on and it doesn't come near fitting on properly. I cut part of the door panel again, and even accidentally cut part of the exterior of the door panel, , and it still would not fit. I have about 1" of a gap to fill.
My only option that I can think of is to cut a good chunk out of the dark brown (lower) portion of the door panel around where the baffle would go. I know the baffles are in squares in the pictures, but even if I cut them in the shape so it would fit inside the huge hole (where the speaker grill used to be) it may not work because of the mounting holes. As I'm typing this, I'm thinking that it might be possible to actually do that, but I'll have to double check some other day.
I actually do have a second option, which is to have a shop or maybe even another DIY'er who can make this all look real nice. If anyone knows they can do this type of work and make it look real good, let me know.
Also, if anyone has any ideas, feel free to blurt it out. I'm open to suggestions, because there may be things I'm not thinking of that could help me a great a mount.
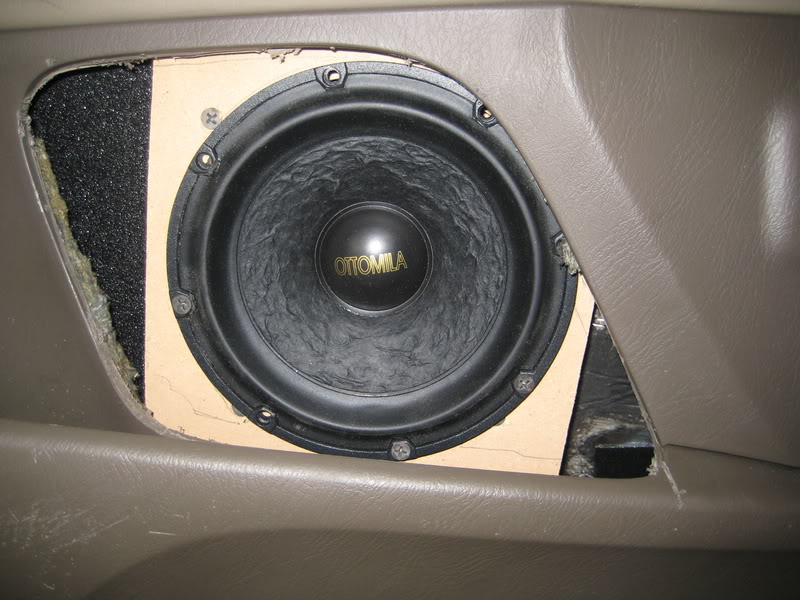
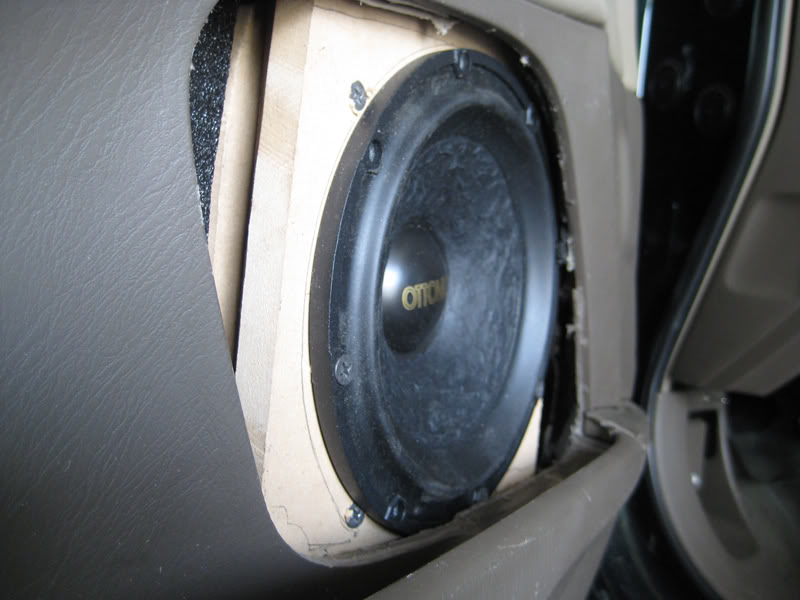
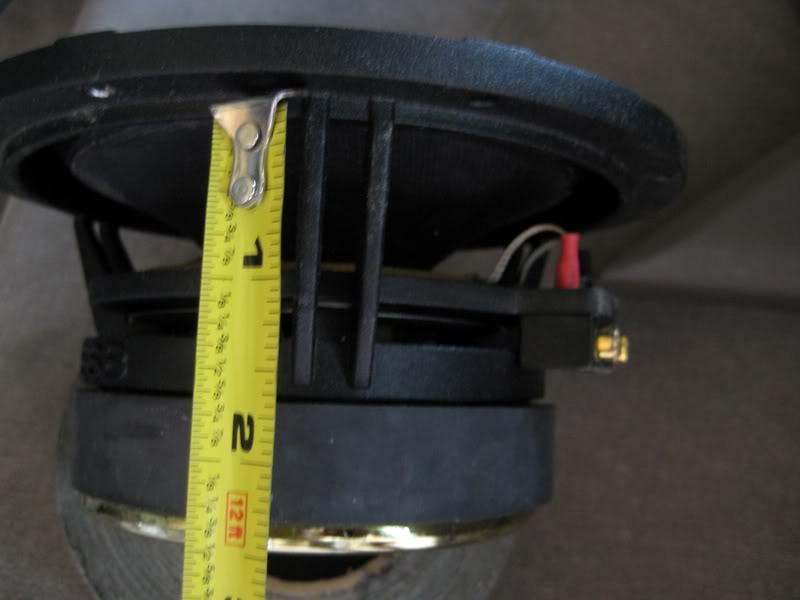
Anyhow, on with the pictures. Here's a picture of what the mid WOULD look like if everything fit properly.
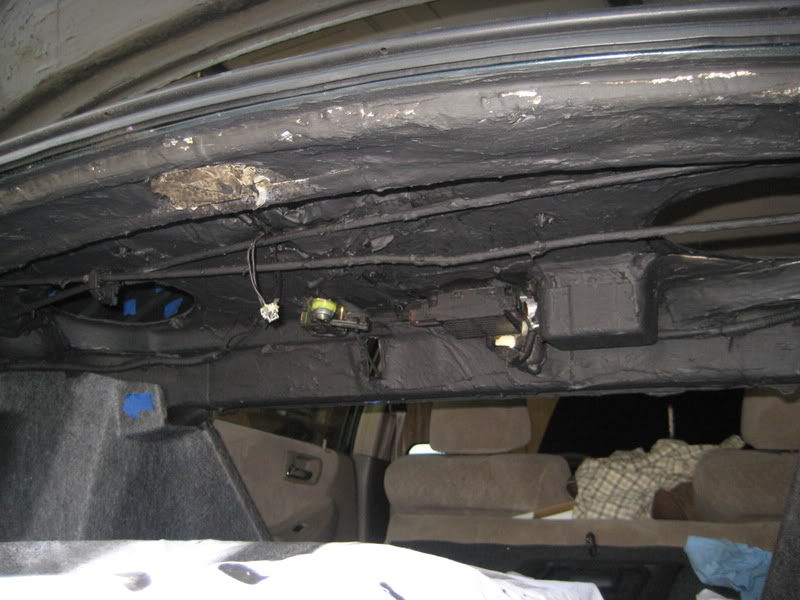
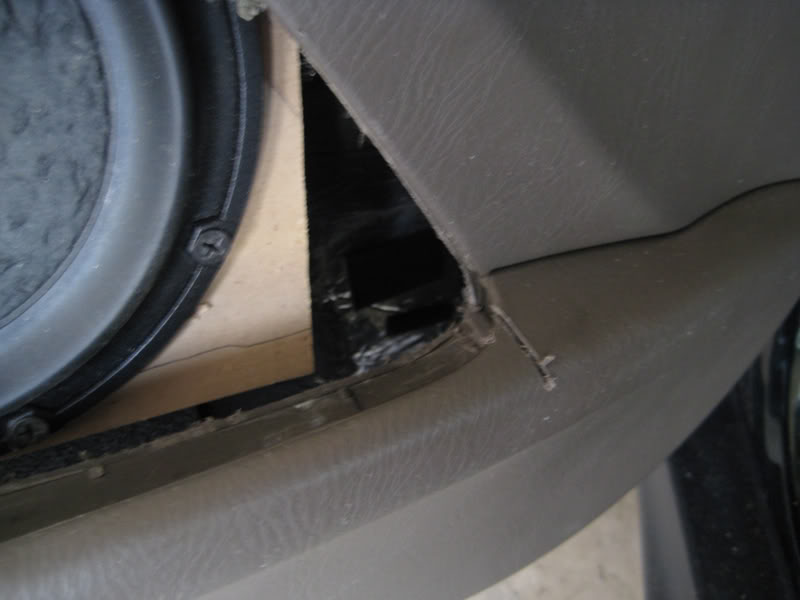
Side view of the gap
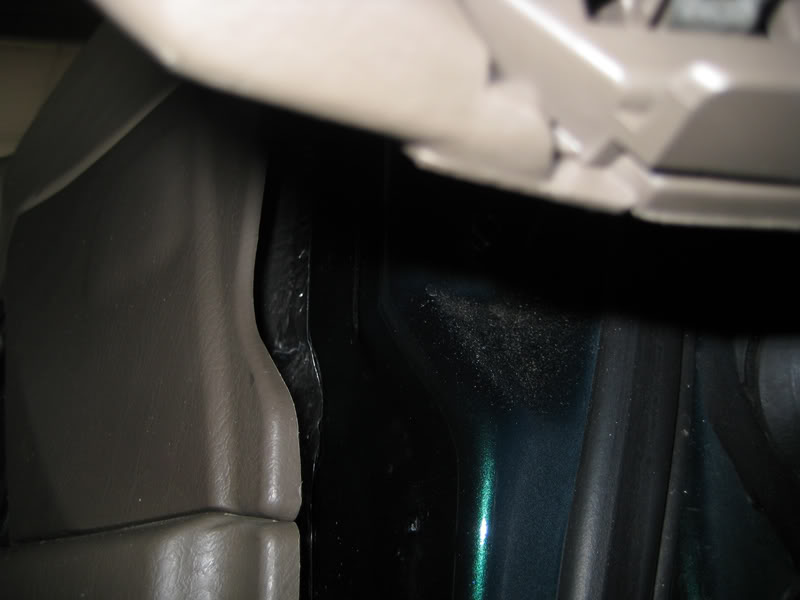
Top view of the gap
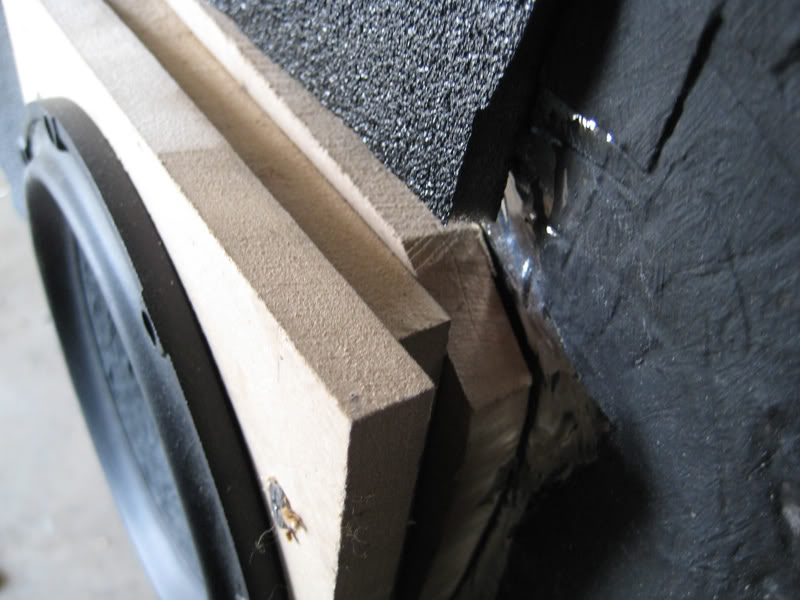
Side shot
Where I screwed up like an idiot and cut through the door panel
Baffles with the door panel off

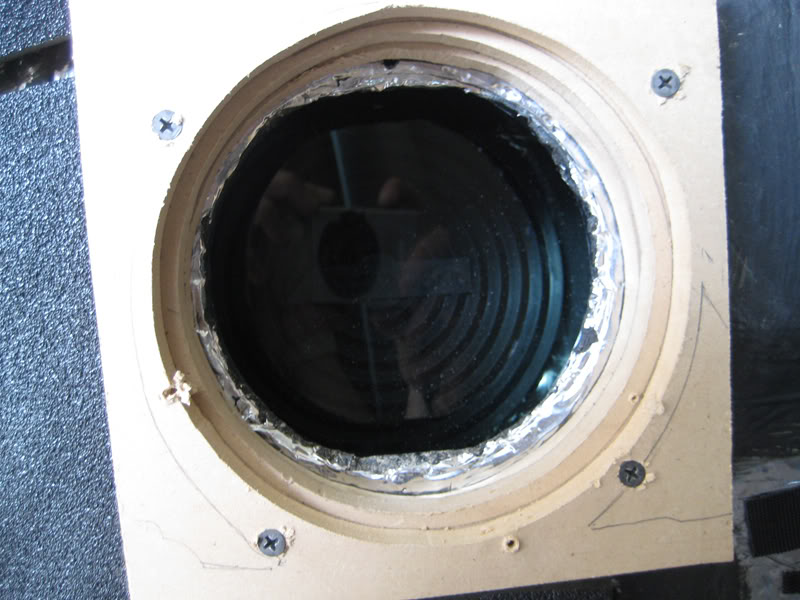
Plenty of mounting depth
Just not enough mounting width
Just by looking at it, it looked like it extended quite a bit. I put the door panel on and it doesn't come near fitting on properly. I cut part of the door panel again, and even accidentally cut part of the exterior of the door panel,
, and it still would not fit. I have about 1" of a gap to fill.My only option that I can think of is to cut a good chunk out of the dark brown (lower) portion of the door panel around where the baffle would go. I know the baffles are in squares in the pictures, but even if I cut them in the shape so it would fit inside the huge hole (where the speaker grill used to be) it may not work because of the mounting holes. As I'm typing this, I'm thinking that it might be possible to actually do that, but I'll have to double check some other day.
I actually do have a second option, which is to have a shop or maybe even another DIY'er who can make this all look real nice. If anyone knows they can do this type of work and make it look real good, let me know.
Also, if anyone has any ideas, feel free to blurt it out. I'm open to suggestions, because there may be things I'm not thinking of that could help me a great a mount.
Anyhow, on with the pictures. Here's a picture of what the mid WOULD look like if everything fit properly.
Side view of the gap
Top view of the gap
Side shot
Where I screwed up like an idiot and cut through the door panel
Baffles with the door panel off
Plenty of mounting depth
Just not enough mounting width


Thread Starter
Joined: Apr 2008
Posts: 113
Lol, thanks. The majority of the work is the deadening, which is actually fun at times but time consuming. The next most time consuming is getting the speakers in the doors because there is not much room to work with. I used to have DLS Iridium speakers which fit fine with a 1/2" baffle, but they did not have enough midbass and the tweeters were very bright for being made of fabric. I have yet to take pictures of cutting the actual door and before I never wanted to do it. I could have actually gone with 8" mids in the doors had I decided to go through that trouble in the first place...but it still wouldn't be the largest I've seen in an Accord. A guy about an hour from me has I think a 2000 Coupe and has 10's in the doors and 8's in the kicks. Trippy part is that he has a manual and his kicks are huge. Off to work now and gonna get a new suspension after and I'll be posting the remaining pictures.